 There are many things that you can do around the house to save money. One of these is installing pex piping without a crimping tool, but before we get into how this is done, let’s review some safety considerations.
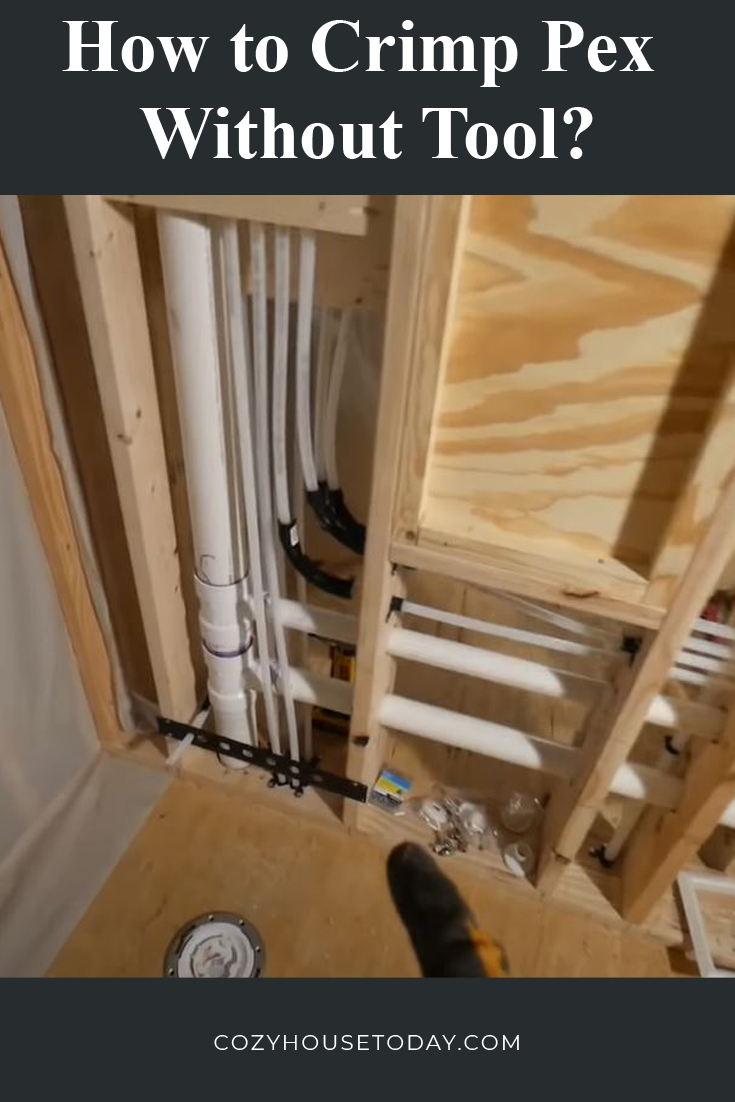
Pex piping systems are becoming more and more popular because they’re easy to install and inexpensive. But what if you don’t have a crimping tool? Well, there are still plenty of ways for you to install your pex system!
In this article, we will explore how to crimp pex without a tool and why it might be an appropriate solution for your situation.
Can you Crimp Pex without a Tool?
It is possible to crimp pex without a tool, but it is a little more difficult. It will take a little more time and patience – so let’s get started!
Many people can crimp pex without a tool. Crimping with your hands is possible and sometimes the only option for installation. However, it’s important to note that crimping without a tool isn’t an ideal solution because it will reduce water flow speed in addition to being more time-consuming than using a proper plier or clamping device.
Reducing water flow speed is problematic because it can cause problems with the toilets. Installing too short of a pex tube will also constitute as a potential problem for the user. A way to reduce the risk would be to install the pex pipe according to manufacturer guidelines.
How to Crimp Pex Pipe without Tool?
If you can’t use those tools for some reason (e.g., no access) then this technique might be an appropriate solution until something better shows up on the market.
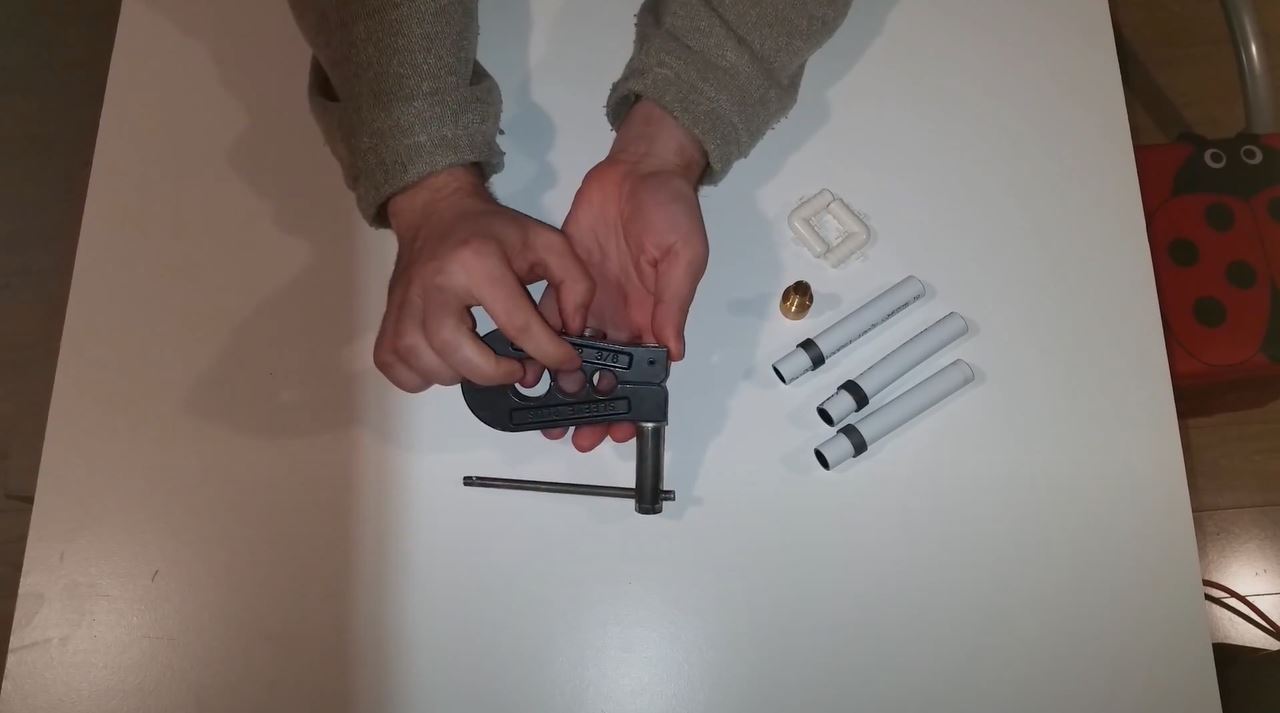
To crimp pex without a tool, you will need to use the following tools in addition to your hands:
- Teflon Tape.
- Ruler or Measuring Tape.
- Pipe Cutter (or Scissor).
- Hacksaw.
- Adjustable Wrench.
- Pliers
- Vice-crimper.
- Screwdriver.
That’s all!
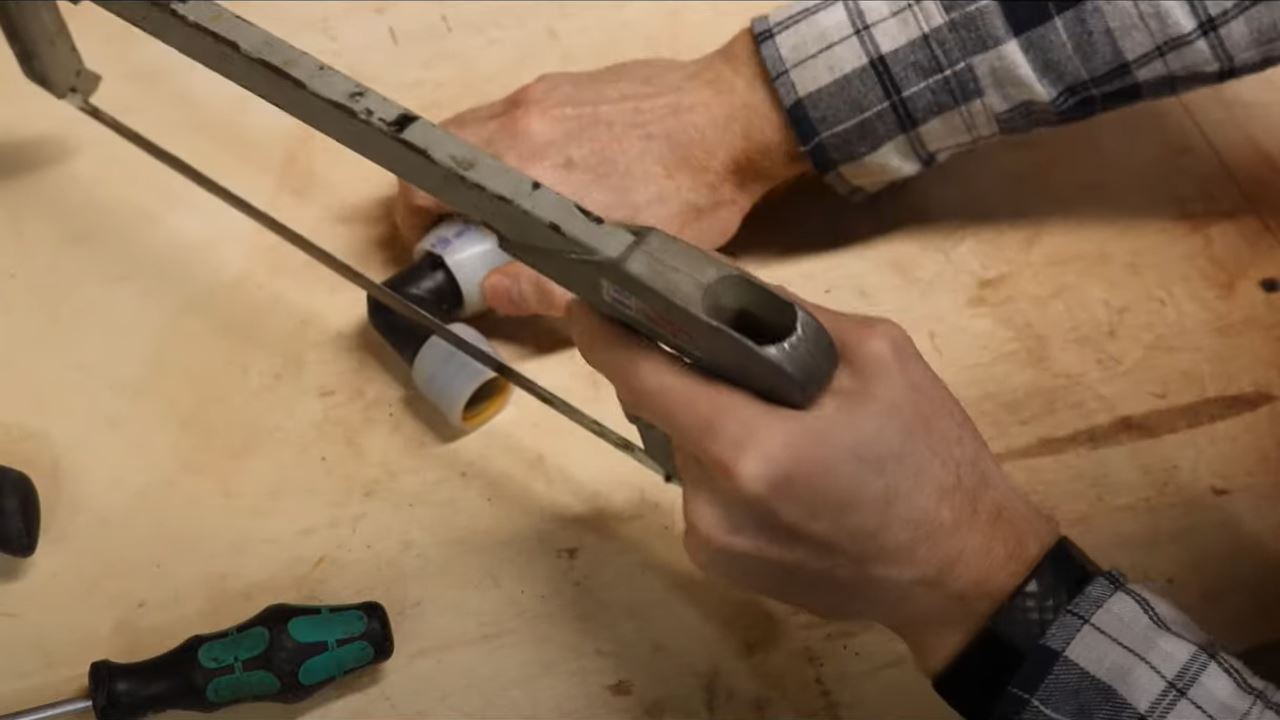
Cutting
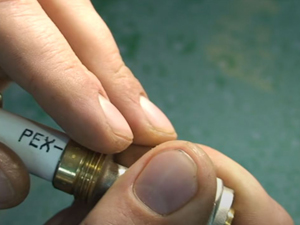
You can use a pipe cutter to cut the end off. This tool is great because it will make an identical, clean-cut in both ends of your pex pipe without ruining any threads or crimping any part of your water supply line.
First, you need to remove the ring inside the tubing cutter with wire snips so that you are left with just two handles and one blade clamping around each side of your pipe. It’s not necessary but if you have some kind of step stool this makes for better access when cutting at different parts along the length depending on how long your pieces are going to be once they’re finished being cut.
Then you want to slide your pex tubing in between the blade clamp and pull it tight so that when you squeeze down on the handles with one hand while pulling up on each side of your pipe with pliers in the other hands then the blade will cut through at both ends perfectly.
If your cut isn’t perfect just put everything away for now and start over again by replacing any pieces that need to be re-done until you have nice straight cuts all around (which helps keep things looking neat too).
Pressing
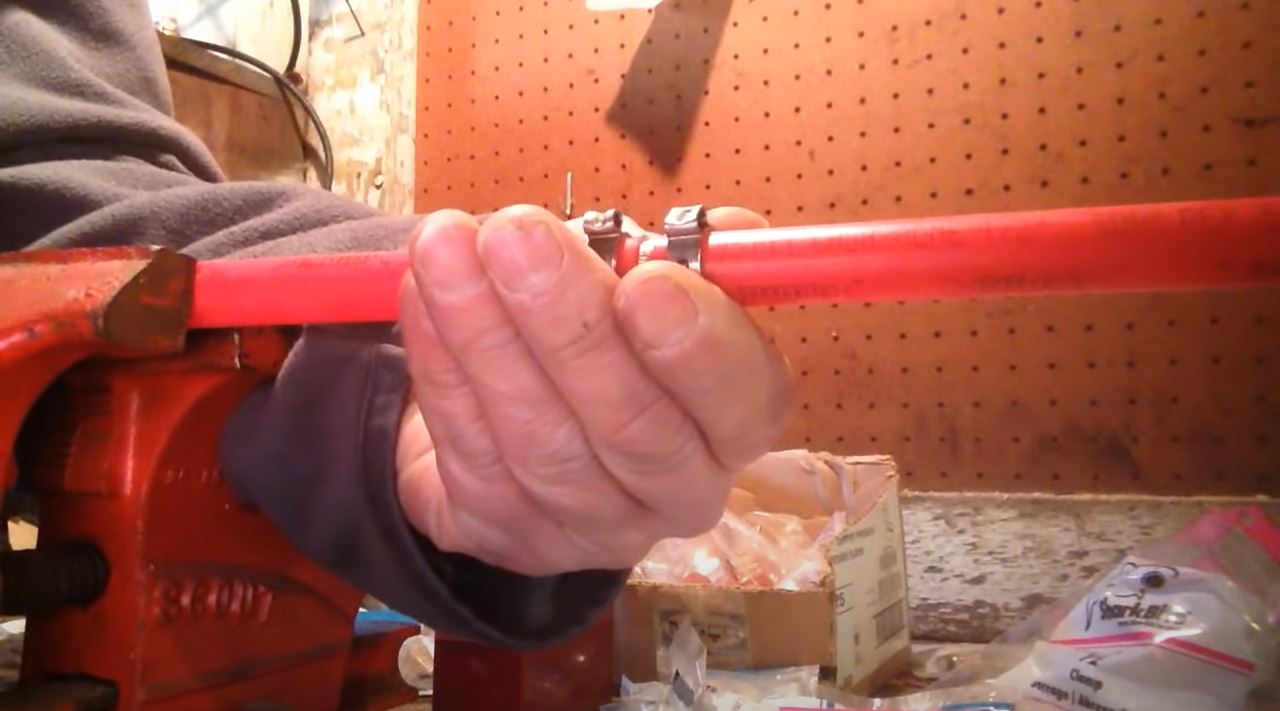
When you’re ready to crimp your pex pipe, take one of the sections that you just cut and hold it in place inside the fitting that will be used for this section. Once you have done so, position your thumb towards the bottom side of each half-pipe while simultaneously using another finger (e.g., index) on top at an angle – this should allow for a firm grip without causing any slipping or sliding along either circumference of tubing.
Next, use your free hand to push down on the tube firmly until it has completely passed through both ends of the connector securely. This is important because if there isn’t enough pressure applied during installation then there could be leaks which
Once both pieces are in place inside each end of the connector, use additional fingers (e.g., middle) to make sure that tubing is pressed firmly inside the fitting. In addition, you may want to use a ruler or measuring tape to compare the sizes of both pieces and ensure that they are relatively equal before proceeding with the crimping process.
Crimping
Crimp pex pipe into connector fittings at marked lines using pliers. Inspect finished connections for leaks by applying soapy water solution along with connection points and check for bubbles that indicate leaks. If any problems exist, re-crimp those areas until all connections hold tight without leakage.
Repeat this step as often as needed until there aren’t any additional leaks present during the inspection phase. Finally, your work one last time just to be sure that there aren’t any leaks present.
Safety
As you might have noticed, crimping without a tool is not always an ideal solution because if done incorrectly then there could be leaks in your piping system which would lead to problems such as reduced water flow speed or even total failure when under pressure from high-flow appliances.
In addition to this, having poorly installed Pex plumbing could also cost you more money when it comes time for repairs – so let’s take care of our tools and make sure that we know how they work before attempting installation on our own!
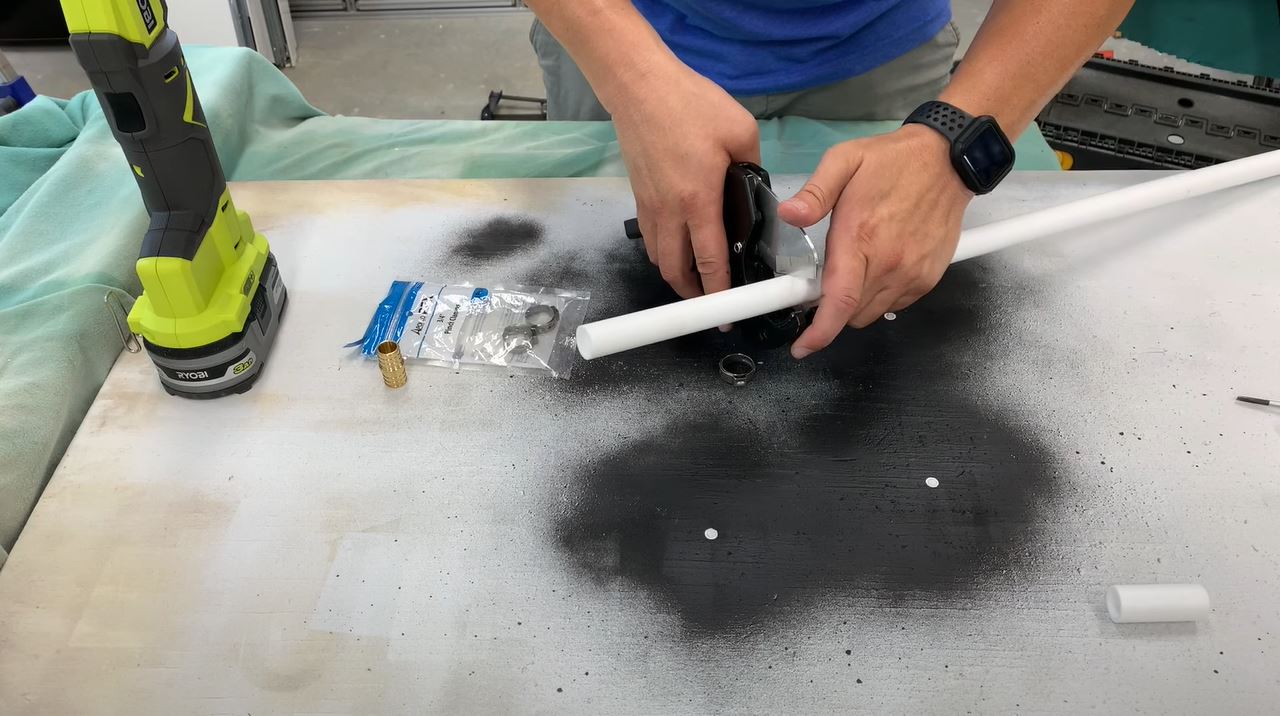
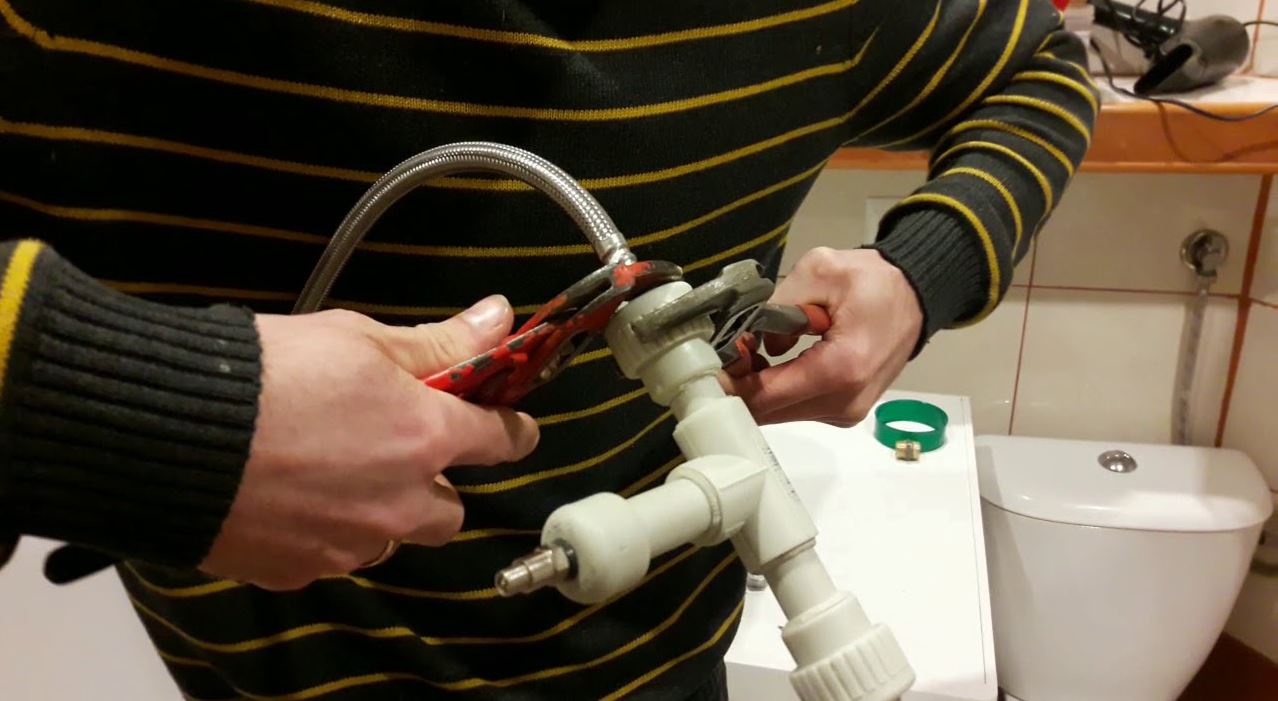
Crimping Pex with Cheap Vice-crimper
I found a way to crimp pex without a tool, but you need a vice-crimper. A vice-crimper is a simple metal clamp that attaches to the edge of a table or workbench and is adjustable so it can be tightened around the tube. The metal jaws open as you pull it towards you and tighten as you push it away from you.
Now put your crimping end on the end of the pex tubing, against the metal jaws of the vice-crimper. You can then twist and fold some copper wire into some loops, tie them on to make a handle, and hold on to those loops while pulling outwards on these crimps on your pex tubing.
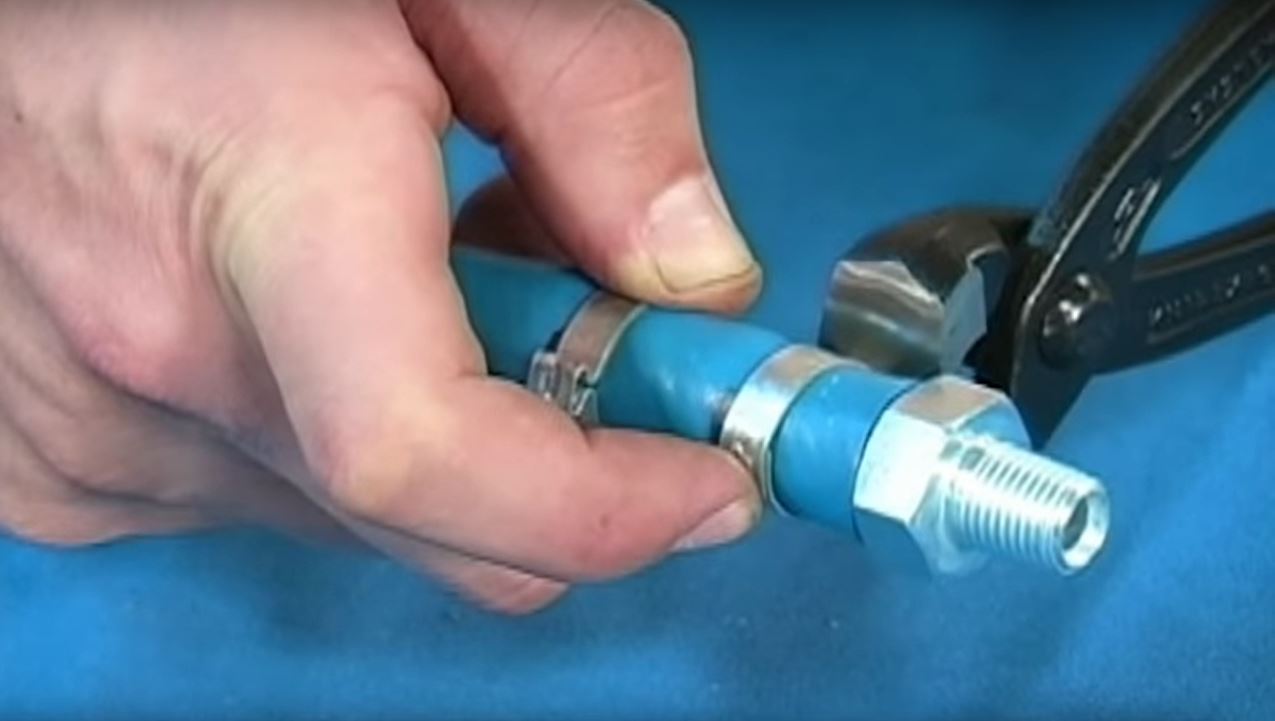
Crimping Pex with a Screwdriver and a Pair of Pliers
To do this, start off by cutting your pex tubing with a cutter. You can then push the end of it into the fitting and crimp it using pliers or squeeze it together to make sure that no air bubbles get in between them. Make sure you don’t bend too hard as you will break the pipe!
Once they’re connected, twist at least one full turn clockwise before releasing and check for any leaks. The connection should be very secure and not leaky at all after doing so but if there is still some leakage take out another set of pliers (or screwdriver) and repeat until it’s watertight.
Are there any other alternatives to crimping pex tubing without a tool? Yes, if it can be securely tightened and hold onto the tubing. The only problem with this method is that it usually takes two hands to operate which means that one hand must hold down the vice while the other presses into each end of the connector until they are fully pressed together tightly – not ideal!
How to Remove Crimp Pex without Tool?
You can remove crimp pex without a tool by using a pair of side cutters or two nails. First, you need to loosen the crimped area on the pex so there is some flexibility. Next, you insert one of the nails into one side of the crimped area and pry it open enough for your hand to fit inside. You then grab hold of the end of the nail with one hand and pull the nail out with the other hand. Repeat this process on all sides until you are able to pull out all sides.
It is possible to remove pex without a tool by cutting it and then sliding the cut edges apart. The disadvantage of this method is that it can result in a loss of compression over time, and the cut ends must be sealed with an appropriate sealant.
If you cannot remove crimp pex without a tool, then there is a chance that the two pieces of tubing may split apart and need to be replaced. How do you know if this has happened? If your connection seems loose or it leaks at all, you will most likely have to replace both ends of the tubing which means cutting out some sections.
You would also feel wetness where there is leaking beneath hardwood flooring for example because this usually indicates that water damage could occur under these areas as well. This makes sense since the leak must go somewhere!
It should be noted however that even though it might cost more money initially to cut out replacement end-pieces of Pex Tubing rather than just pushing them back together, it will save you money in the long run.
Conclusion
Can you crimp pex without a tool? Yes, it is possible – but not ideal! Crimping with your hands will reduce water flow speed and take more time than using the proper plier or clamping device if available to do so.
Just make sure that all of your connections are tight on the road once everything is put into place inside your home under normal conditions where pressure levels are much higher than they were during installation within these instructions!
If your pex tubing was installed with a fitting connector, then if there is the problem of leakage around these connectors must be replaced. However, this also means cutting out some sections which can result in having to replace different lengths of tubing as well – more work than just pushing back together!
For those who are interested though, heat fusion fittings do offer a very strong watertight seal for any connection and they don’t require tools at all so buying them might be worth considering too!