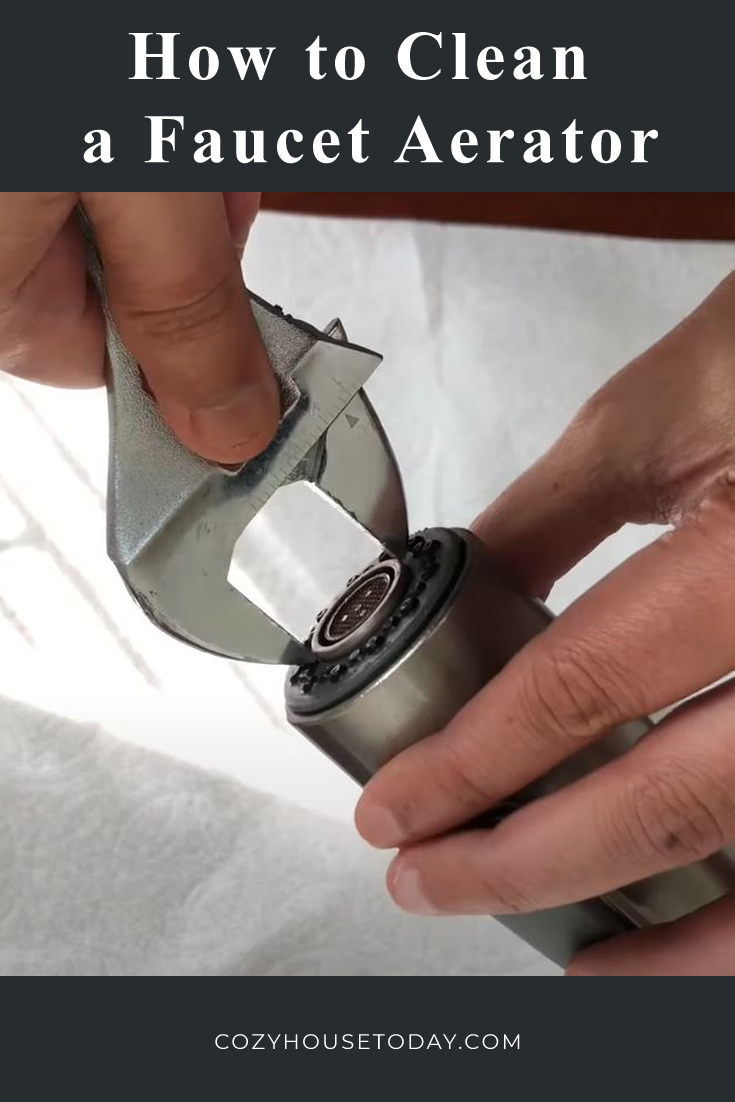
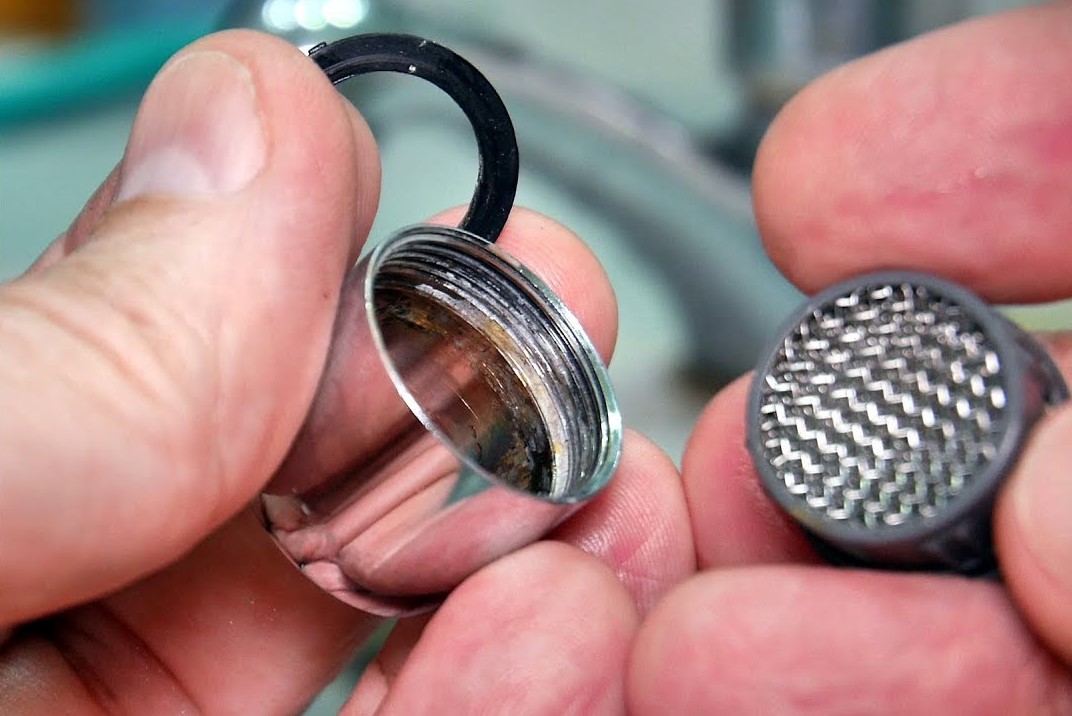
 A faucet aerator is an insert that is attached to the faucet’s spout. It has a mesh screen, which comes off easily. However, not all faucet aerators are designed this way. Some come as a whole part and cannot be disassembled.
Faucet aerators control how the water pours out from the faucet while reducing the amount of water pouring out without compromising water pressure. They may be small, but they are quite useful when it comes to conserving water.
But that’s not all; these small nifty devices also act as filters and catch whatever dirt, minerals, and other debris that may be in your water. With time, because of dirt buildup, the flow of your water will start acting weird. This is one way of knowing that your aerator needs cleaning.
Fortunately, cleaning an aerator is not rocket science, and you don’t need special cleaning solvents or brushes. All you need is a toothbrush, a clean cloth, soap, warm water, and white vinegar.
Instructions
Step 1:
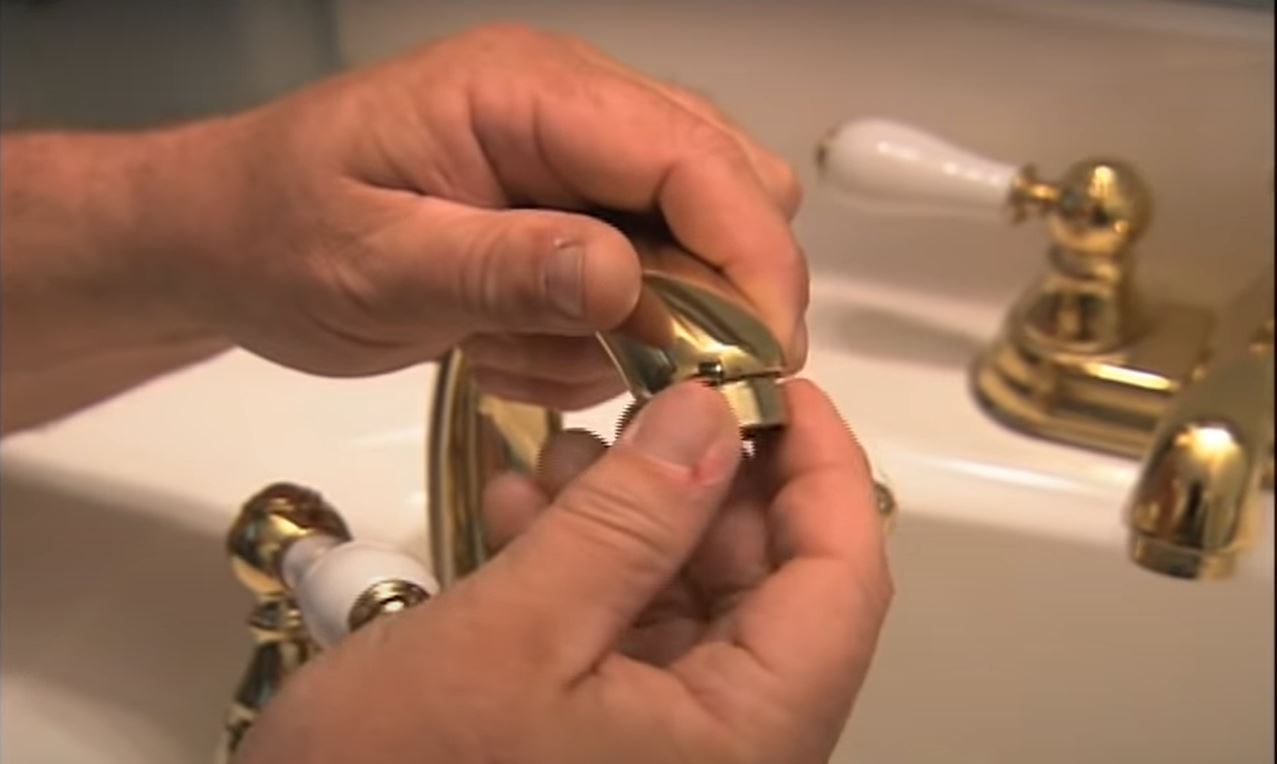
Remove the aerator from the faucet spout. You can use your hands to unthread it. But if it’s stuck and it won’t move, use pliers and soft plastic tubing to remove the aerator. The plastic tubing will give you a good grip on the aerator, and it will help prevent scratching the aerator’s finish. You can also use a thick piece of cloth if you don’t have plastic tubing.
Be gentle when using the pliers to avoid damaging the aerator, more so if it’s made of plastic.
Step 2:
Check the faucet spout for gunk and grime. You can do this using your finger or a screwdriver. If there is dirt or mineral buildup, you need to remove it.
Step 3:
Take the aerator apart by first removing the washer. Then the aerator screen and the restrictor. Wash the parts with water and use a needle or a soft brush to clean the holes and remove any gunk or grime.
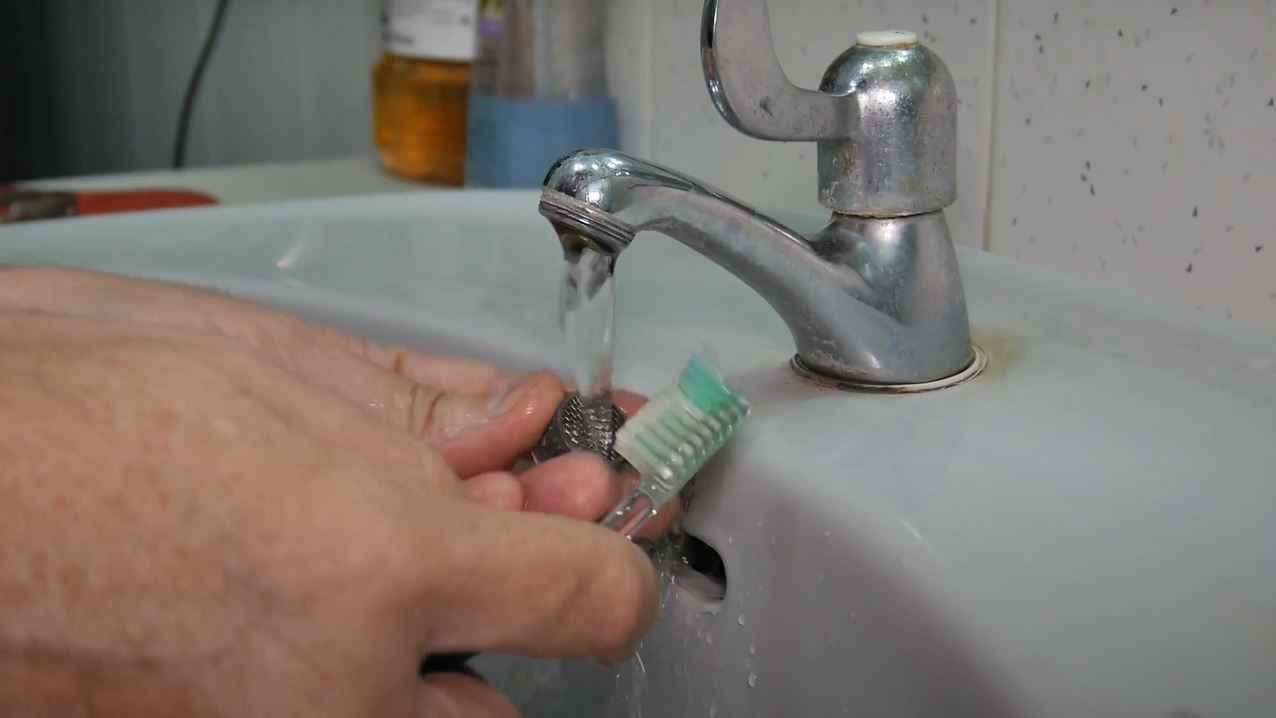
If your aerator is designed as one whole part, you can go ahead and clean the aerator. Make sure to use a toothbrush or needle to remove dirt in the holes, and then use a brush to give a good scrub.
Step 4:
Take all the aerator parts and soak them in vinegar to remove any stubborn buildup. For the best results, soak the parts overnight. Then using a toothbrush, scrub away the buildup.
Step 5:
Rinse the parts to remove the loose mineral buildup, then let the parts dry. Once they are dry, reassemble the aerator. It’s important that you put it back together correctly; otherwise, you’ll notice a problem with the way the water is flowing when you run the water.
Tip: Make sure to let the water run for some time to remove any dirt and grime out of the pipes before you place the aerator back. If you notice that the water is brown even after letting it run for a while, this could mean that there is a part inside the faucet or pipes that is rusted.
Why you need to clean your faucet aerator
The main reason why you need to clean your faucet aerator is that it collects mineral deposits, which eventually lead to the aerator blocking. Once it’s blocked by mineral buildup, it reduces water flow from your faucet.
Unfortunately, not many people realize that the problem is due to a clogged faucet aerator. They tend to assume instead that there is a problem with the faucet or water pipes.
So before you call a plumber, you should check the faucet aerator for blockage. Only call a plumber if the problem is not the aerator.
Replacing and installing a faucet aerator
Damaged faucet aerators can disrupt the flow of water from your faucet. You may attempt to clean a damaged aerator faucet, hoping that it will work fine, but realistically it won’t. If it is damaged, you need to replace it.
That means you need to shop for one. When choosing a faucet aerator, you first need to measure your faucet to ensure that it fits properly. Aerators come in varying sizes and styles. If you decide to purchase one online, you have to make sure you purchase the correct one.
The best way to avoid choosing the wrong aerator is by taking your old faucet with you to your local hardware store to get a replica. Faucet aerators are not expensive; replacing them will not cost you much. If its only one part that is damaged, you can replace that part alone and save money.
If you are installing it yourself, make sure to assemble it properly and attach it firmly. Use your instruction manual to ensure that you do it right. But if you are not confident or sure of how to go about it, hire a plumber.
Conclusion
Faucets aerators catch a lot of debris, and over time, they become blocked. Therefore, it is imperative that you clean your aerator as regularly as possible to avoid problems with your water flow.
Cleaning a faucet aerator does not take long, and neither does it require special cleaning agents. If you are dealing with a damaged aerator, replace it to avoid water flow issues.
