 There are lots of reasons why so many people are asking about how to install a wood stove in a garage. It’s very convenient since the stove provides warmth to the place. If you spend a lot of time there, especially in winter, you and your vehicle(s) should be warm. It’s better than providing electric batteries there or other appliances. They will consume too much electricity and increase your bill by much.
Plus, if you’re dreaming about a fireplace, but your home has no place for it, installing one in the garage becomes the best idea. The mission is much easier than you may think. It’s not time- or effort-consuming if you have great guidelines and do everything according to the instruction.
Let’s get that stove installed!
Step 1: Choosing a Proper Location to Install the Wood Stove and Equipment
Every garage is different, so you should understand where the stove will fit the best in yours. Measuring the spot and the stove, estimating if it fits in, moving the redundant stuff aside will make all the following steps much easier.
Choose a place where nothing will get too close to the source of warmth; make sure you have enough space there for a stovepipe. It’s very important to take the pipe into consideration. If you forget about it, you may need to uninstall the stove and put it in another spot where it will feel better.
Keep in mind that there are different stovepipes to choose from:
- Single-wall;
- Double-wall;
- Clearance stovepipe.
When choosing between single-wall and double-wall types, it’s recommended to opt for the second one. It will cost a little more, but the overall quality and safety will be on a higher level.
You’ll have to choose the chimney as well that will suit the pipe. If these words confuse you, consult a technician. A specialist will help you choose the right items. You can also order them online after getting the recommendation, which might make the whole process a bit less pricey.
Step 2: Get All the Details You Will Need
You can get the stove, stovepipe, and chimney online or from a physical store. There are pros and cons for every option, so choose according to your priorities.
Online shopping:
- Wide range of models and sizes;
- Frequent sales;
- Generally cheaper;
- Can be delivered to the door;
- Ordering from the comfort of your home.
- Looking for a good seller;
- Waiting for delivery;
- Can’t check the quality ahead.
Brick-and-mortar store:
- Getting a consultation immediately;
- Asking for installation advice;
- Might have a technician to help;
- Getting the unit right away.
- Usually more expensive;
- You have to go outside.
As you get the unit, bring it to the garage and start assembling as much as you can. This will help you make all the proper measurements and make sure the stove and the add-ons fit right where you want it. There are other things to measure, like the hole in the ceiling you will have to make for the chimney. It’s very important to have proper numbers before you start cutting and installing.
For more information on a particular model, read the manuals and stickers that come with the package. It’s important to get familiar with the unit before installing it.
Step 3: Choose a Location for a Hole in the Ceiling
Take the chimney and press it against the ceiling in a location most suitable for it. Mark where you will cut the hole, making sure every spot is precise.
After you get the exact location and measurements, add 4 inches to the marks on the ceiling to make sure there’s clearance for the chimney. This will ensure everything fits, and you won’t need to cut twice. The ceiling will also not be in danger.
If needed, make marks on the chimney as well so that you have some guidance when installing it. To make it easier with the marks on the ceiling, use a scribing compass.
It’s better to check the measurements several times before cutting. This will ensure the process will go as smoothly as possible.
Step 4: Drill a Hole in the Ceiling for the Chimney Pipe
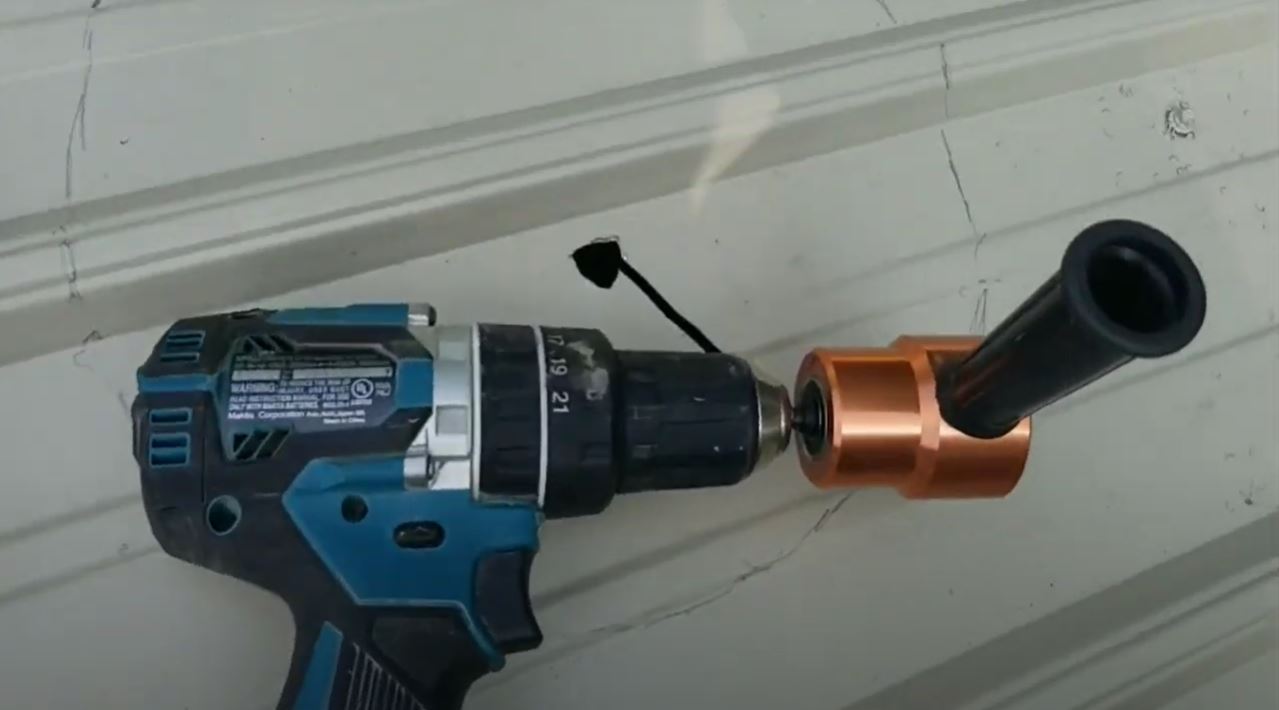
Have a utility knife or another suitable utensil nearby to cut a hole. If you’ve checked the markings, it should come out almost perfect (even if you’re doing it for the first time).
Don’t forget that the roof will need a hole as well. Cut every layer carefully and according to the marks. Once you’re done with the first layer, it will be easier to do the rest. Just make sure you have all the right tools.
If you don’t, visit a local store or order a kit online. But then you’ll have to postpone the project for a bit, so it’s better to have everything necessary right away. Cutting the holes is the most important part, so if you’re not sure the markings are right or something just feels wrong, it’s better to call a local technician and ask for help.
Step 5: Do Some Cleaning
Some choose to clean everything afterward, but we say it’s better to do it right away. You’ll make sure the stove is installed on a clean floor. After drilling and/or cutting, you’ll end up with a lot of debris on the floor.
The roof should also be maintained before the installation of a chimney. At least clean the area around the hole so that the chimney fits well, and nothing is in its way. Use proper tools and cleaners; see what is suitable for the roof materials and for your floor. The guidelines should be in the documents for the materials. If there are none, just use a conventional cleaner or do a dry cleaning without any solutions (they might not be necessary anyway).
Step 6: Install the Chimney
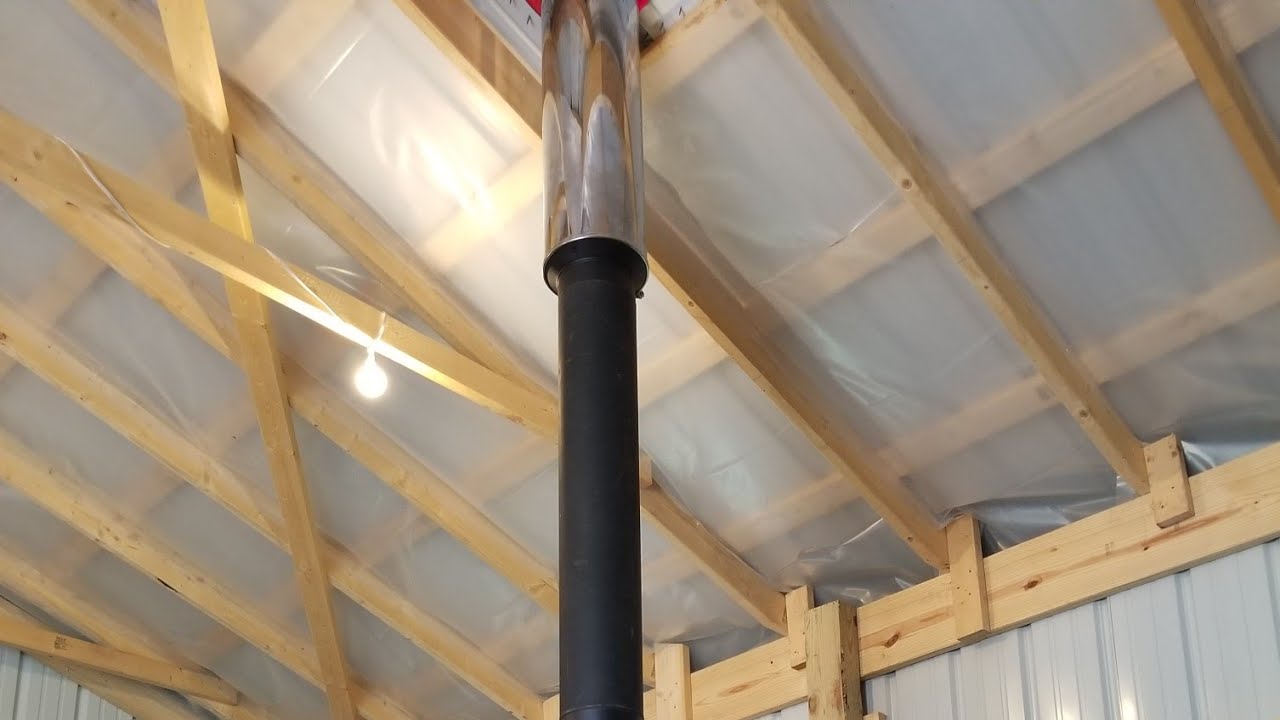
Different chimneys will need different installation proceedings, so have the manual with you. Some manufacturers will provide video instructions, but if not, you can find those on YouTube. But the manual is the base here.
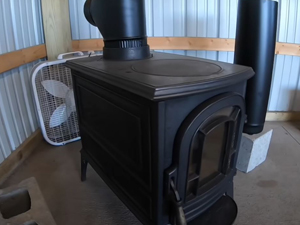
Step 7: Connect the Pipe and Fit the Wood Stove
As you’ve installed the chimney, take the stove pipe and attach it to the construction. Always follow instructions specified in the manual for all the attachments. The details, if any, should be in the package.
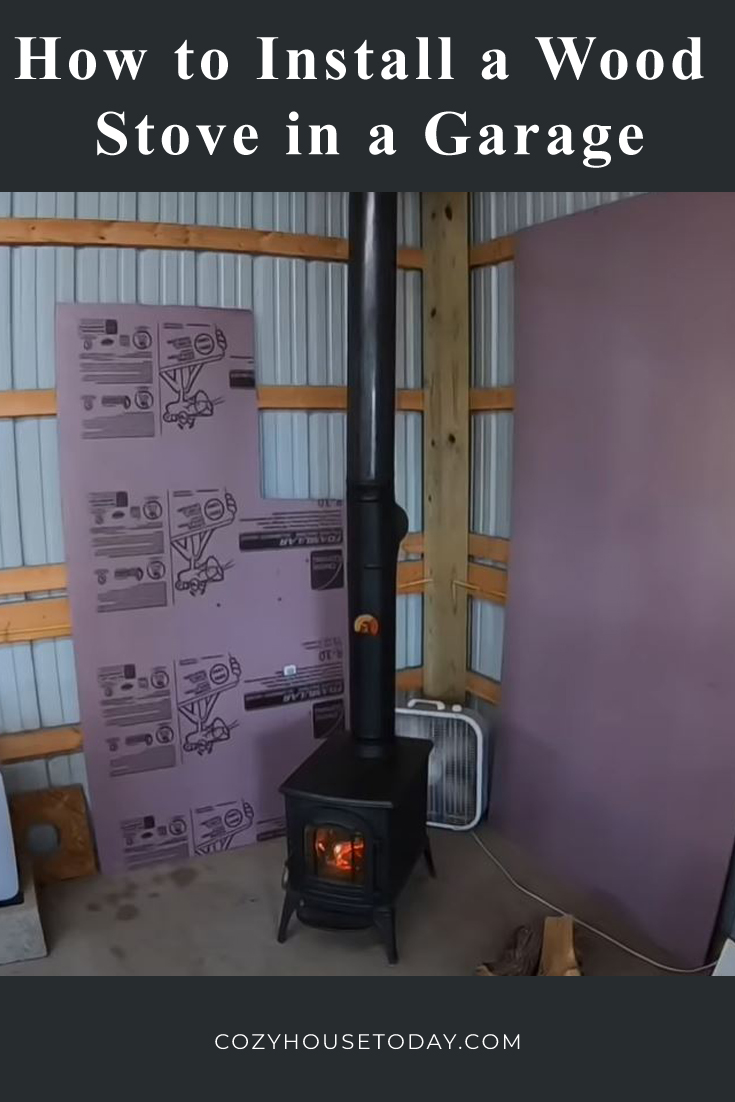
Now, move the wood stove below the chimney and attach the pipe to it. It’s best if everything aligns in one line unless the form of the pipe suggests another placement.
If you don’t have a fire-rated sheet on the wall, the stove is near, put it on to fire- and heat-proof the wall. Make sure there’s at least 48” covered from the center of the area close to the stove. This will provide the proper coverage.
Ask for Help If Needed
Of course, if you feel like this task is too difficult, and you’re afraid something will go wrong, ask a specialist for help. This can be a friend, neighbor, or relative who has done something similar before. If there’s no one eligible, a local technician will help a lot by providing professional help and advice. This will cost you more, but the reassurance that the stove is fine is priceless.
Don’t hesitate to ask for help. Make sure everything goes according to the plan, and you will be in warmth at all times, even when in the garage.