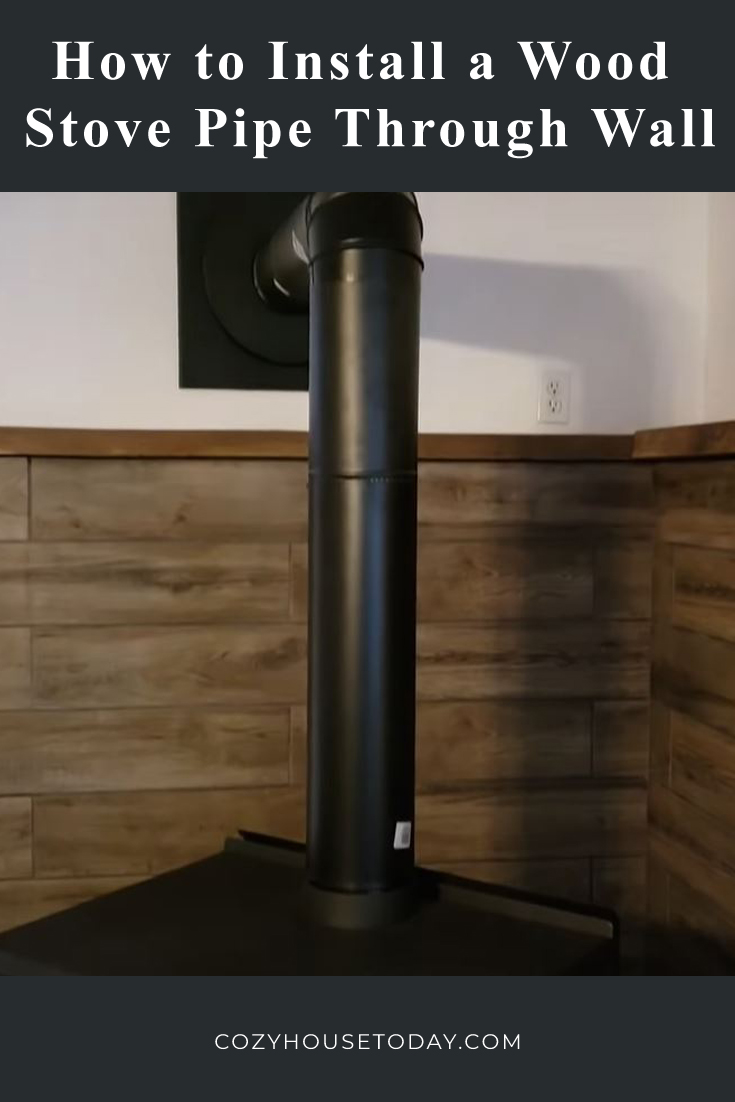
 Nowadays, people living in houses have started to look for different alternatives to heating the home. Firstly, this is due to the problem of high bills for the central gas or electric heating systems. Secondly, people want to be more eco-friendly, trying to save the bounty of nature.
The idea is worth paying attention to because some specialists believe that energy production (coal and oil shale, oil, and natural gas) has a significant impact on the environment. By the way, wood belongs to renewable natural resources.
If you have decided to install a wood stove at your home, you will ask the question on how to install a wood stove pipe through the wall. The thing to keep in mind is that following the definite rules of correct installation has a strong impact on your safeness.
There are the following tips on how to install a wood stove pipe through the wall in the right way.
1. Prepare all Necessary Equipment
You will need the following things for fixing a wood stove pipe through the wall:
- Set of pipes
- Drill, ax, screws, dowels
- Spackle
- Heat-resistant insulating materials.
2. Read the Instruction and Understand the Task
Various types of pipes have their peculiarities for fixing. We give you general advice for installation, but you need to read the added instruction before you start.
Your task is to install a wood stove pipe through the wall, paying attention to some necessary things such as the material of a pipe, way of fixing, needed holes, and essential length of the different pipe sections.
A wood stove is well-known for its possibility to warm up to high temperatures. As a result, there is a high probability of the appearance of a thick layer of soot that can heat up to 1000 degrees.
The general rule is that smoke shall go vertically upwards. A key element of the pipe’s correct work is to avoid making the horizontal adjacent area more than 40 cm.
3. Make a Hole for the Pipe
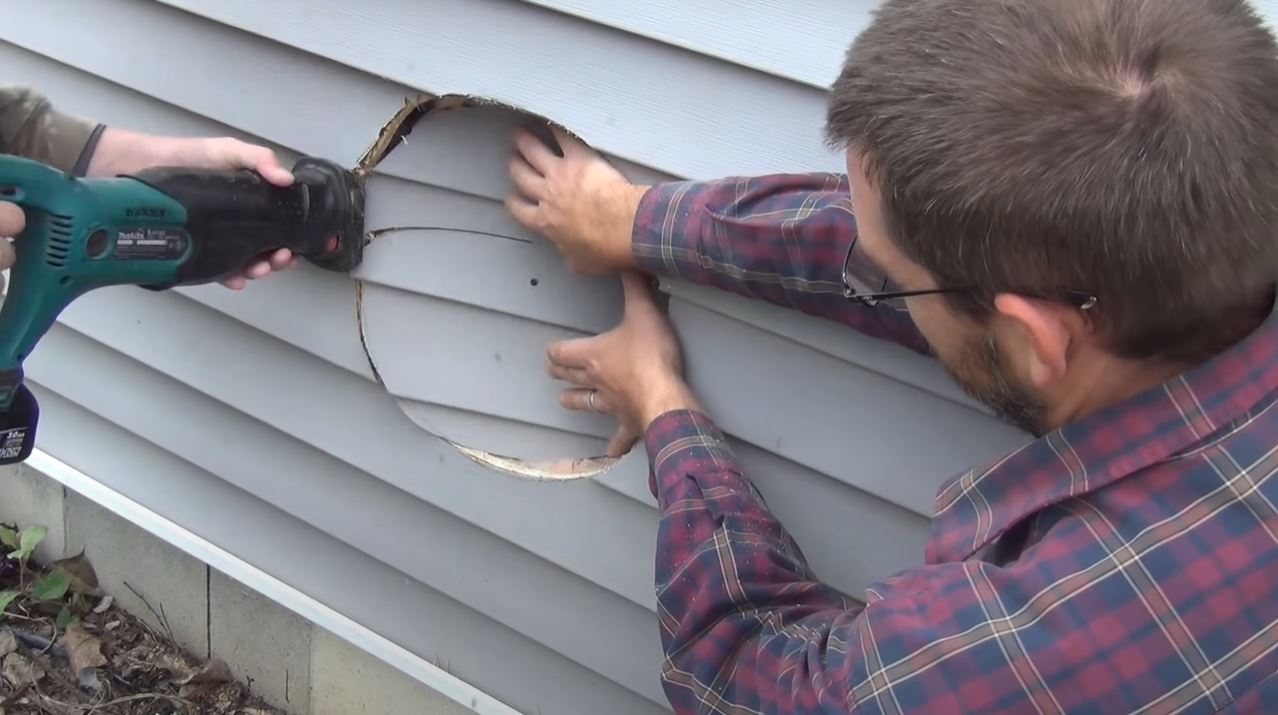
The way you want to install a pipe doesn’t change the method of making a hole. You just need to make all necessary measurements and drill a hole in the wall according to the diameter of the pipe.
Modern pipe models have adjustable nozzles and cooling systems, which are developed to exclude cracks on the facade of the house. If you work with a block of concrete or a brick wall, you will find it easy to make a hole here.
They do not need any additional preparation, except spackling the place prepared for the pipe. This process is strongly recommended to protect the wall against destruction.
You should take into consideration that thermal insulation plays a vital role while working with the wood wall. The reason lies in the peculiarities of the pipes, which can heat to high temperatures and cause a fire if the wall hasn’t been prepared perfectly.
Thermal insulation could be done by ceramic facing, heat-resistant insulating materials, basalt wool, and glass wool.
4. Install a Pipe
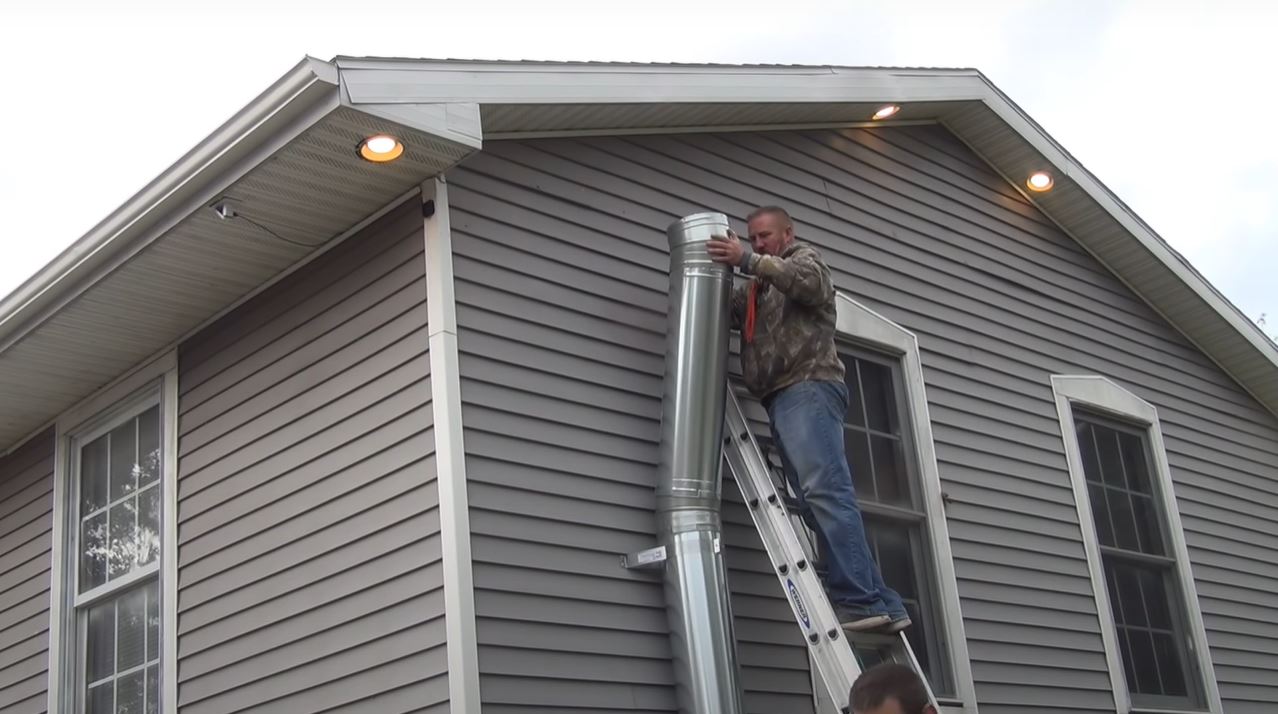
When you have coped with the previous task, follow this instruction. Some builders advise using a sandwich pipe for a wood stove that is end-of-life and more protected against smoke penetration to the system. Connect one part of the pipe to the wood stove and the other to the drilled hole using some screws. Normally, they come as a set with the pipe.
After the inside preparation, go outside and start to fix up all piping elements, including a special set of dowels, which can help you do it quickly. The task is to make a supported construction that will keep the pipe in the same position.
The vertical part of the tube is attached to the outside of the building by using special brackets. This vertical part should be connected to the horizontal adapter (part of the pipe that serves as a bridge between inside and outside parts of the pipe).
The top of the pipe must be located 15-20 cm above the roof. It will ensure the correct blowing of smoke and soot.
Experienced builders recommend not to put the chimney cap on the pipe in order to allow the rainfall to wash the pipe from time to time.
The process mostly looks like making up some blocks together. Actually, it’ll take you 10-15 minutes to combine all the parts of the pipe in one work system.
5. Check it before Usage
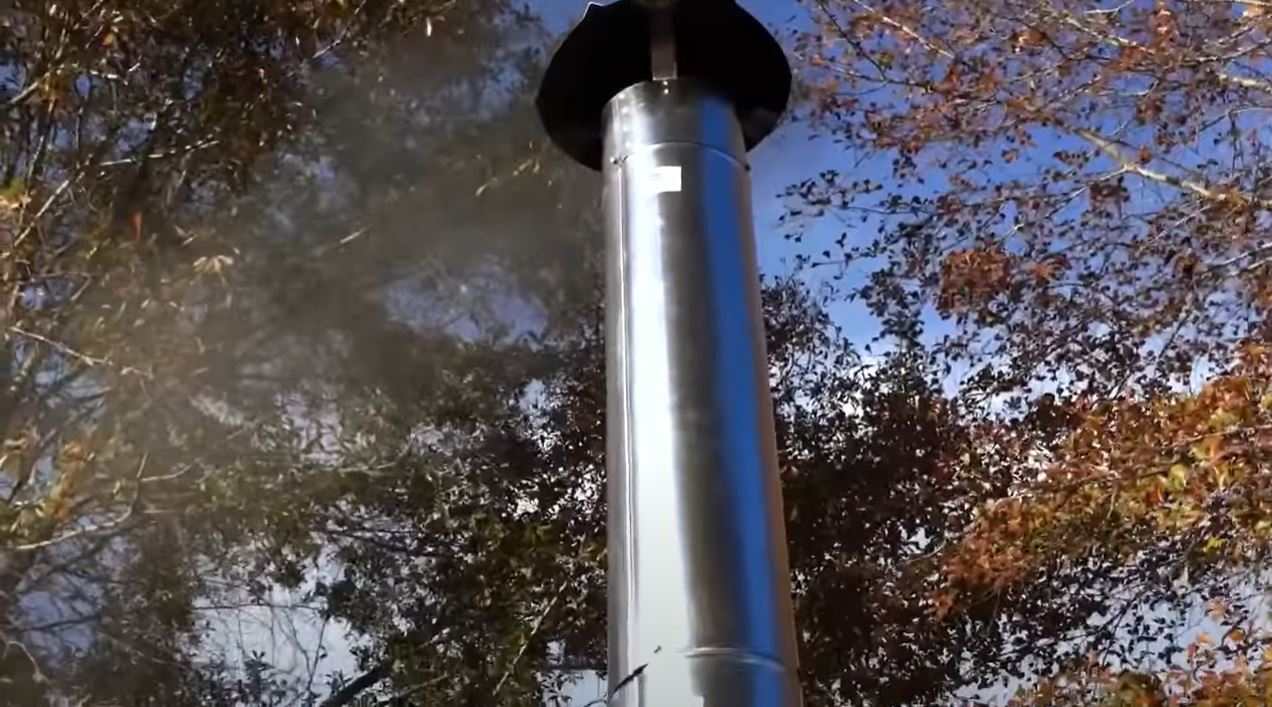
No less important process is to check the whole system you have prepared. It is a basic element before the usage of the woodstove. Before the lighting of the fire, put your hand into the stove to inspect if there is an air-draft.
Then, you can try to set fire, and if you have installed everything correctly, the smoke will drift outside through the pipe. If you can smell smoke at home, it is a sign for you to check the installation of the pipe again.
To Sum it all Up
The fixing of the wood stove pipe seems to be very complicated. But, you will cope with the task easier if you follow the instruction to the pipe and all our tips.
Choose only good-quality materials and equipment for the installation to make this process pleasurable for you. By the way, the result strongly depends on your correct work. Be attentive and calm; wish you good luck.
