 Installing a kitchen island can be an intimidating task, but it doesn’t have to be. This article will cover all the steps you need to take to successfully install your new kitchen island.
We’ll go over everything from choosing the right materials for your kitchen island to installation guidelines and what tools you’ll need.
What Should Be Considered Before Installing a Kitchen Island
Available Space
First things first, you should figure out what size of the island will best fit your kitchen. How much space can be spared for an appliance? How many people would need to use it and how often? How about storage space – do you have enough drawers or cabinets to store all those cooking utensils and appliances?
It will also help if you measure your appliances to determine what size of the island would fit them. This way, they’ll have plenty of space for proper usage and won’t be all mixed up with each other.
Functionality
How often would they need to use it? How heavy does the countertop have to support – is there going to be an oven on top of it or just some pots and pans? The answers will help you determine what type of island is best for your kitchen.
Usability
Your island should be easy to use and accessible for everyone in the family. How would they get around it? Would there be enough space on top of the countertop or between cabinets for them to move freely while cooking, baking, or just putting some plates away?
How about reaching items stored at the bottom of your kitchen drawers – can everyone reach them without having to strain their backs?
How would they open and close drawers? How about the appliance doors – will it be easy to get around them while cooking, baking, or just getting some utensils out of them?
Open, or Closed Shelving
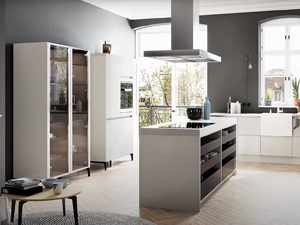
Open shelving is great for kitchens with an industrial look. However, if you’re more of a traditional person and your kitchen has some classic elements to it, closed cabinets are the way to go. How about open shelves? Is their design eye-catching enough that they would serve as additional decoration in your modern or industrial-looking space?
How much weight can those shelves hold – will they be able to carry all utensils without breaking apart under the pressure? How easy is it going to be to reach items stored on higher levels of the shelf – do I need my step ladder each time I want something from there? Shelves also come in different styles nowadays so choose wisely according to your preference.
Add-ons
Are there any extra features you would like to add? How about a cutting board, sink, or maybe even an oven at the bottom of your island?

How about slots for hanging utensils and kitchen tools on its sides – is it going to be well-organized enough that it wouldn’t just look messy after using them for few days in a row?
More than anything else, pick materials carefully so they don’t damage easily when something falls from the countertop. The last thing you want is having to replace all those appliances and parts each time kids decide to put their bikes inside your newly installed kitchen island instead of outside where they belong!
What kind of shape should I look for?
Island can have different shapes, but the most common ones are square or rectangular. How about circular islands? How much space is there between the countertop and its edges?
Can they get close enough to it to place plates when cooking something on top of your island? How high will they need to reach to put some ingredients inside drawers when baking cookies with kids during Saturday afternoon afternoons?
How big do you want them – are round islands too bulky for smaller kitchens while square ones take up too much space in bigger areas? How about L-shaped kitchen islands – how would that work out with all your appliances positioned around it. There’s nothing wrong with experimenting a little bit until you find one that fits perfectly into your kitchen.
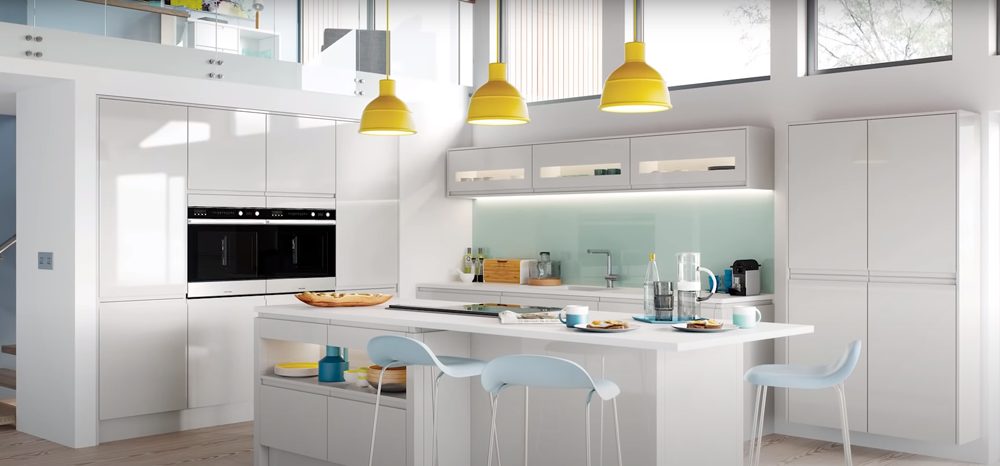
What kind of countertop should I go with?
You have plenty of options when it comes to countertops – you can pick from different materials, colors, and sizes. How about some marble or granite? They are both great for island countertops because they’re sturdy enough to withstand the weight of heavy appliances placed on top of them.
How about wooden countertops – how would they hold up against scratching from knives when chopping vegetables while prepping dinner for the family every night.
Also, consider their design – do I want sleek-looking ones that match other materials used in my kitchen or maybe wood cabinets over say metal handles.
Do not forget about color-matching either! How much lighter should the new countertop be than the existing one?
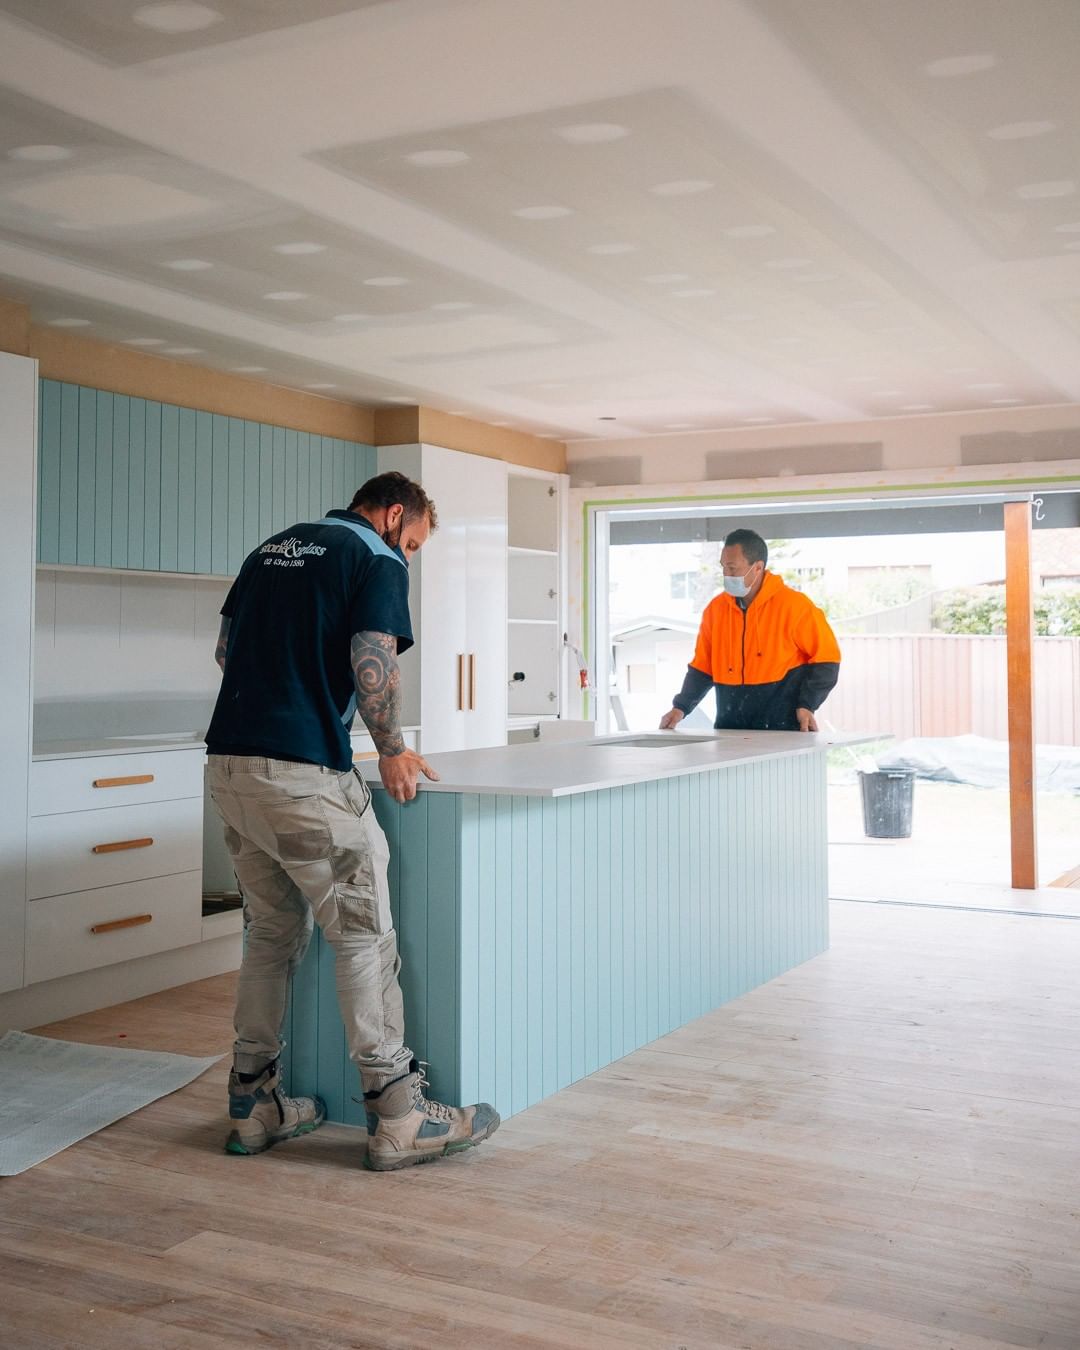
Installing a kitchen island
Prepare your appliances ahead of time
Preparing the kitchen appliances ahead of time is a good idea because you don’t want to be trying to hook up your dishwasher while balancing an island on your back. Or wait until after the island installation and then try to move it into position without scratching up your new countertop with all those tools!
Preparing appliances ahead of time will ensure your new kitchen island is functional as soon as it’s installed, and you can get to work on the rest of the room.
What tools you’ll need for the installation?
There are a few critical tools you’ll need to make sure your kitchen island goes in smoothly. While not all of these might apply depending on what type of an island or countertop it is, this list should give you a good idea:
- power drill;
- electric screwdriver;
- powered saw;
- hammer and nails/screws/cement anchor bolts.
You’ll also need a measuring tape to get the size of your kitchen island matched up with the cabinet dimensions, and you should be ready if any plumbing needs to come in behind it.
There are several ways that an entire family can pitch in during installation, so it’s a great bonding activity. Kids can hold tools, measure lengths of wood or metal for cutting, and hand your things that are out of reach.
Be careful with electric tools and appliances
If the room is not already wired for electricity (or your cabinets aren’t pre-wired) now might be a good time to do that before continuing with this.
Always take precautions like wearing goggles or safety glasses if need be, especially around powered saws. There’s nothing worse than cutting into something only to have it fly right back at you!
And don’t forget about those fumes either from all of these new appliance installations going on in here – don’t get caught without ventilation! Keep windows open during installation whenever possible.
Follow the instructions provided by professional installers
If you’re installing it yourself, be sure to read through the instructions carefully at least twice before starting. If any questions remain answered after this point, call your installer’s customer service line and get them answered by a professional kitchen island specialist! They will help you do everything right.
Following the instructions provided by professional installers is important so you don’t put something in wrong or miss an instruction altogether! This could cause big problems later on down the road with your island installation process.
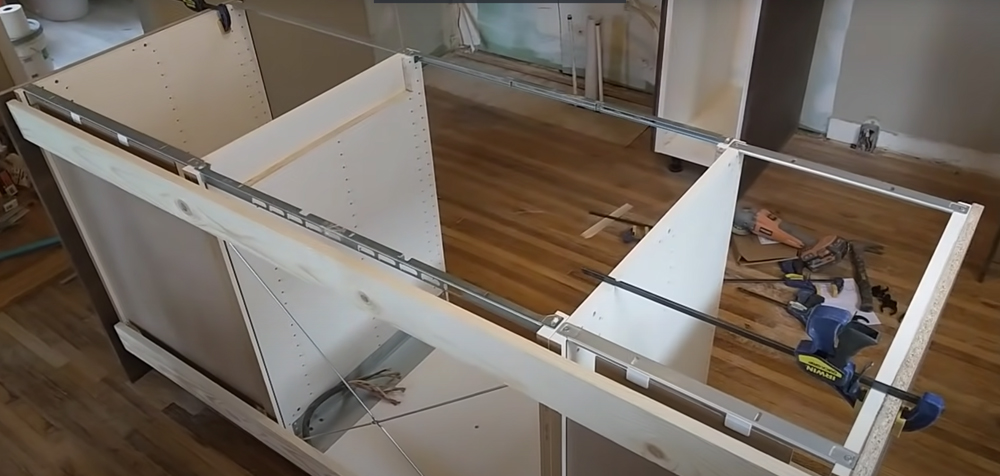
How do you attach a kitchen island to the floor?
While you may not want to attach it directly to the floor, for stability’s sake you probably will. How do you do so?
There are a few different methods of securely fastening your island. Some materials can be nailed right into the floor itself, such as with pine or fir floors, but we recommend using cement anchor bolts if possible in this case since they provide more support and durability than nails alone could ever hope for!
Simply drill through any existing cabinets that might obstruct direct access above where your anchors need to go and then screw them in with their attached washer and nut set.
This should ensure your new kitchen island installation stays put even when someone bumps hard against it.
What kinds of materials are available?
The materials you’ll want to look at include (but aren’t limited to) stainless steel, solid wood, laminate core plywood over fiberboard. There’s also there’re laminated on MDF or particleboard cores with paper veneers glued onto them for finishing touches like color options.
They’re all very inexpensive of course since these types of islands can be mass-produced overseas but still, vary widely by price depending on what kind you go with! When it comes down to comparing materials though, there isn’t much of a difference between any two that will make a real impact on your cooking experience.
Each one is going to require some level of routine cleaning and upkeep, but the amount required will differ from material to material depending on what you’ve got in there. How long each will last before needing replacement parts or more extensive repairs comes down to how durable it is -and- how much traffic goes through that area!
For example, stainless steel islands with their sleek looks are great for showing off purposes, but they won’t be nearly as efficient if there’s always going to be people bumping into them throughout most days of the week. You might want something a little sturdier with perhaps a bit less shine so you can avoid scratches and dents along its surface when things get crowded around
What is the average length of time to install a kitchen island?
The time it takes to install a kitchen island can vary greatly depending on how much customization you want and the materials used. How long it will take for your island to be ready for use is depend on whether you plan to hire someone else out or if this is something you’re planning on doing yourself too!

How complex those installations are also playing into things as well, so just keep that in mind before committing fully one way or another. Average installation times should typically fall somewhere between half of a day and three days total – but again these numbers could swing drastically in either direction depending on what’s involved with each case specifically.
The more complicated the job at hand becomes, the longer it will probably end up taking until everything’s done properly. How long it takes to get your new island up and running will also depend on how much cleanup has to be done around the area where you’ve got everything set up.
If there’s a lot of dust or debris left behind, then expect more time spent cleaning things before using them again!
How strong is a kitchen island?
In terms of how strong they are, kitchen islands tend to be pretty durable as long as you’ve got a good foundation laid out for them. How much weight each will support depends heavily on the materials used and whether or not it was installed correctly in the first place!
A lot of natural wood can handle up to 300 lbs. Without any kind of trouble at all depending on what type of wood is being used here.
Cement anchors bolts should provide more than enough strength too if your flooring system allows them although this obviously won’t apply for every case where someone’s trying to install one from scratch into some new construction building with an unfinished floor underneath.
Other options include using masonry screws that’ll go right through any surface – even metal ones- and anchor down into the subflooring below.
How much weight that can hold will again depend on what material is being used for your island itself though, but all in all it’s typically safe to say you should be fine once everything’s properly installed and secured!
Conclusion
When it comes down to properly planning out your kitchen island installation, it’s always best to have a good idea of what you’re looking for before anything else. How much customization do you want? How high up off the ground is it going to be positioned at? How much weight can each material support without showing any signs of slowing down or a potential risk for a total collapse?
How much space is available in the surrounding area to work on things with too? Making sure you’ve got an idea of what needs to be done before anything else can help avoid any costly mistakes down the line.