Planing wood is a great way to save time and money. The problem is that many people don’t have the resources or space for a planer, so they’re stuck having to buy expensive pre planed boards from the store. If you find yourself in this boat, fear not! There are several ways you can plane your wood at home without any fancy equipment! In this blog post, we’ll go over 8 different techniques for how to plane wood without a planer so that your next project is as easy as possible.
Ready to get planing without a planer?
Do you need to plane wood but don’t have a planer? Don’t worry, the internet is full of tutorials on how to do it! Here are 8 different methods for doing so.
Plane wood with a router
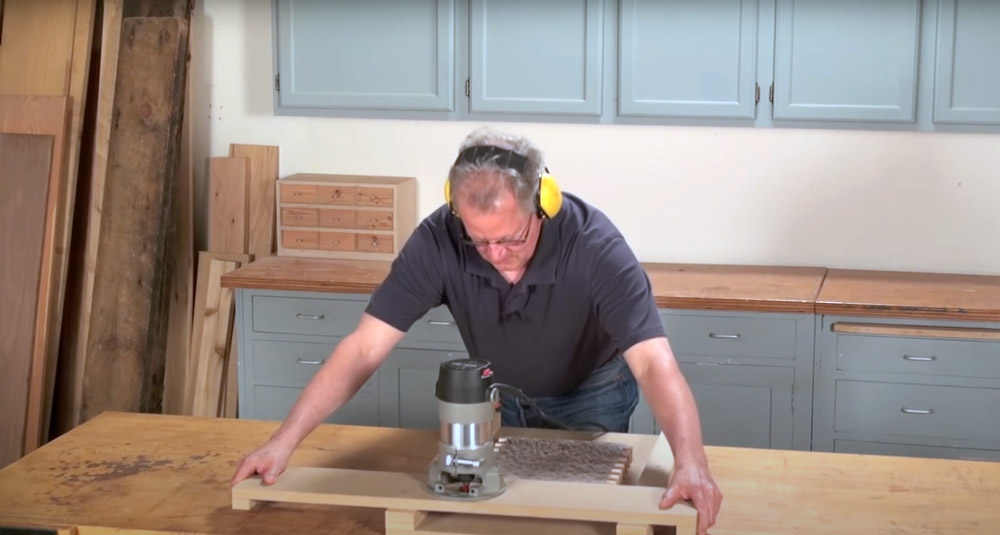
Use a router and straight bit. If you have the right kind of router, it can be used to remove wood in much the same way as a planer machine does when paired with an appropriate straight edge guide (e.g., Triton TRA001 Router Edge Guide ). You’ll need to set your depth accordingly for each pass.
Use a drum sander
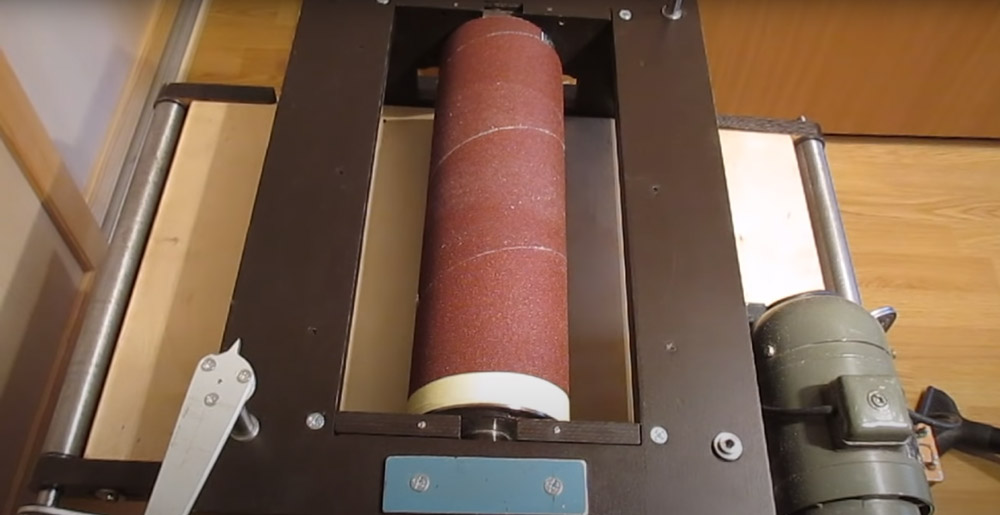
If you have a drum sander, it can be used to plane wood. You’ll need to set your depth accordingly for each pass.
You will probably want an angle guide so that both faces of the board come out parallel after using this method since Drum Sanders usually doesn’t allow you to adjust angles easily.
If you have a router table, attach an appropriate straight edge guide and use it to plane the wood.
Sanding with a belt sander
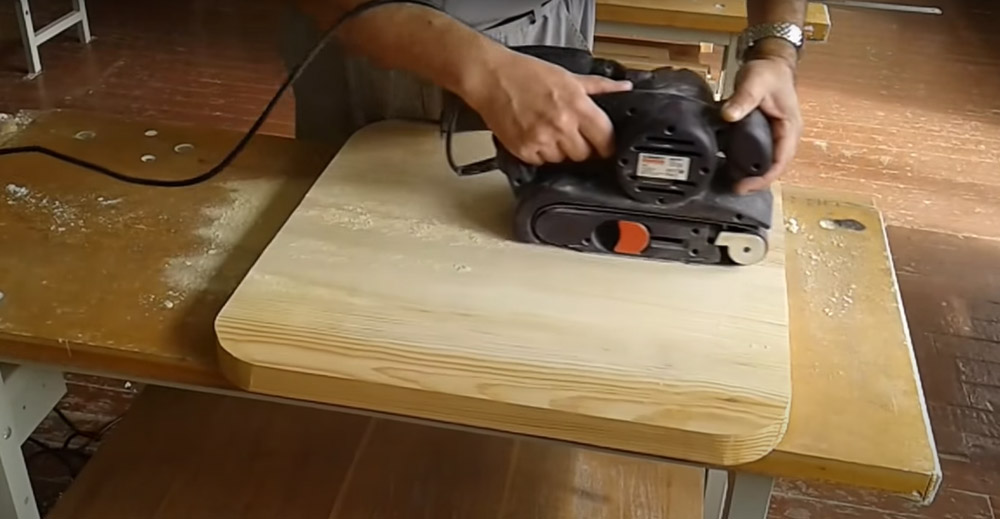
A belt sander can be used to plane down your stock in a similar way as using a planer. Be sure to use the coarsest grit sandpaper that will still give you the desired results, and take multiple lights passes rather than trying to go too deep on your first try.
Note: Most handheld belt sanders are not powerful enough to remove much material when working with hardwoods like maple or oak (the same is true of random orbital palm sanders). However, some heavy-duty models claim the ability to tackle rough stock and this could work for smaller pieces if they’re clamped down well.
Table saw
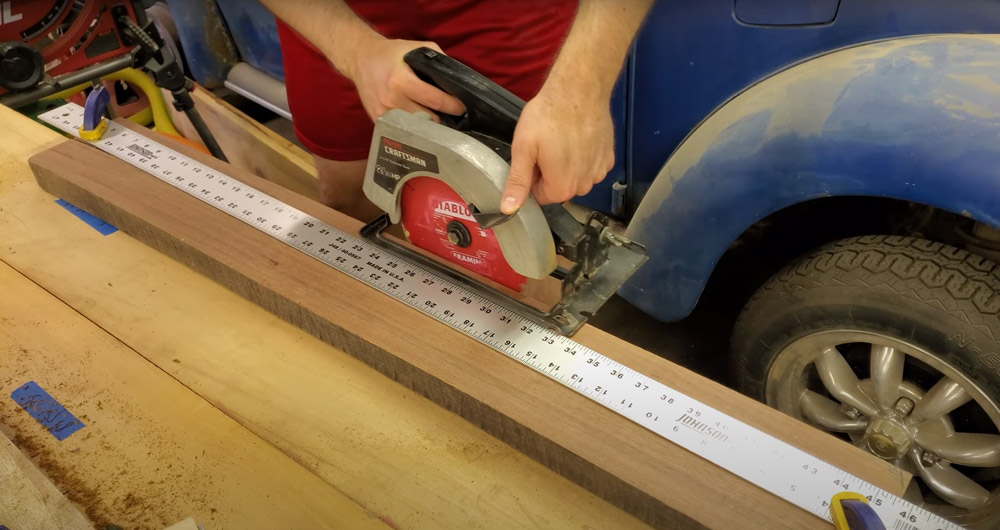
You can use a table saw to plane wood. To do this, you’ll need to set the blade height at its maximum and then make passes across the board, taking care not to let your fingers get too close to the blade.
You could also try using a dado stack to create a rabbeted edge on one side of your board which will give it more stability when trying to use methods like those listed above that rely on an edge guide.
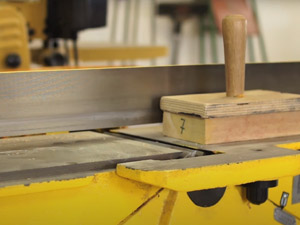
Vertical band saw
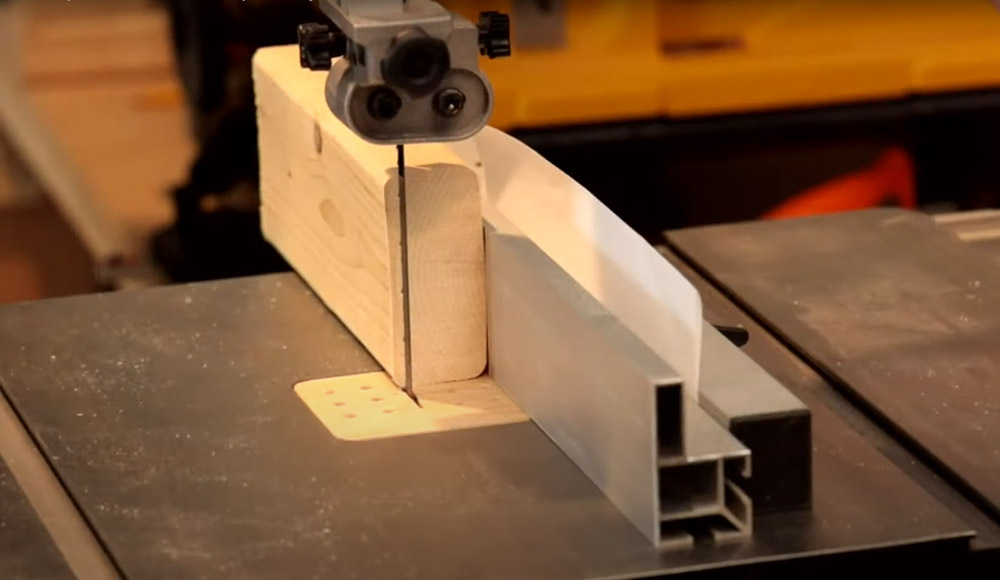
A vertical band saw can be used to plane wood, but you will need a guide of some kind to make sure the board is held flat against the blade. A miter sled would work well for this purpose on most models.
You may also want a sacrificial fence or similar bar that holds your stock down firmly as it goes through the saw so that you’re able to remove big chunks at a time without worrying too much about kickback since this method involves cutting from both sides simultaneously which could potentially cause problems if your piece gets bound up between those two blades and kicked back toward you abruptly.
If possible, adjust your speed so that larger portions are removed with each pass instead of trying to go deep right away as mentioned above.
Use a jointer
If you have a jointer, it can be used to plane wood. Be sure to set the depth of cut according to how much material needs to be removed and take multiple lights passes rather than trying to go too deep on your first try.
This is by far the most foolproof way to get perfectly parallel faces on a board if you’re starting with lumber that isn’t already surfaced (e.g., planed down on one or both sides). In addition, using a jointer will give you a straight edge which can come in handy for subsequent steps in many woodworking projects.
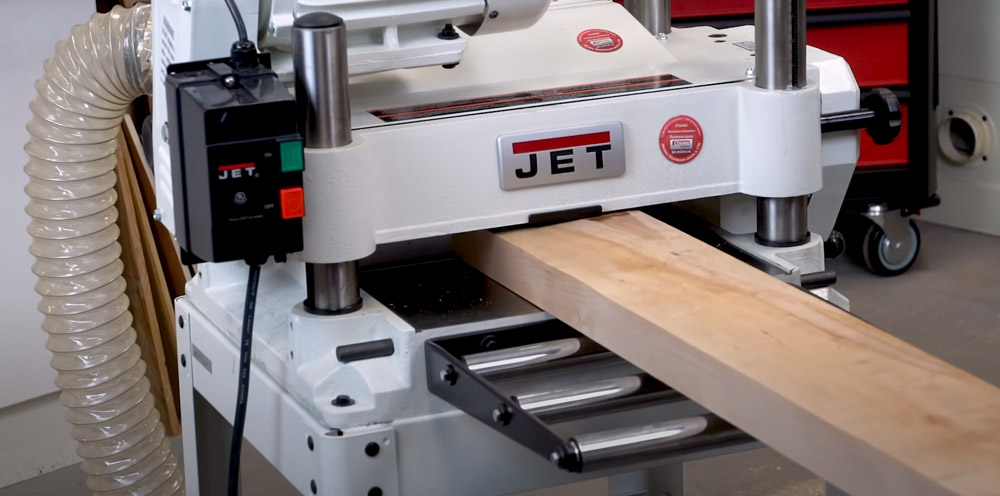
Note: A thickness planer could also theoretically be used as a makeshift joiner, but this would require more skill and experience to use it safely, and the results would probably not be as good.
Manual sanding
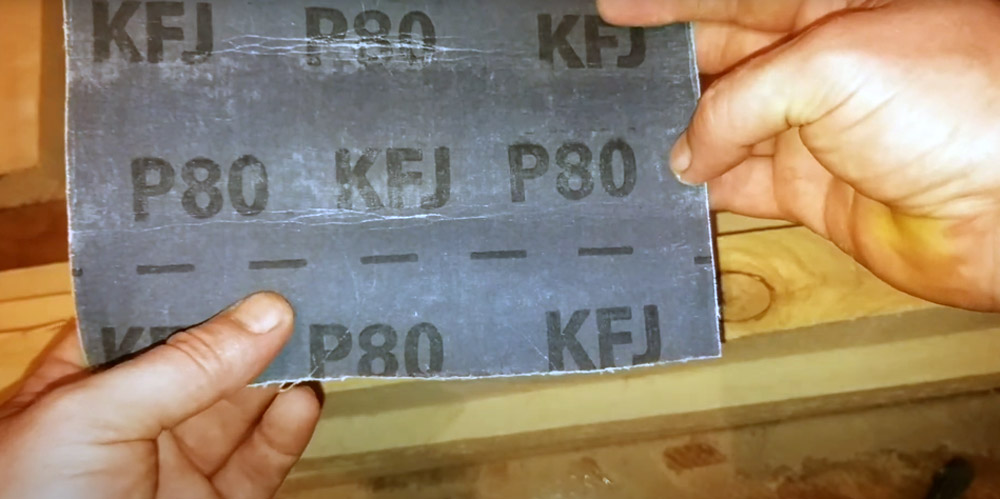
If all else fails, you can always resort to good old-fashioned manual sanding. This is the slowest way to plane wood, but it can be done with just about any type of sandpaper and a little bit of patience. Start with 80-grit paper and work your way up to finer grits if needed. Be sure to use a sanding block (or at least something flat and rigid) so that you’re able to apply even pressure as you move the paper across the surface of the board.
Take your time and go slowly—you’ll get better results this way. If there are any high spots or ridges on the wood, concentrate your efforts on those areas until they’ve been flattened out. And finally, don’t forget to finish up by sanding the edges of your board until they’re nice and smooth.
Take it to a cabinet maker
If you’ve tried everything and still can’t seem to get the results you were hoping for, your last resort is probably taking it over to a cabinet maker. Some people will be able to plane wood successfully with just about any type of tool as long as they have enough experience using that tool safely, but others may need access to specialty equipment such as those mentioned above to do so effectively or at all.
Note: If you’re not sure whether this applies to you, then find someone who has had success doing what you’re trying to accomplish and ask them if they mind helping out. It never hurts (and might even save your project)!
Conclusion
When you’re in the process of woodworking, it’s important to have all the necessary tools on hand. One common tool that many people are missing is a planer. If you don’t have one handy or would rather not purchase one, there are still plenty of ways to plane wood without a planer! In this blog post, we have reviewed 8 different techniques for how to plane wood without a planer so that your next project is as easy as possible.
There are several ways to plane wood without a planer, but the ones listed above are some of the most common and easiest to execute. Be sure to try each one out and see which works best for you—everyone’s setup and preferences will be different. And as always, practice makes perfect!
Happy woodworking!