Making a concrete sink is an excellent way to add a unique, custom touch to your bathroom. One way to make a concrete sink is by making a mold. The process of creating the mold can be difficult, but it does not have to be. This post will show you how to make the mold for your sink from scratch! Read on for all of the steps and necessary materials.
Concrete sink molds – what they are & how to use them
Making a mold is a great way to make sure you have the perfect sink. There are a few different types of molds you can use, but the most common is the simple box mold. This mold is made from two pieces of wood or PVC that are joined together to create a box. The sink will be cast in the bottom of this box.
How to make a concrete sink mold?

To make the mold, you will need to measure and cut the pieces of wood or PVC according to the size of your sink. You will also need to drill drainage holes in the bottom of the mold. Once the pieces are cut and drilled, join them together to create the box mold.
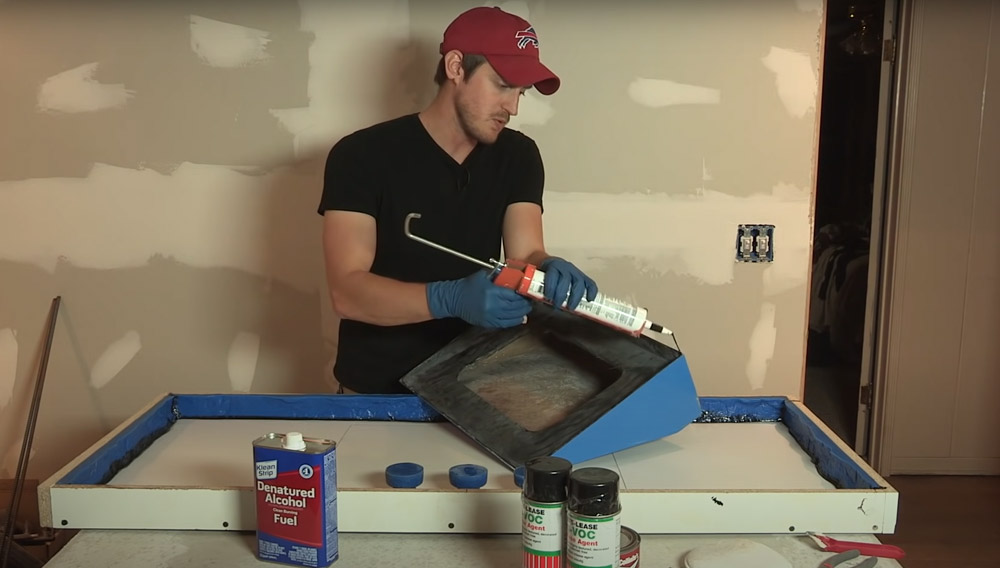
Make sure that the seams are sealed well so that the concrete does not leak out.
DIY concrete sink mold
Concrete sinks are expensive, but they can also be made easily. You don’t have to spend hundreds of dollars on a sink that you will only use for one purpose either. How about that for an easy weekend project?! Here is how to make your concrete sink with just a few supplies and some basic mold making skills:
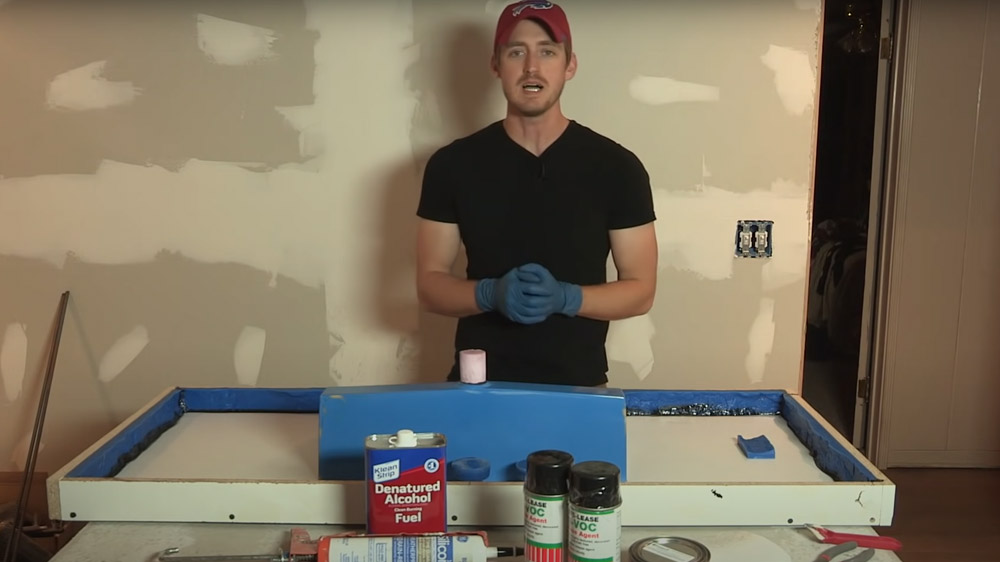
Step 1: Materials and Tools to make a concrete sink mold
- Two pieces of wood or PVC cut to size according to sink measurements.
- Tape Measure & Pencil.
- Saw (you could also use a hand saw).
- File or Sandpaper for smoothing rough edges, if necessary.
- Drill.
- Box Cutter or Small Flathead Screwdriver to pry open mold seams after poured.
- Duct Tape for sealing the drain hole in the bottom of your mold (optional).
- Hole Saw Bit that is slightly smaller than the size of drainage holes you will drill into the box.
- Portland cement, sand, and gravel.
Step 2: Building the lower form
- Place one of the smaller pieces of plywood in one corner and nail it in place with a brad nailer.
- Nail in the other long piece of plywood in the opposite corner.
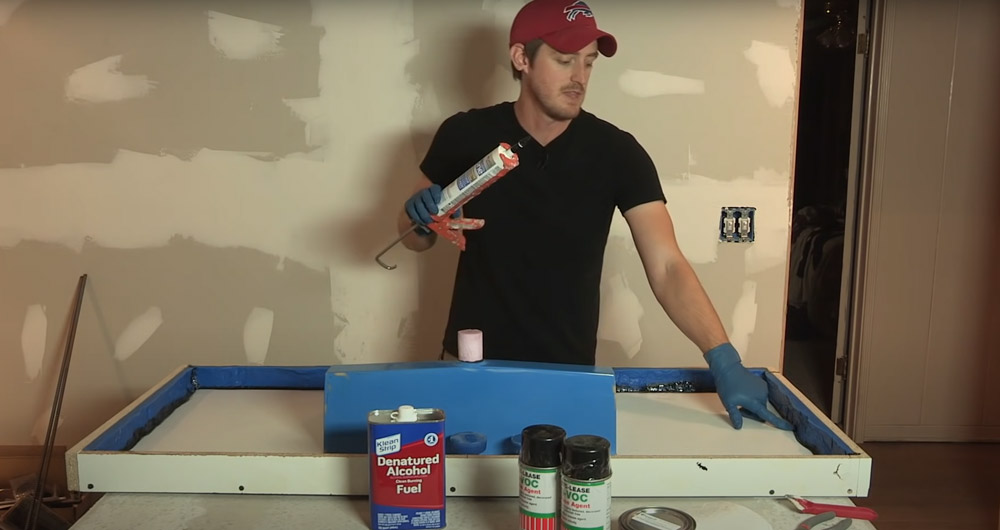
- Tape off any unfinished edges with blue tape.
- Cover all surfaces that will be exposed with polyurethane or another sealant.
- Allow 24 hours for drying before proceeding to the next step.
- Taking the larger piece of plywood, measure out the dimensions of your sink and mark them off on it.
- Cut an “X” at each corner where you marked it to square up everything so your mold is nice and square when finished building it.
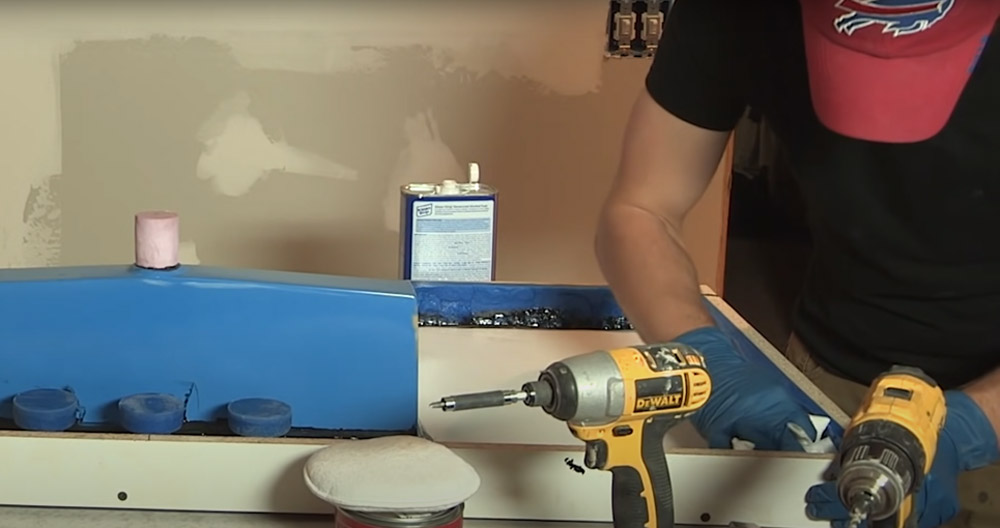
- Use screws or nails set into countersunk holes with flat heads to attach two boards along all four edges of the bottom portion of the plywood number (one board meeting flush against every side). Make sure they are positioned perfectly parallel before screwing/nailing them down.
- Now that the lower form is dry fit, it’s time to cut out holes for faucets. Draw circles on one side of your sink mold and mark where you want your water lines to be placed – this will ensure equal spacing between them. Cut these openings using a jigsaw or hole saw drill bit, depending on the thickness of your concrete pour (most people use ½” thick forms.)
Step 3: Building the Upper Form for a concrete sink
- Mark out the center of your sink on the larger piece of plywood that will be used to make the upper form. This can be done by drawing a circle.
- Cut out this circle with a jigsaw or hole saw drill bit.
- Next, use a chamfer bit to smooth any sharp edges caused by cutting.
- You may also need access to the bottom to add PVC pipe extensions when pouring.
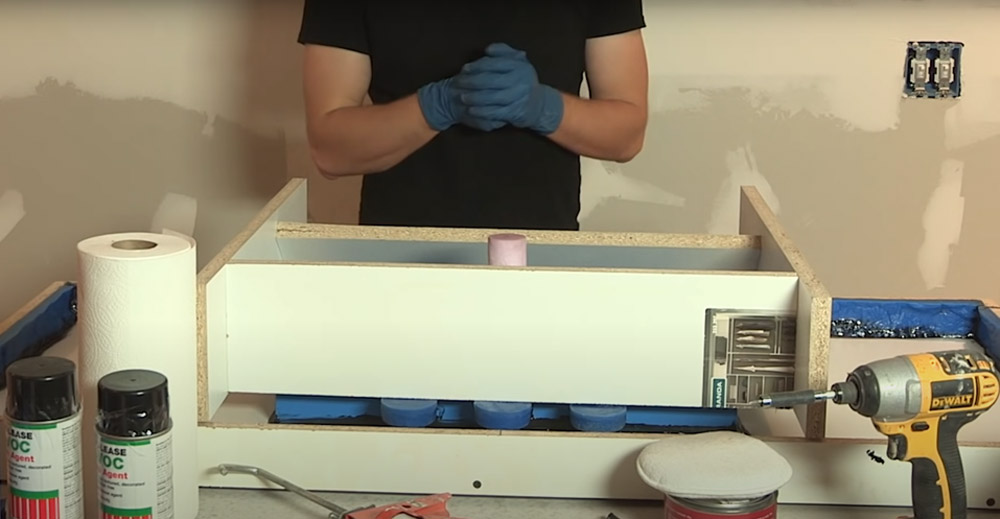
- Now it’s time to add the sides of the mold. Cut four pieces of wood that are slightly smaller than the opening you just cut out and then attach them using clamps and screws.
- Make sure that the sides are all flush against each other and then sand them down so they are nice and smooth.
Step 4: Pouring the Concrete

Once the forms are assembled, it’s time to mix up some concrete! For a standard sink mold, you will need about 60 pounds of concrete.
You can use any type of concrete that you like, but if you’re looking for a high-quality finish we recommend using Sakrete Countertop Mix.
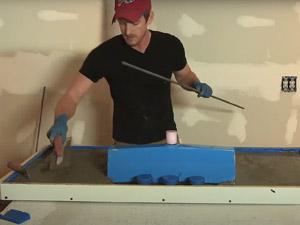
Once the concrete is ready, pour it into the mold and spread it around with a trowel or spatula. Make sure that the entire bottom of the mold is covered in concrete and that there are no air bubbles trapped in the mixture.
Next, insert your PVC pipe extensions (if needed) and use a level to make sure they are straight. Let the concrete dry completely (this could take several days).
Step 5: Dismantling of the finished structure
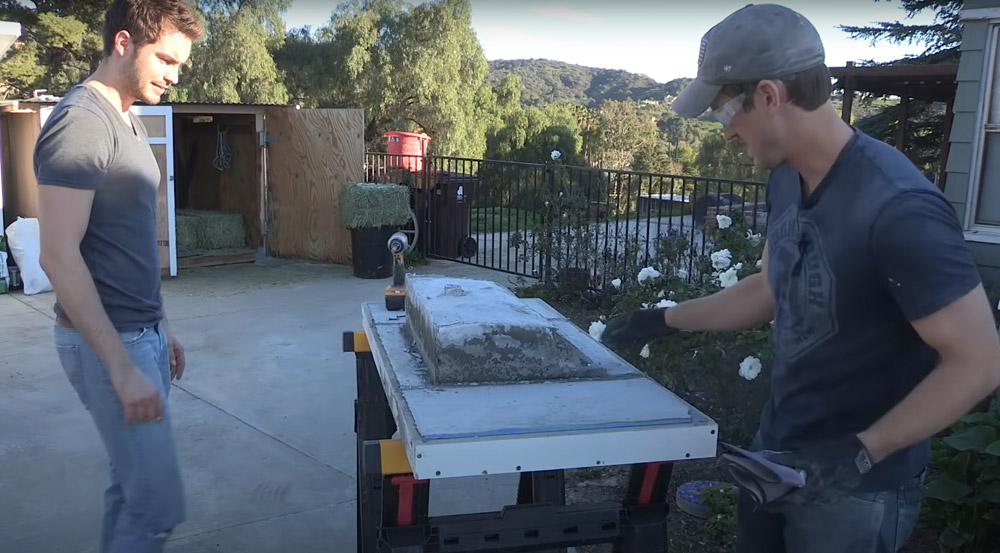
Once drying is complete, remove the upper mold and flip the sink over. Cut out any remaining holes that will allow water to flow from the faucet lines.
Attach PVC piping extensions to the lower form using plumber’s putty if they are not already attached for a seamless transition from sink to piping. Cut a hole in your wall or lay cement board so you can run plumbing down to the bottom of the concrete sink.
Trowel a layer of mortar onto one side of your concrete form and press it lightly against the backside of your basin so it sticks. Add as many as you need to fill up any gaps between your walls and your custom structure. If you’re building on a floor with tile, you will need to grout the entire surface around your new concrete sink.
Now that everything is in place, it’s time to let the mortar cure for a few days before using your brand new concrete sink!
Step 6: Finishing sanding

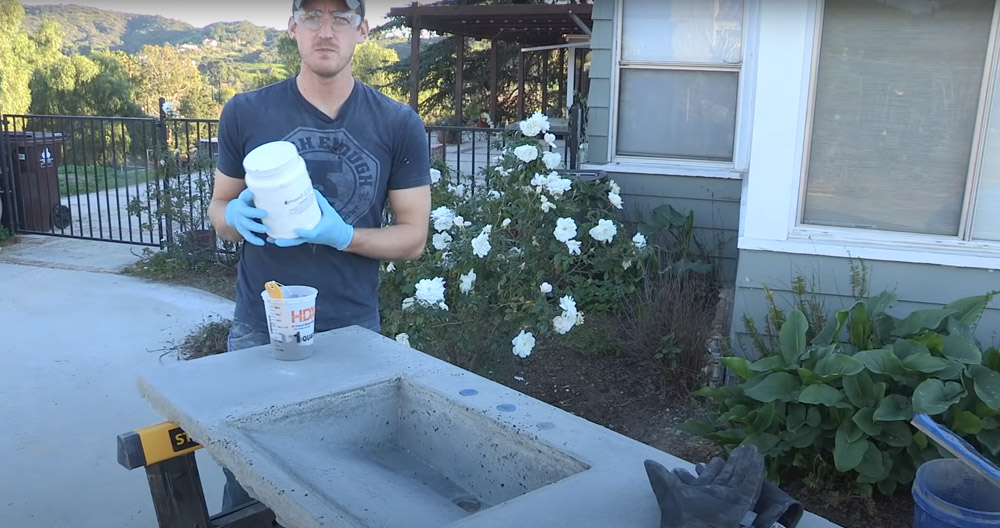
Once the mortar is fully cured, it’s time to sand down any rough edges and give your sink a nice finish. We recommend using 80-grit sandpaper for this step.
Next, use a sealant like concrete wax or lacquer to protect your new concrete sink from staining and fading over time. Apply two coats for maximum protection.
Conclusion
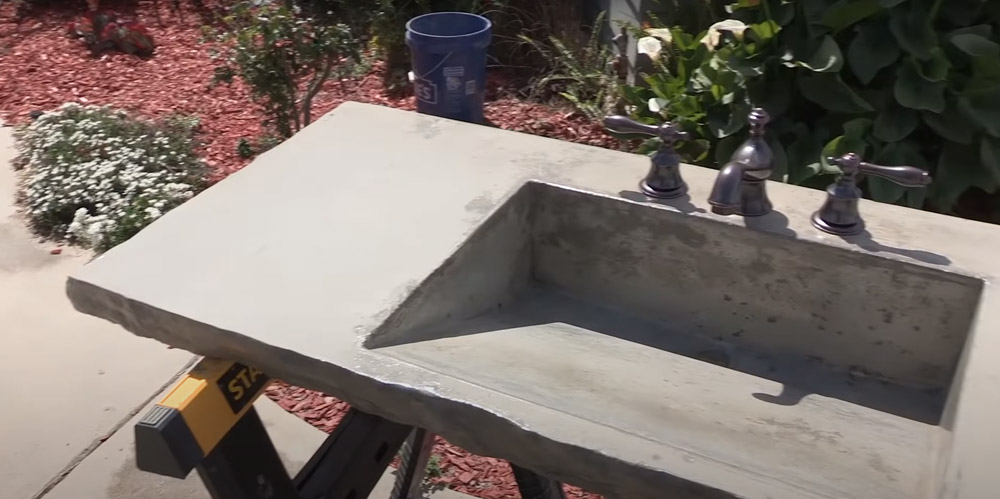
There you have it! Your very own custom concrete sink. Enjoy! Now, fill up the new concrete sink with water and marvel at its strength! You’ll never have to worry about breaking this bad boy again – unlike porcelain sinks which are prone to cracking over time if dropped on tile flooring.
How cool would it be for someone just starting their home improvement project? Or maybe even having some fun in their backyard working on an outdoor kitchen area! There are so many different projects that could be done with this type of mold!
If you have any questions, feel free to leave them in the comments section below! Thanks for reading!