 I love hand-splitting my own firewood but then again, I also love working out. I get to do both when I engage in this activity.
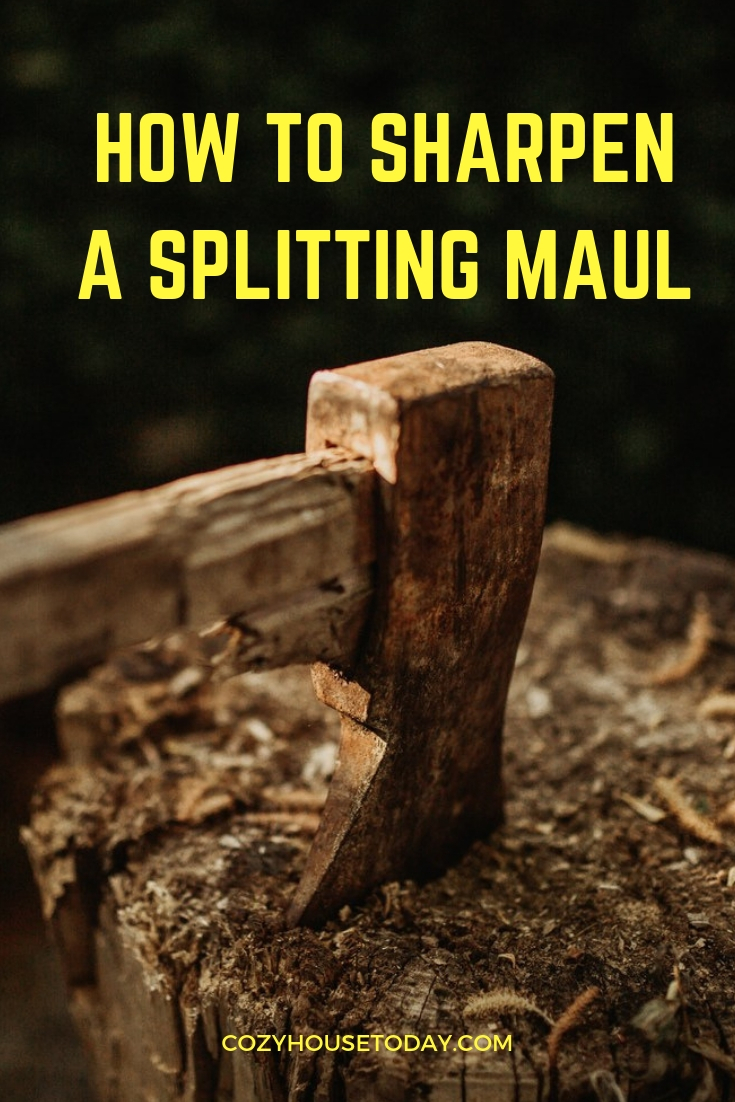
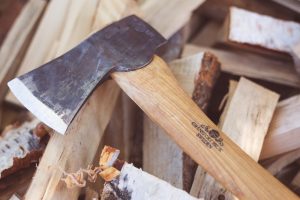
I have found over the years that the best tool for the job, the one that will give me a good workout but not pushes me to the point of torture, is a splitting maul.
Most woodmen, and of course the occasional firewood cutter, know a thing or two about this long & sharp tool that can cut the trunk of a tree into tiny pieces of wood.
Yet at the same time, many of them do not know the proper way to sharpen the head of a splitting maul so that it has a real sharp edge to it – so that it cuts like Thor’s Stormbreaker and not a butter knife!
Do you want to know how to do this?
I would expect so as you are still reading. Anyway, the edge of the maul should not be dull or dinged as this is going to make it very hard for you to cut a complete face cord (i.e. a pile of wood 4 feet high & 8 feet long) or a decent amount of wood for your fireplace, whichever the case may be.
There are many ways woodsman sharpen their maul, but for the sake of brevity, I am going to give you the easiest one, at least in my humble opinion, and then some other ones just so you have a few more tricks up your sleeve in case you need them.
First, let’s take a look at what you are going to need to sharpen your splitting maul the right way.
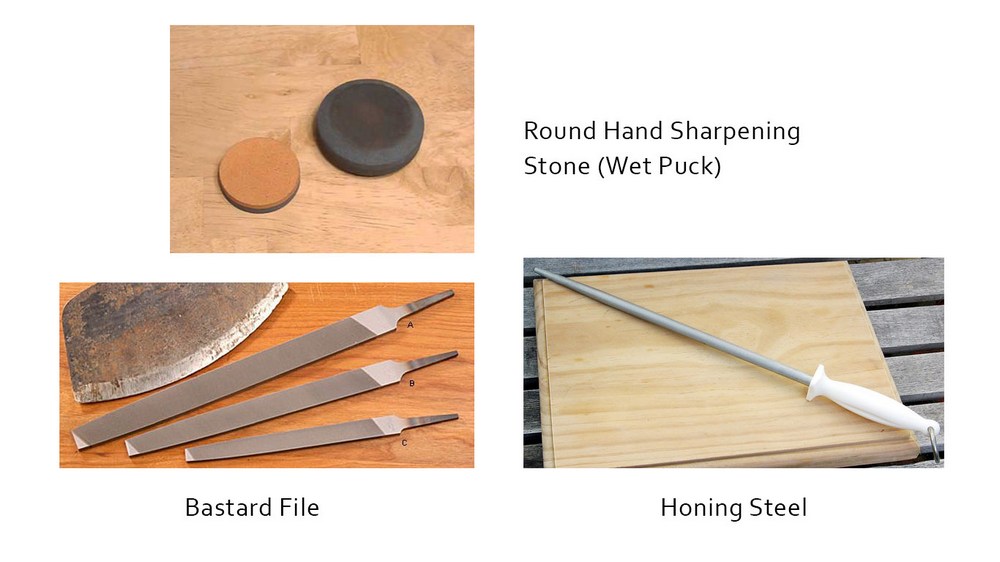
Sharpening Tools (What You Will Need)
In the upcoming section, I will outline when, where, and how to use each of the following tools. For now, let me just list them out so you will know what you need before starting your maul sharpening process.
The Easy Method
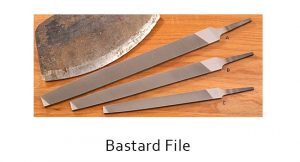 That’s right, I said Bastard – that is actually what it is called.
There are many kinds of Bastard Files – many shapes, many sizes, with handle & without – but I recommend that you use a 12-inch one as it is the right size for a maul (easiest to use for sharpening it) and can be used for your other sharpening needs no matter the tool or its size.
A 12-inch Bastard File is kind of an all-purpose file and will be able to sharpen most of your tools with relative ease.
How to Sharpen an Axe or Splitting Maul:
The Middle Method
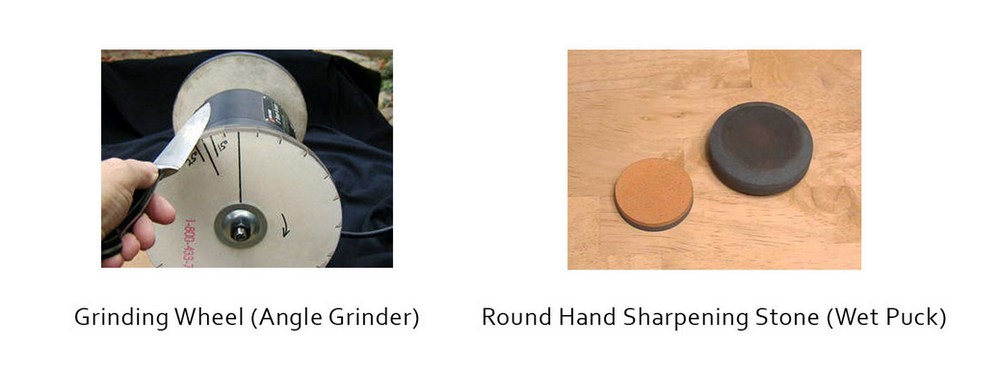
The middle method requires two sharpening tools. The first one to grind the edge of the maul and the second one to remove any rough edges due to the grinding (detailed directions will be given in the next section).
The Exhaustive Method
The exhaustive method of sharpening a maul is just that – exhaustive! It is a bit overboard but it will get your maul so sharp that it will not only cut through Oak and fine enough to split a fine hair that has fallen off your head!
*** Also, it goes without saying but let me say it any way that you should use safety glasses and protective work gloves when engaging in any cutting job. As the saying goes, “Better safe than sorry!”.
3 Methods For Sharpening Your Splitting Maul
Let’s get down to the nitty gritty, shall we?
The Easy Method
Step 1
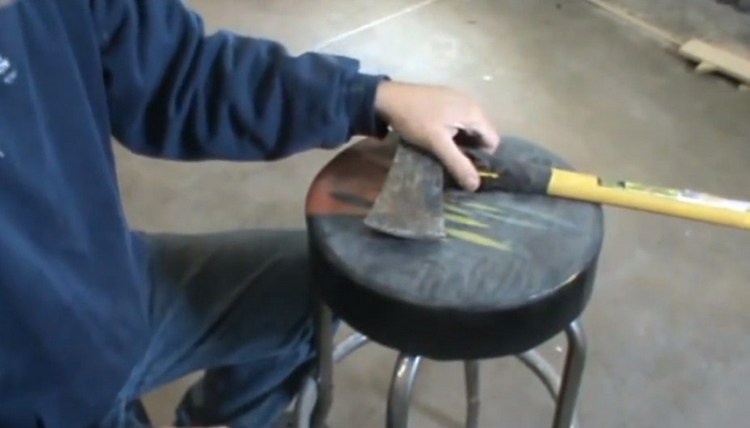
Lie your splitting maul on a low bench or stool (if you are seated) or table (if you are standing) so that the maul itself is lying sideways, sharp edge facing to the right side away from your body.
Step 2
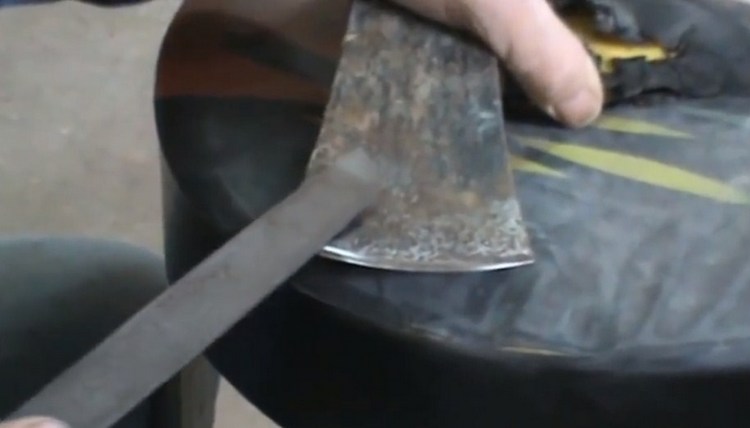
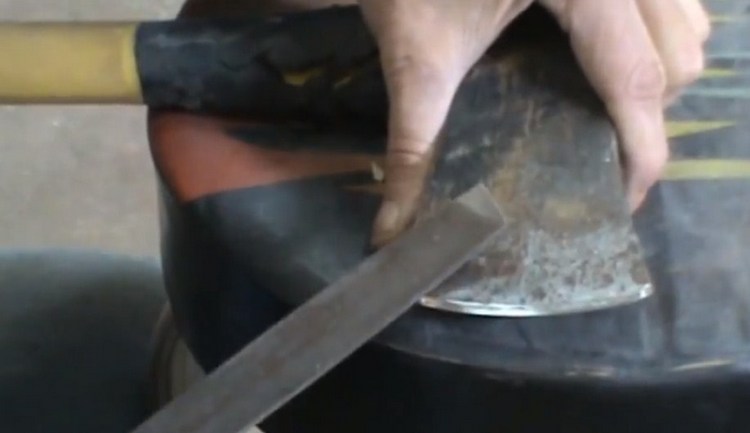
Rub the Bastard File across the edge of the maul in an upward fashion – up but not straight up, angled slightly away from you. Make sure you use fluid strokes and go all the way across while filing.
Start from the closest edge and run the file across to the edge furthest away from you.
Step 3
Turn the maul over and repeat the process on the other side.
How To Sharpen Your Splitting Maul / Axe Maul:
This is definitely the simplest method out of the 3 mentioned here in that it requires only one tool to perform the job and really only one movement.
Easy, however, does not mean ineffective. It should give your maul edge the sharpness it needs to split your firewood.
The Middle Method
Step 1
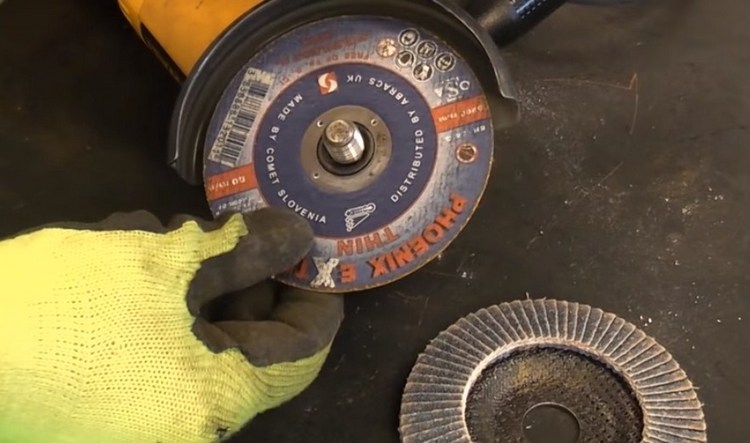
First, set up & install your angle grinder disc.
Step 2
Lock down the grinder with C-clamp to a metal table.
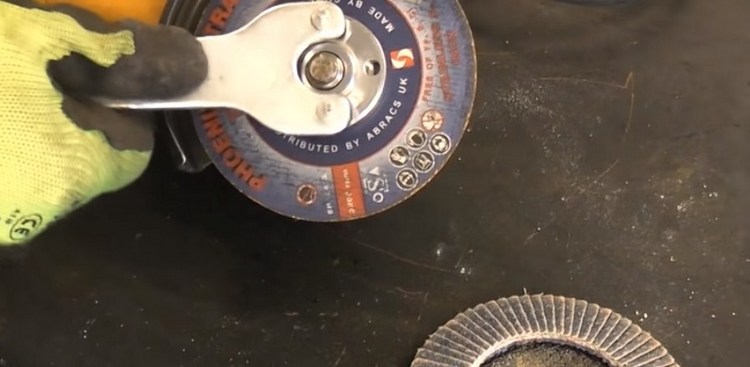
Install angle grinder disc | Angle grinder safety:
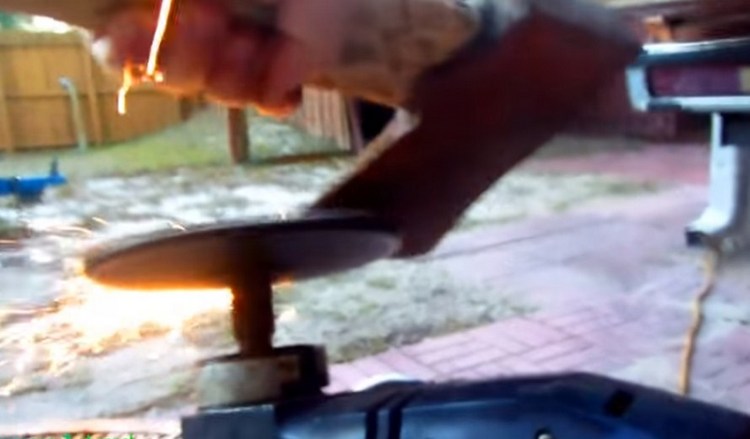
Step 3
Start the grinder and bring the edge of the maul against the disc wheel. It will only take about 10 seconds max to sharpen the edge.

Step 4
Now repeat the process on the other side.
Fast Way to Sharpen & Maintain an Axe & Maul:
*** Be sure to wear a protective shield as the grinder and maul will spit off sparks.
**** This process should only take you 1 or 2 minutes. Don’t use the grinder method too much because it really takes off the steel. Some people may object to not using a bench but if you clamp it the way the video below shows, you should be OK. It’s quick and fast but too much use and you will thin your edge to almost nothing.
Step 5
If the edge of the maul is dull or damaged use the dark side portion of the hand stone. If the edge is in okay condition, use the lighter side of the puck for sharpening your maul.
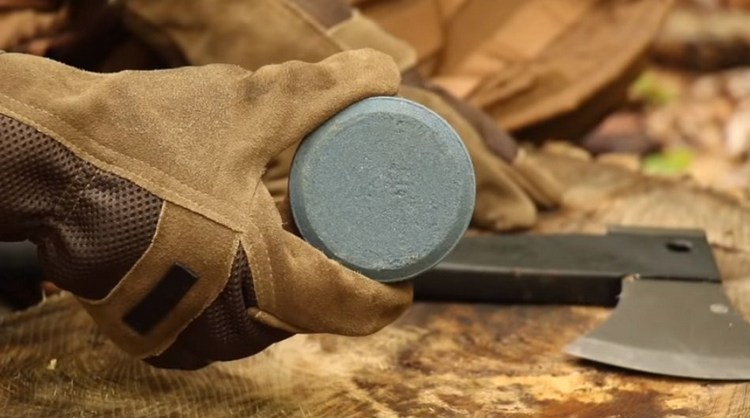
Step 6
Add water to the hand stone before sharpening.
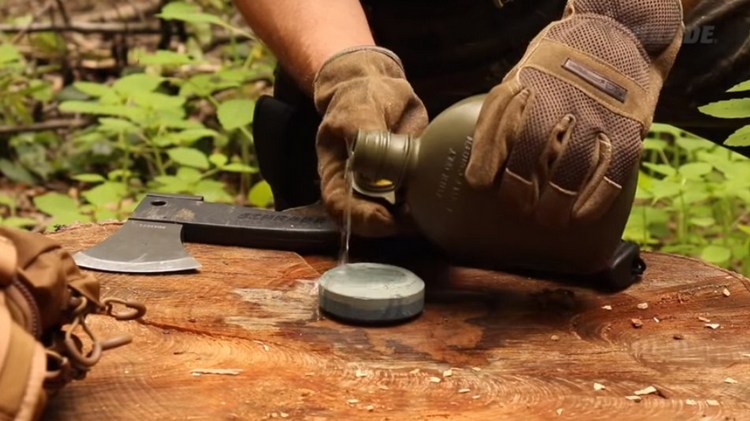
Step 7
With your left hand, grasp the maul across the blade so that the edge is pointing up (handle facing your body).

Step 8
Use small circular clockwise motions along the edge to smooth out any roughness caused by the grinding. Count how many circular motions you use.
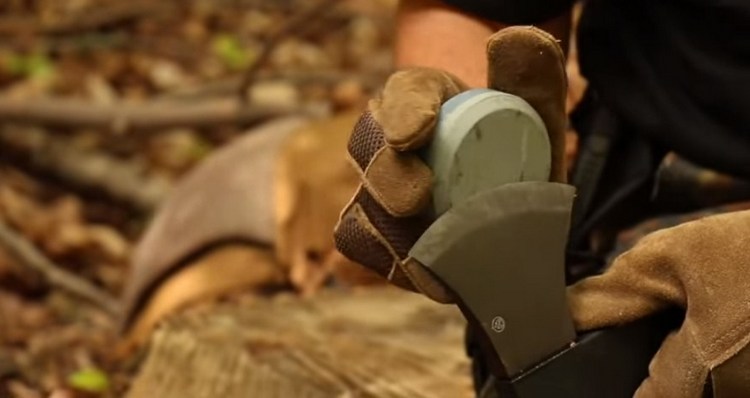
Step 9
Repeat the same process (switch hand placements – right hand holds maul & left hand holds puck) on the other side for the same number of times. Continue this process on both sides of the maul until the edge is as sharp as you want it.
How to Field Sharpen an Axe or Hatchet with a Puck Sharpening Stone:
The Exhaustive Method
Step 1
Follow the Easy Method listed above.
Step 2
Follow steps 5, 6, 7, 8, & 9 in the Middle Method listed above.
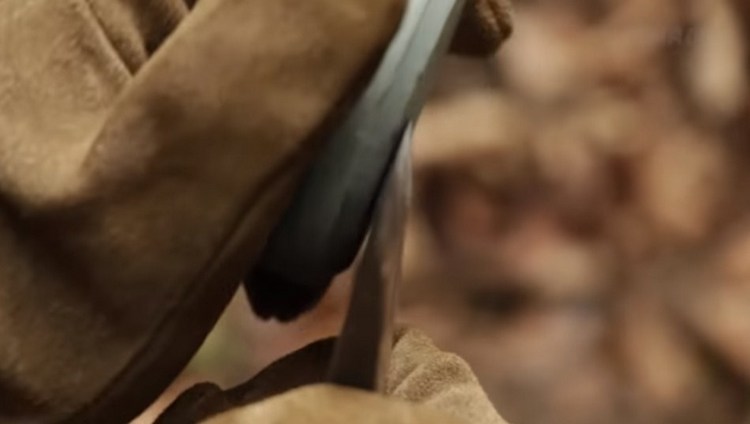
Step 3
Grab your honing steel to further smooth out any rough edges as well as revive the blade (i.e. make it even sharper). The process is similar to that of sharpening a knife with a honing steel only this time you will be holding a splitting maul instead.
Hold the head of the maul with the edge facing down and push forward & downward against the honing steel (like carving a piece of wood – maul and honing steel tips both pointing away from your body).
The starting position should be as such: bottom of the maul edge at the base of the honing steel and finishes with top of the maul edge at the tip of the honing steel.
Do this about 6-8 times and then repeat the process on the other side. Continue until you are satisfied with the results.
Conclusion
Now you know how to sharpen a maul!
Well, you may have already known of one way but now you have various tools and methods from which to keep your maul sharp and smooth for your wood splitting and cutting jobs.
Not only does having a sharp maul make cutting wood easier it also extends the life of the maul as with dull mauls you will have to chop harder to create a decent cut.
More frequent and harder equals less lifespan!
If you have any comments, suggestions, or questions feel free to leave it below in the comments section.
Also, if you enjoyed this mini maul-sharpening tutorial and got some value from it, please share it with others, preferably those who appreciate fresh-cut firewood as much as you and I do.