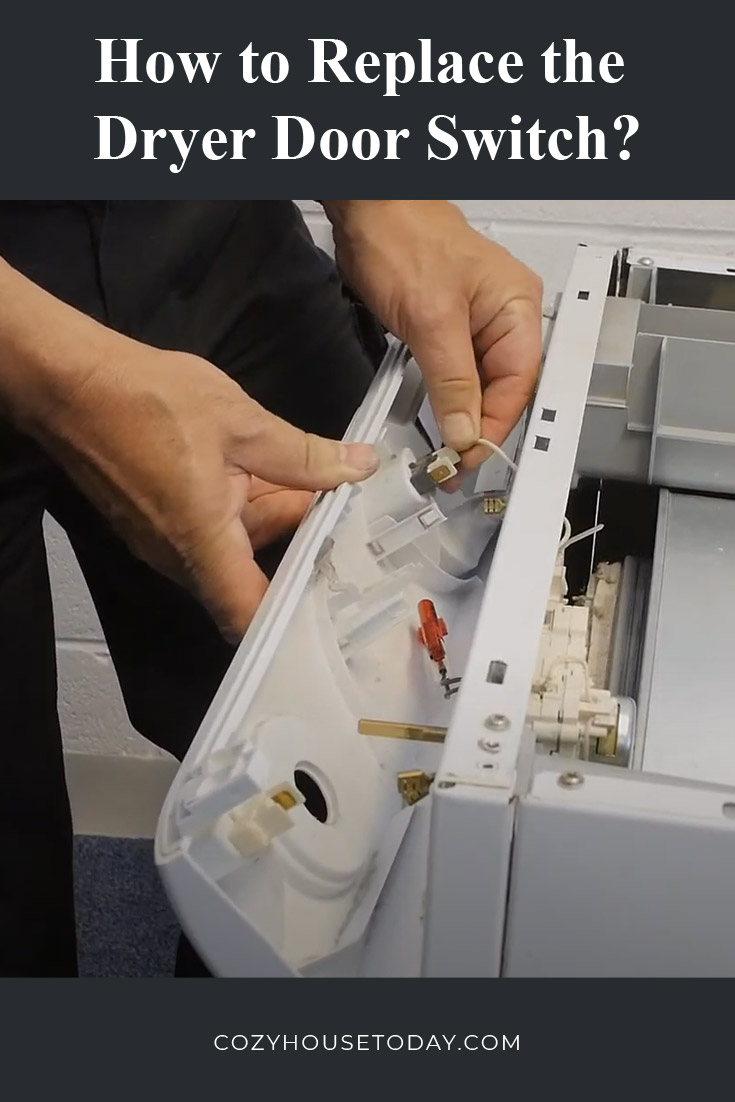
Have you ever had a problem with your dryer and wondered how to fix it? It’s common for the door switch to go out. Luckily, it’s an easy fix! In this article, we will provide step-by-step instructions on how to replace the door switch as well as what tools you need.
Gather Your Supplies
Before you begin, you will need to gather some supplies. Here’s what you need:
- Phillips head screwdriver
- flat head screwdriver
- needle nose pliers
- wire strippers
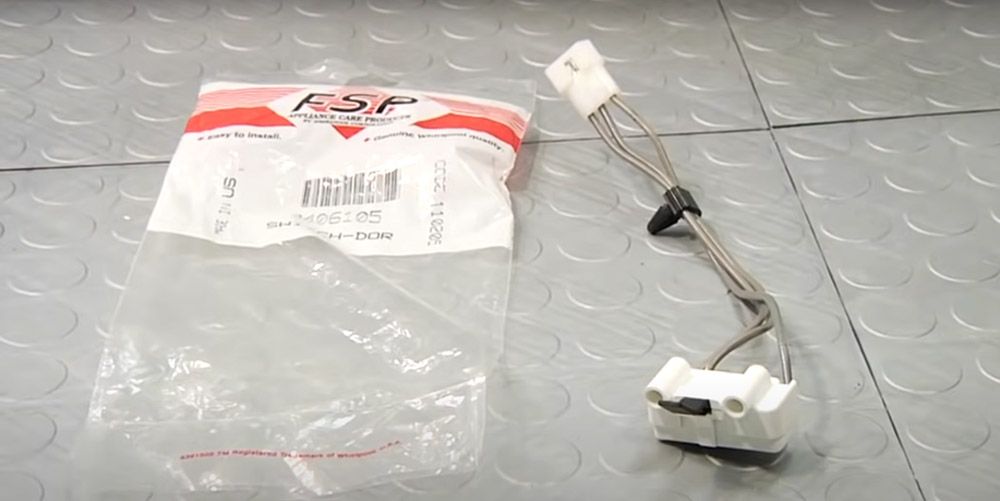
- new door switch (available at most hardware stores)
Safety First
Before you start any repairs, it’s important to remember to always exercise caution. Make sure the appliance is unplugged before beginning any work.
Never attempt to fix a dryer that is still plugged in or has power running through it. You could seriously injure yourself.
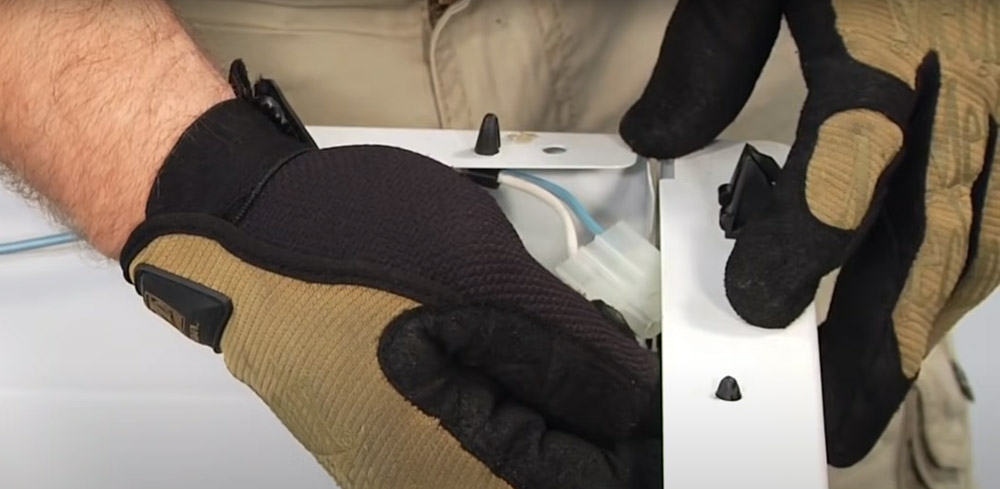
Also, be aware of sharp edges on the inside of the dryer when taking it apart – use caution and wear gloves if necessary. Now that we have that out of the way, let’s get started!
How to replace the door switch?
Every time you open the dryer door, your dryer enters a timed cool-down period. If something goes wrong with the switch that controls this process, it could lead to a lot of frustration and wasted money on clothes that never get dried properly.
We will go over how to replace the dryer door switch so you can stop worrying about your clothes not getting completely dried!
Shut off the power
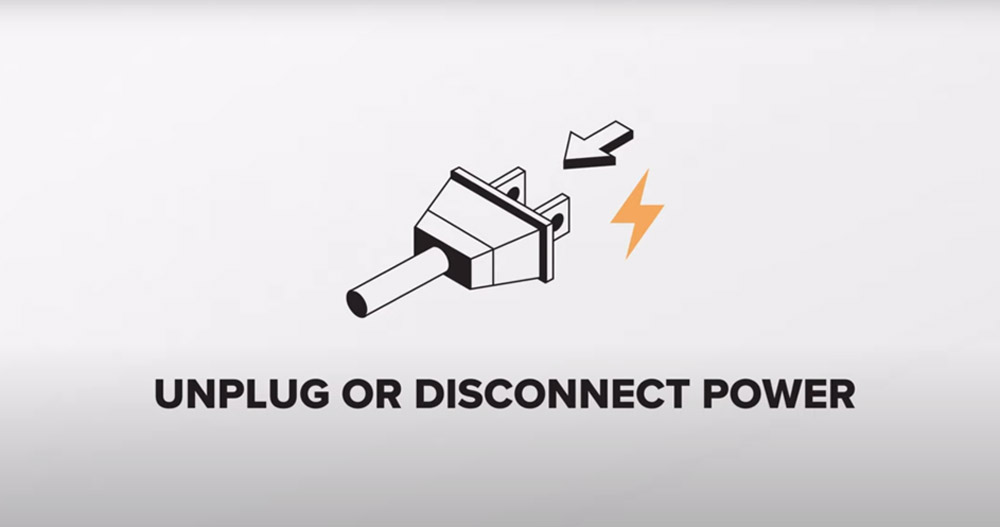
Before you attempt to replace the door switch, it’s important to make sure that there is no power running through the appliance. Shut off the breaker in your home or flip the fuse for your dryer if needed.
This way you are certain that nothing will happen when taking apart and reassembling your dryer!
Once you have turned off the power source, you can begin to take apart the dryer. Now that you have all the necessary tools and supplies, it’s time to get started. Be sure to follow each step carefully so you can put your dryer back together in no time!
Remove the lint screen
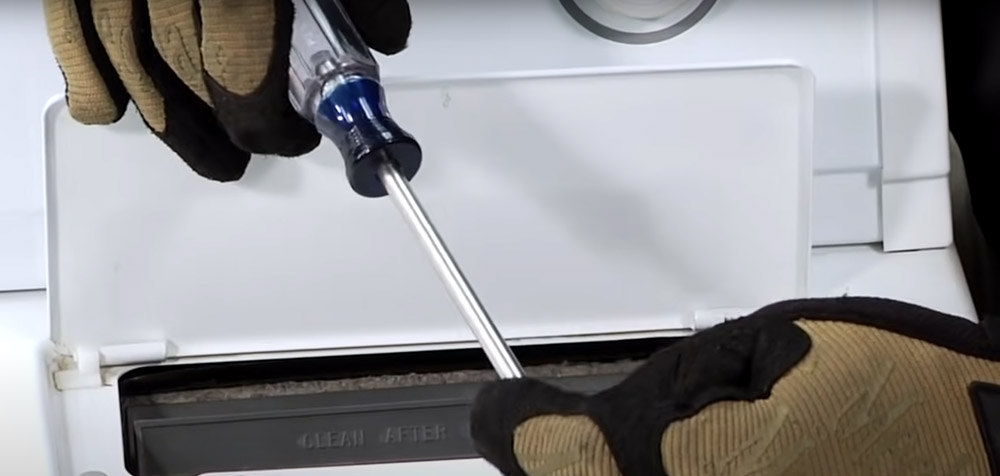
The first step in replacing the door switch is to remove your lint screen. This will make it easier for you to access the inside of your dryer, especially when taking down or putting up any screws that are along the top or sides of your appliance. If there’s a large amount of lint on this filter, be sure to clean it out before placing back into place!
At this point, if you have an older model dryer with exterior clips holding it together, now would be a good time to start removing them so they don’t get in the way during reassembly. You can also go ahead and unplug all wires connected from behind by pushing in one side while gently pulling out the other – just remember how they connect!
Now that the lint screen is out of the way, you should see a large metal panel with a few screws holding it in place. Remove them and gently pull this off so we can access what’s underneath.
Open the top panel
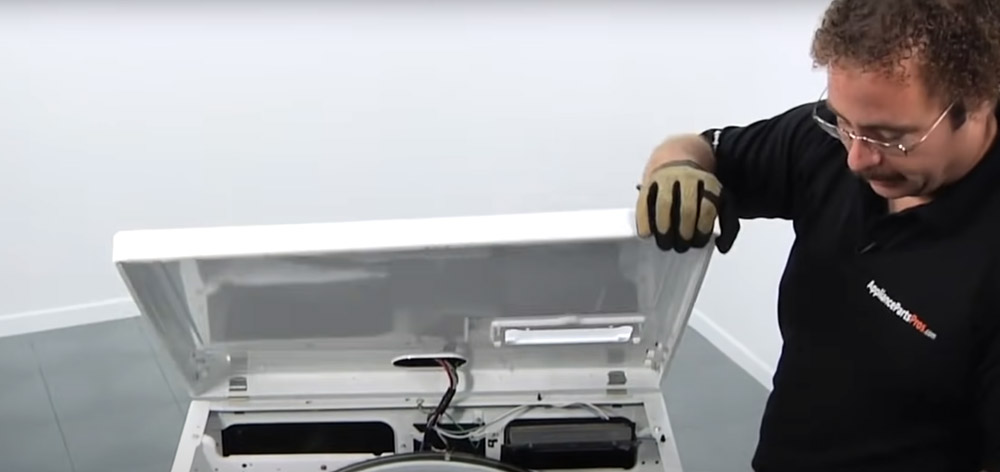
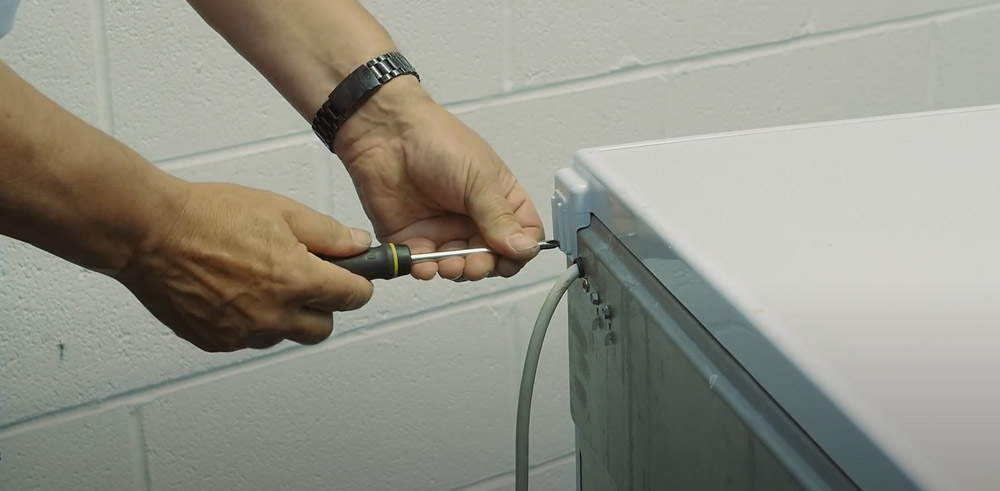
The next step is to open the top panel. This is done by raising the cabinet top – there should be two front legs that you can lift up. Once it’s in the upright position, you will see screws on the back of the panel that needs to be removed. Now it can be set aside safely.
You may need to remove additional coverings depending on your specific model – just be very careful when doing so because all wires will be exposed during reassembly!
For everyone else, once these panels are removed you’ll have easy access to the door switch.
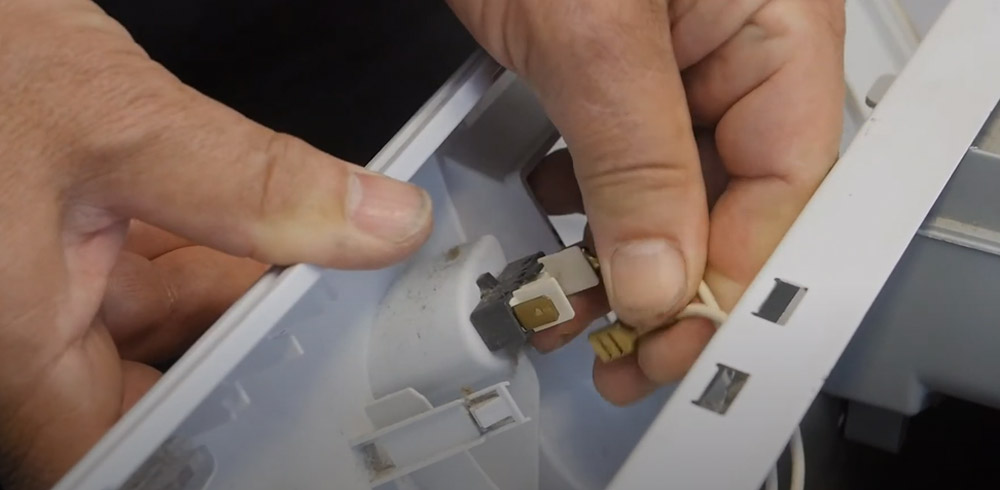
Now we are able to see all of the inner workings of our dryer! The door switch is located on the right side (looking from the front) and is a small white rectangular box with three wires coming out of it.
Disconnect the door switch wire harness
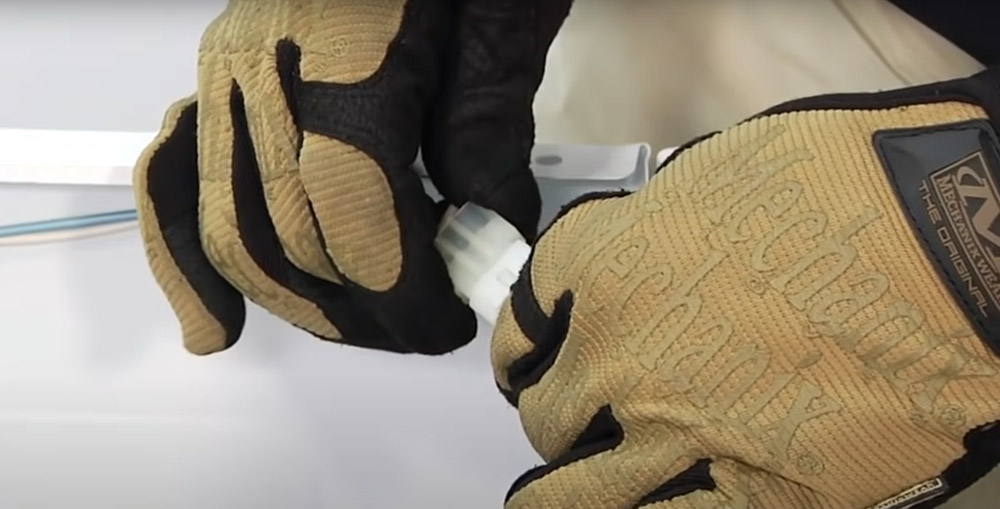
The next step is to disconnect the door switch wire harness. This can be done by gently pulling on one side while pushing in the other – it should pop right out. Take note of how it’s connected before removing, as you will need to put it back together in the same way!
Now that the old door switch is disconnected, we can go ahead and remove it from its housing. You can do this by using a Phillips head screwdriver to remove the screws on each side.
Replace the door switch
Now that we have removed the old door switch, you can go ahead and put in your new one. Take a look at the new door switch and compare – they should be identical. If not, double-check that you received the correct part!
The wires should automatically connect to the corresponding screw holes on the left side of your dryer – just be sure they snap into place! Once all three are connected, gently press down with a flathead screwdriver if needed so it doesn’t pop back up as soon as you let go.
Reattach any exterior panels and lint screen now before putting the cabinet top back onto the base.
Reassemble the dryer
Now that everything is back in place, you can go ahead and put your dryer back together! Be sure to take note of any additional instructions if present.
Once all screws are tightened down and wires connected again, you should be good to go!
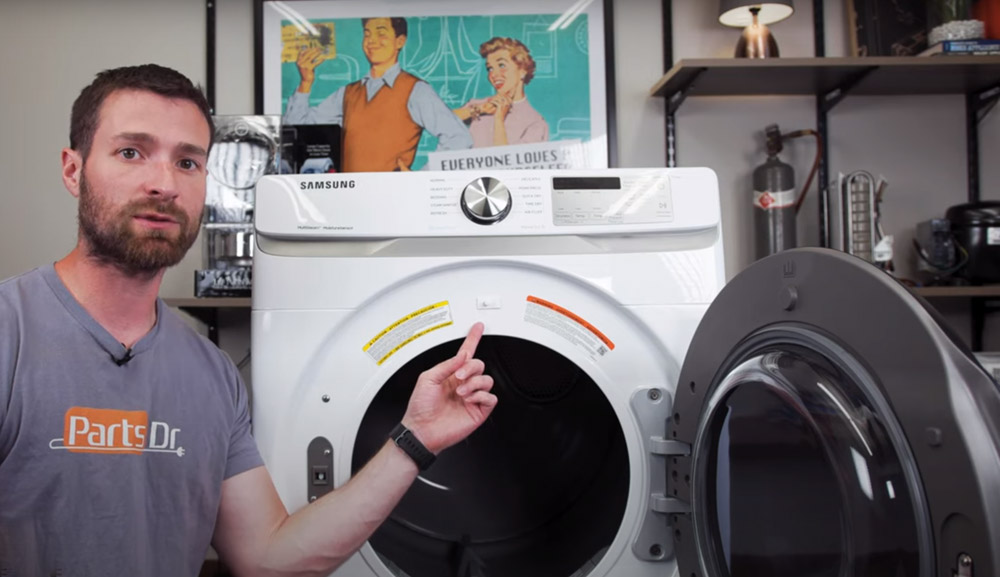
Test the new switch
With our replacement door switch installed, we can reconnect power from behind for testing purposes: plugging in while holding down the start button will cause the timer to begin counting down without anything else happening.
You may need to test out your appliance at this point by running it through a small load of laundry – just make sure everything has been properly replaced before turning on and drying anything!
Conclusion
When you open or close your dryer’s door, this switch will activate and send an electrical signal to start the drum rotating. Over time, these switches can wear out and need to be replaced. In this article, we told you how to replace a worn-out dryer door switch with a new one!
At this point, your dryer should be good to go! If you have any questions or want advice on installing a new door switch yourself, feel free to comment below.
Thanks for taking the time to read this tutorial! Now that we’re done, why not take some time and look through our site at other helpful guides or information? Good luck!