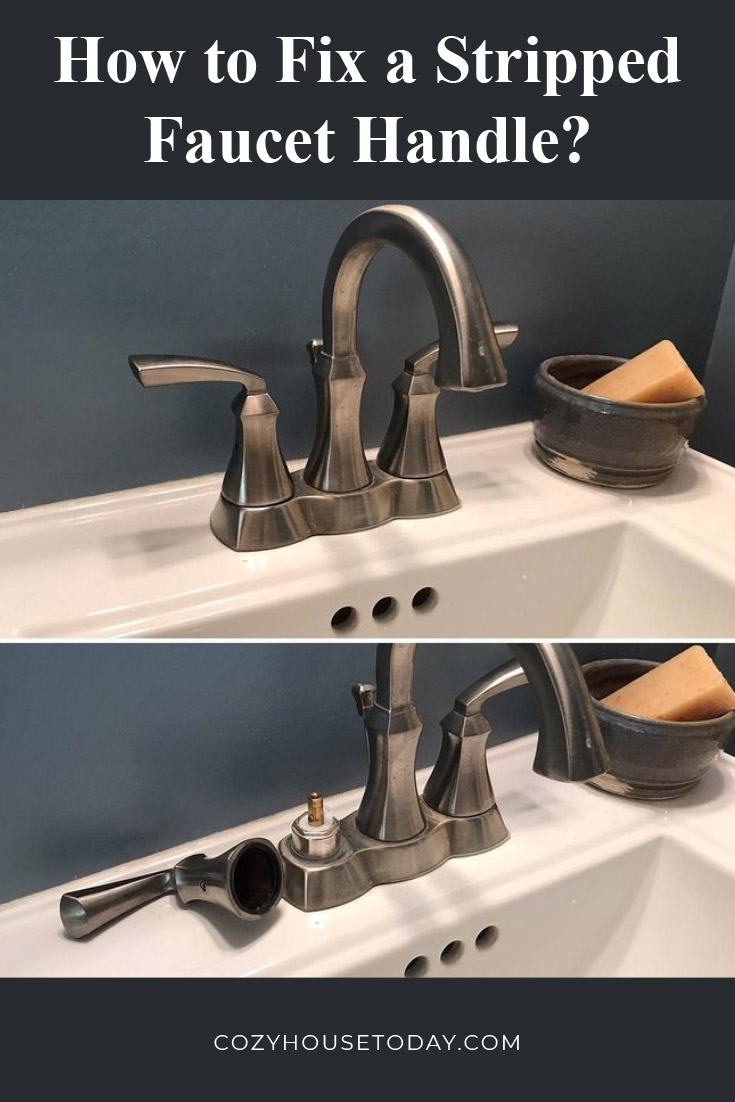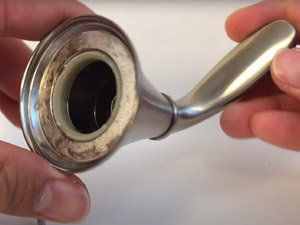
A stripped faucet handle can be a real pain to deal with, but it is something that most people will have to face at one point or another. Luckily, there are some easy ways to fix this issue without having to worry about finding the right tools or paying for expensive repairs. This article will show you how to fix your stripped faucet handle quickly and easily!
What is the reason a stripped for the tap handle?
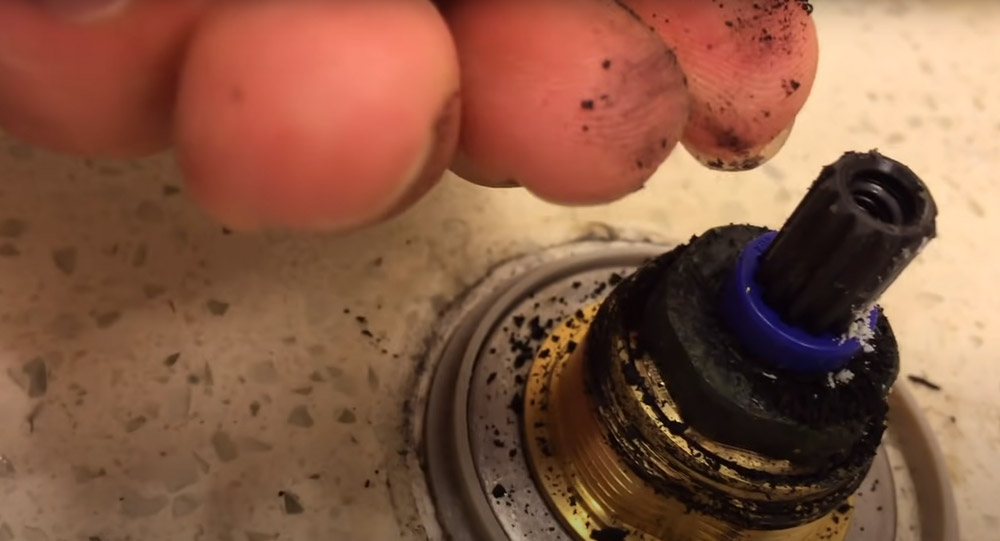
The most common reason for a stripped faucet handle is when someone tries to tighten the screw too much. This can cause the plastic or metal on the inside of your sink or bathtub to strip, which will then prevent you from being able to use the handle. If it is because of a worn cartridge, you will need to remove the handle and take apart the faucet.
If this is what happened to you, don’t worry! You can still fix it. In just a few minutes, we will show you how to remove the old one and replace it with a new one. All you need is a new cartridge and faucet handle.
How to Fix a Stripped Faucet Handle in 10 Minutes?
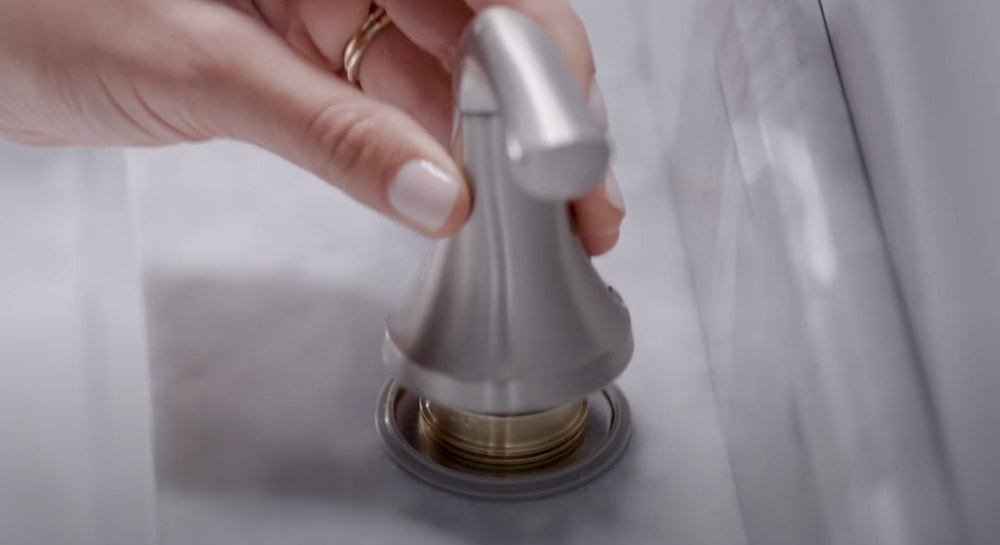
If you have a stripped faucet handle, don’t worry! A stripped faucet handle is often the result of an over-tightened screw on the inside of your sink or bathtub or it is because of a worn cartridge. If this is what caused your problem, then we will show you how to remove the old one and replace it with a new one in just minutes!
Step 1: Turn the Water Off
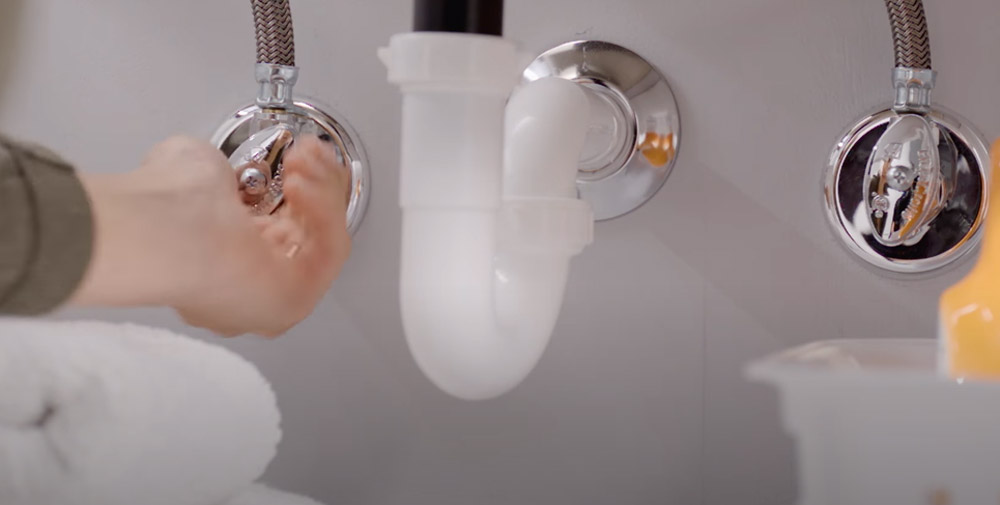
Before you do anything else, you will want to turn the water off. This is usually done by turning the knob on the faucet to the left. If you are not sure where the knob is, look for a small lever near the base of the faucet.
If there is no lever, then you will need to turn off the water by closing the valve that is located under your sink.
Step 2: Remove faucet handles or cover plates
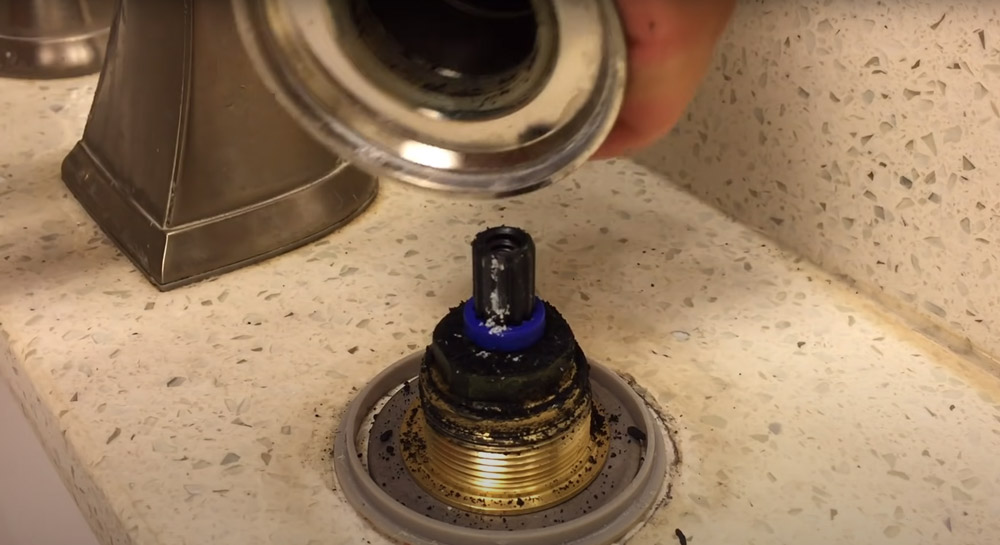
Now, you need to remove the faucet handle. To do this, use a screwdriver to remove the screws that are holding it in place. Be careful not to strip them!
Once you have removed the screws, pull on the handle and it should come right off. If it doesn’t, carefully pry it off with a screwdriver.
If your faucet has handles on the side, you will need to remove them to get to the cartridge. Or if it has cover plates over the screws, you will need to remove those as well.
Step 3: Remove locking nut
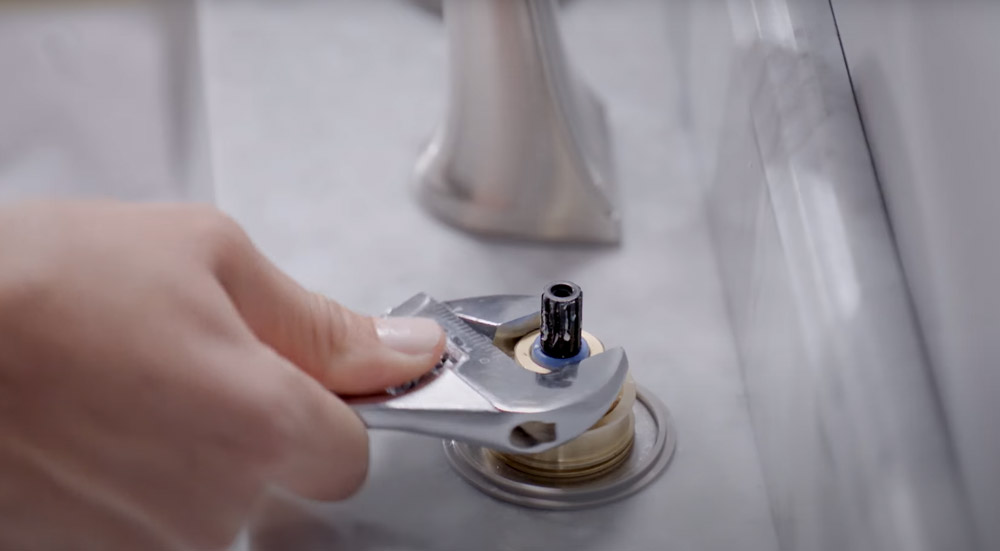
Now you need to remove the locking nut. To do this, use a wrench and turn it counter-clockwise until it comes off. You must keep track of this piece because if your faucet doesn’t come with one or yours gets lost, then you will need to buy another one for the new cartridge to fit into place!
Step 4: Remove faucet cartridge
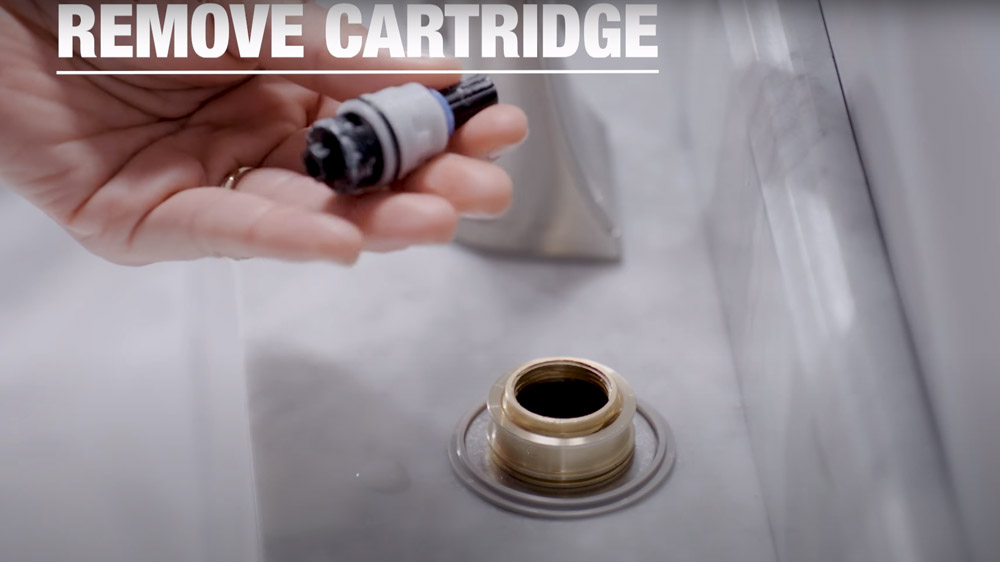
Now it is time to remove the faucet cartridge. To remove the old cartridge, use a wrench to loosen its grip.
Be sure to hold onto the cartridge while you are loosening it so that it doesn’t fall down the drain. If it is too tight, use a hacksaw blade to cut through it.
Be very careful not to damage the threads!
If your faucet doesn’t have screws, then you will need to use a pair of pliers to pull it out. Once you have removed the cartridge, set it aside and take a look at the new one that came with your replacement kit. It should look something like this:
Cartridge – Gasket – Locking Nut – O-Ring – Washer
After removing all pieces from the tap assembly, clean any debris or mineral deposits with a brush or towel.
Step 5: Replace the Faucet Cartridge and Retrace all the steps you took, working backward
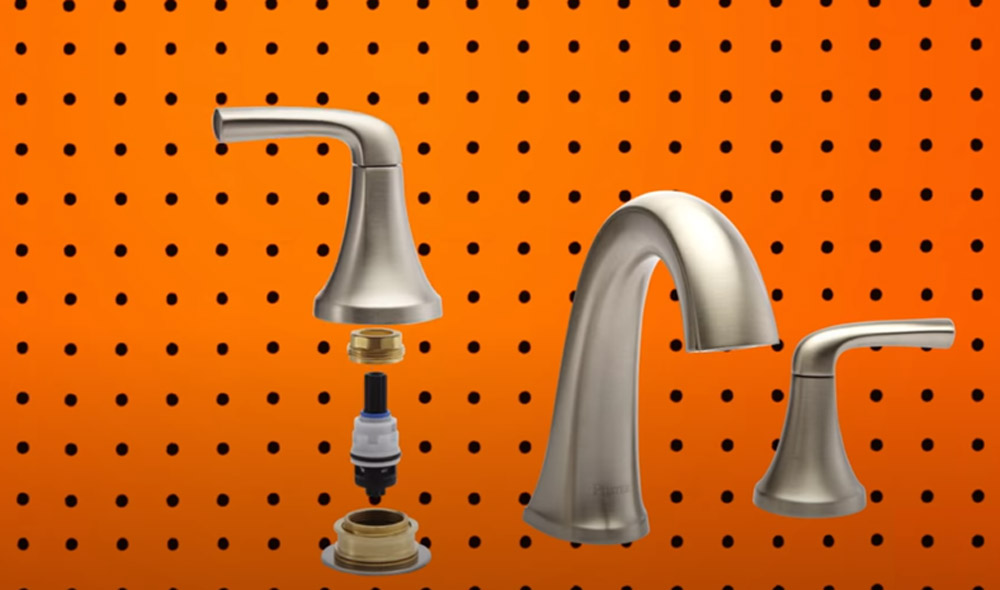
To install the new cartridge, fit it into place and then use a wrench to tighten its grip. Make sure that it is secure. Put on the washer, then you will want to secure it with a locking nut so that it doesn’t come off while you are trying to turn on your water again. Next, screw in the faucet handle and finally use a wrench or pliers to tighten up its grip.
Step 6: Turn The Water Back On & Test It Out
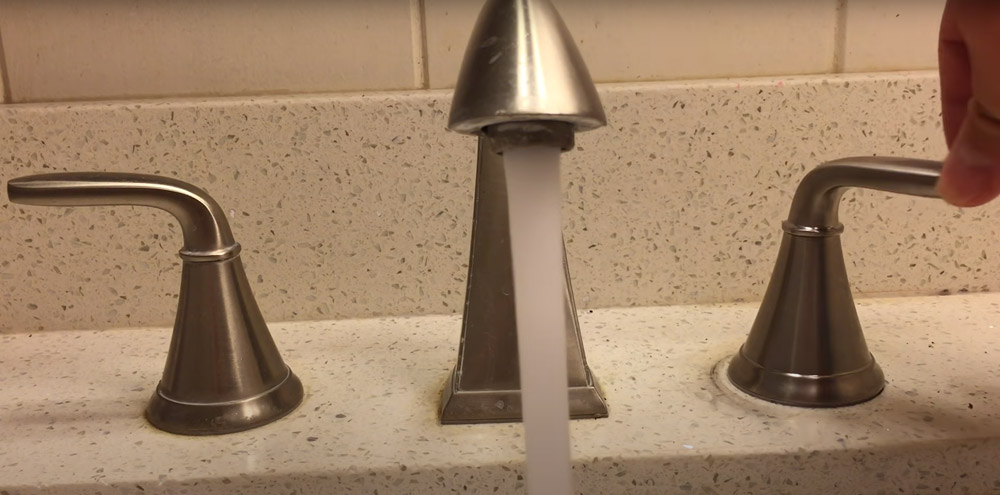
Once everything is back together, turn your water supply back on by turning the knob at the base of your faucet clockwise until it stops or opening up the valve under your sink. You can then test out if everything works by running some water through it. If everything was installed correctly, then it should be working like new!
If you follow these simple steps, then you will be able to fix your stripped faucet handle in no time at all. And best of all, it shouldn’t cost you anything! So don’t wait any longer and get started today!
How Do You Remove a Faucet Handle When the Set Screw Is Stripped?
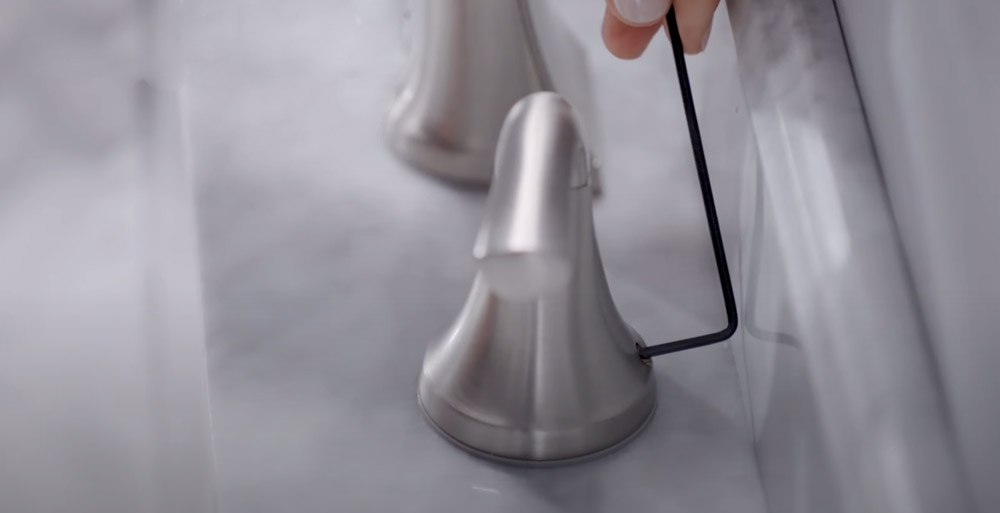
In this case, the set screw is stripped. Here are a few methods for removing it:
- Try using a pair of pliers. Grip the handle and twist the screw until it comes loose.
- If the pliers don’t work, try using a hex key or Allen wrench. Insert the key into the hole on the handle and turn it to loosen the screw.
- Another option is to use a vise grip. Clampdown on the screw with the vise grip and twist until it comes loose.
- Finally, if all else fails, you can try drilling out the screw. Drill a small hole in the center of the screw head and then use a drill bit that’s smaller than the shaft of your Allen wrench or hex key. Insert your tool into the hole and turn to loosen the screw.
When to call a plumber to fix your faucet?
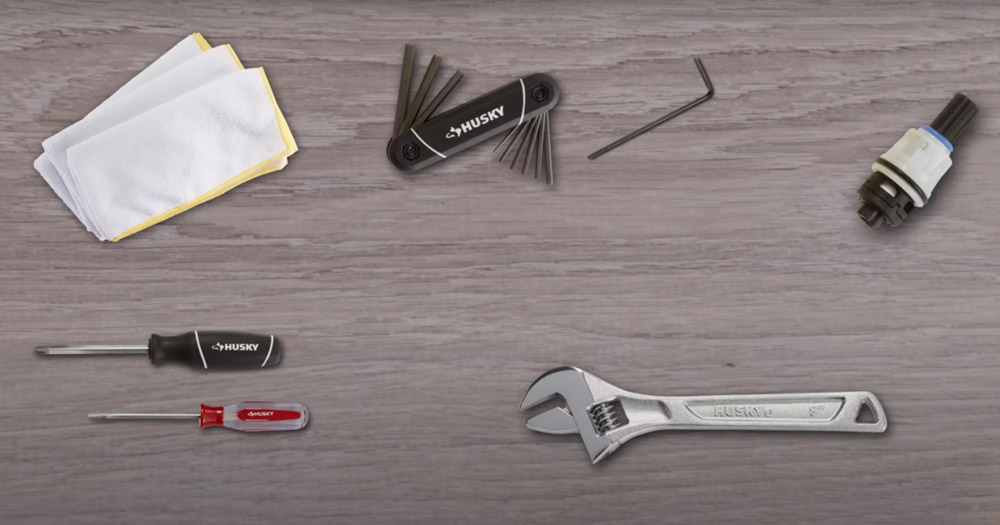
If none of these solutions work, it might be time to call in a professional. Plumbers have special tools that can help with this kind of job. Remember, if your faucet isn’t working properly, don’t wait – call a plumber today! He or she will be able to fix the problem quickly and easily.
Conclusion
Fixing a stripped faucet handle can be tricky, but it’s not impossible. Try one of these methods and you should be able to get the job done. If all else fails, call a plumber for help. He or she will have the tools and experience to get the job done right.
Thank you for reading! I hope this article was helpful. Remember, if you have any questions, don’t hesitate to ask! Happy plumbing! 🙂
