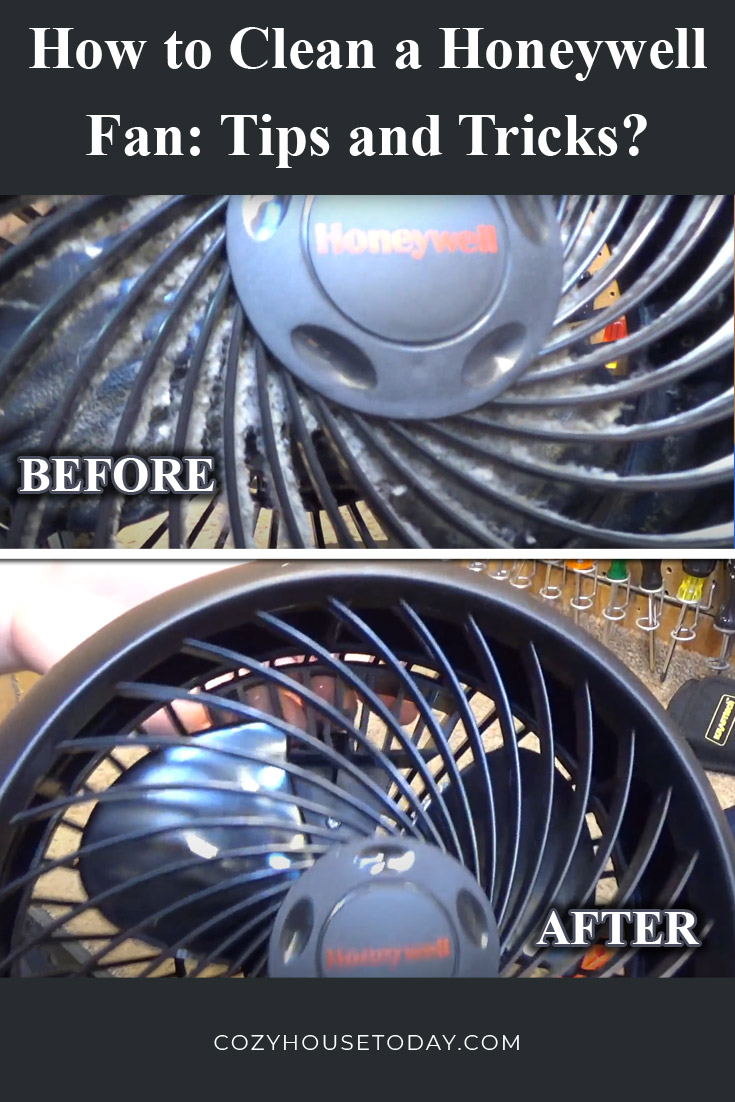
One of the most important components of a home is air quality. This is why you must clean your fan regularly to maintain its performance and efficiency.
When it comes to your Honeywell fan, you want to make sure that the air is blowing out of the right vent. With any other vent blocked by dust or dirt, air will not be able to flow properly and result in a lack of airflow. This can lead to health issues if you are using your fan for relief from allergies or asthma.
In this blog post, we’ll be discussing how to properly clean a Honeywell fan so that you can breathe easily!
How to clean a Honeywell fan: Step by Step Guide?
Honeywell fans are great because they keep you cool and comfortable all year round. But, if not properly maintained, a fan can become an eyesore and stop working.
Cleaning a Honeywell fan is not as difficult as it may seem. With a few simple steps, you can have your fan looking and working like new again in no time.
Just be sure to unplug it from the outlet before starting any cleaning process, and take care not to get moisture near any of the electrical components.
Follow these tips to clean your Honeywell fan.
Step 1: Gather the necessary tools
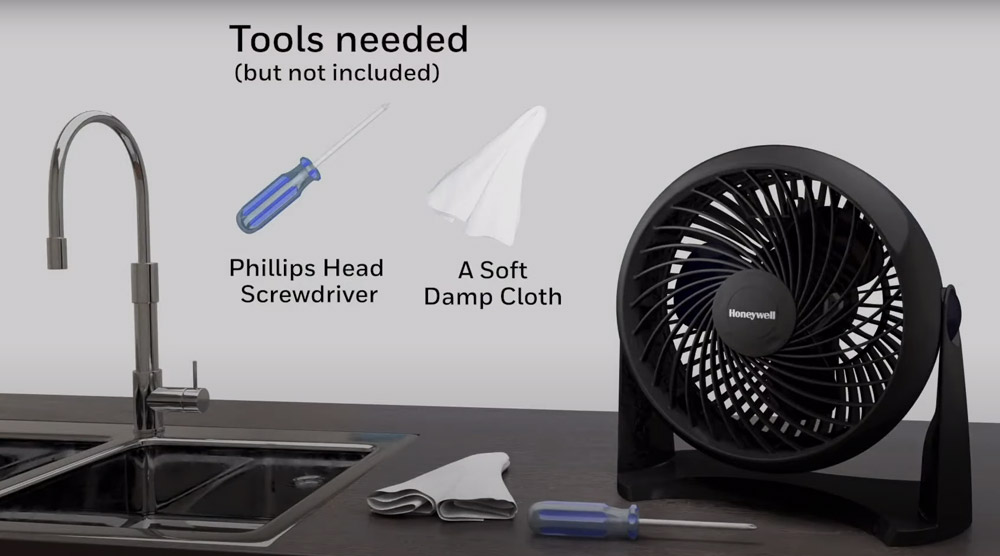
To clean your Honeywell fan, you’ll need the following supplies:
- A screwdriver
- Cotton swabs
- Rubbing alcohol or glass cleaner
- Paper towel or a cloth
- Vacuum cleaner with a hose attachment
Step 2: Unplug the fan and use a vacuum cleaner to remove the dust
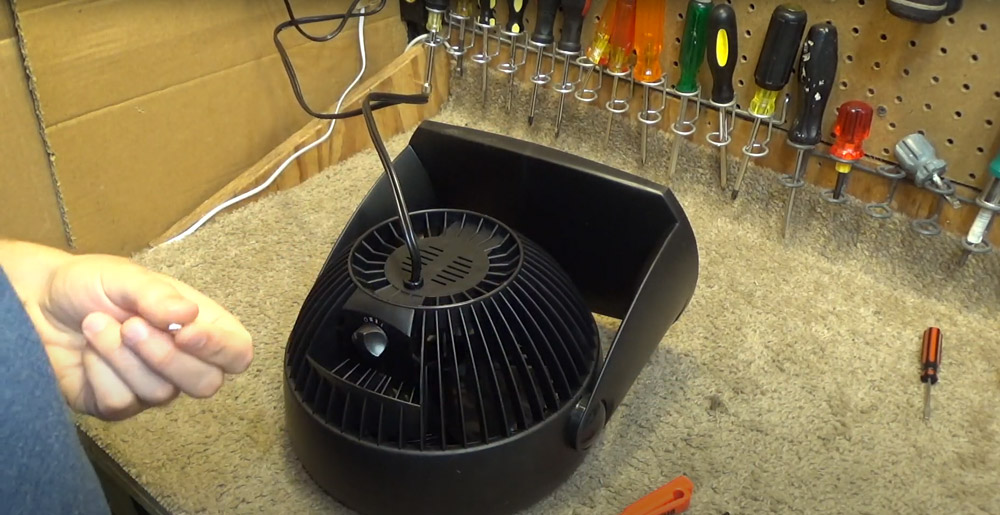
Turn off the power before cleaning the fan blades or motor housing. Unplug the cord from the wall outlet, then turn off the power switch on the back of the unit.
Using a vacuum cleaner with a hose attachment, remove all dust from the base of your Honeywell fan. You can also use cotton swabs dipped in rubbing alcohol to clean between each vent on your fan. Allow it 30 minutes to dry.
The most important part of this step is ensuring that you unplug the tower fan before cleaning or performing any repairs!
Step 3: Remove the grille and the blades of the fan
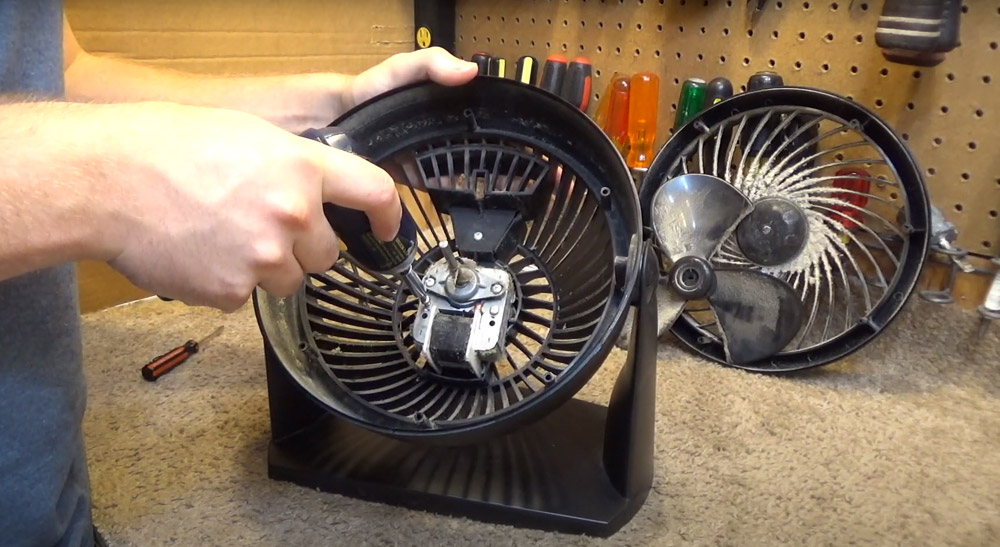
Unscrew or unfasten the screws that are holding the grille to the honey well fan. There may be 4-5 screws on each side of the grille. Once you have removed all of these screws, carefully unplug the blades from their base and lift them away from the fan. Check for any dust or dirt around the edge of each blade and clean it up with cotton swabs dipped in rubbing alcohol.
Step 4: Clean the Honeywell fan with soap and water
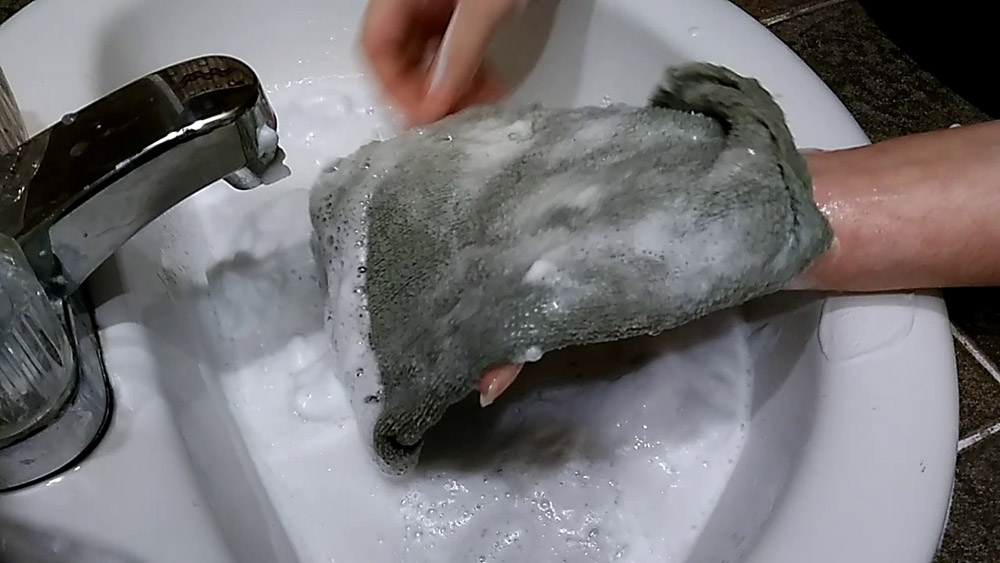
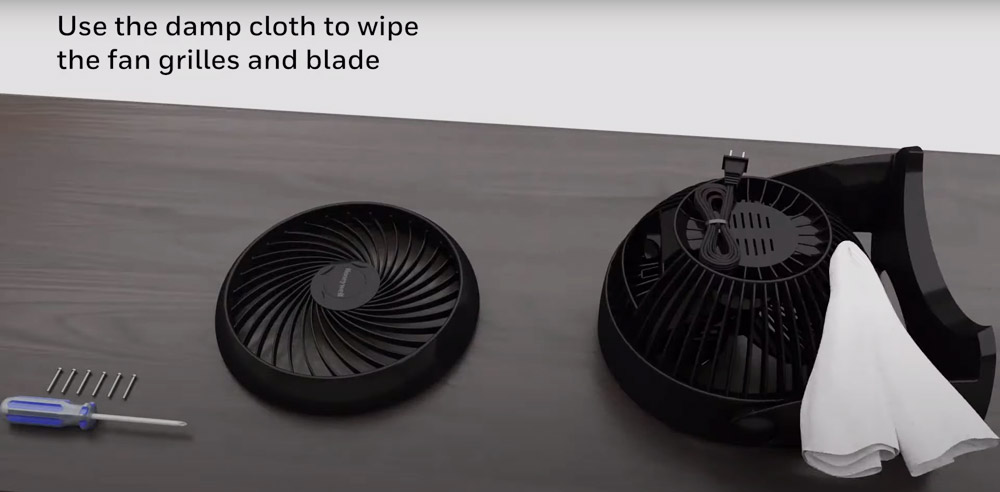
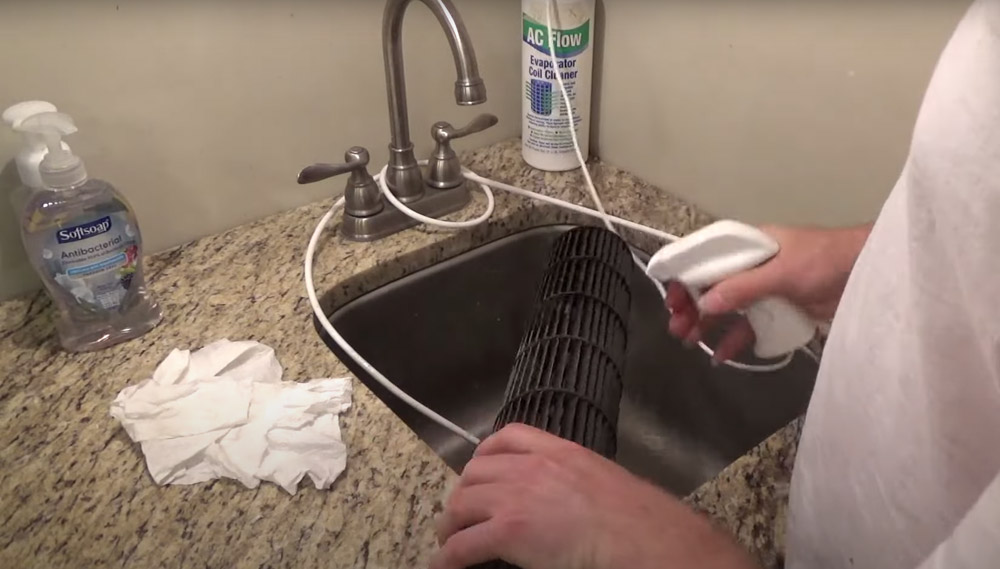
If your blades contain dust, dirt, oil, pollen, or other allergens, use a cleaner to remove them. You can also use a household mild detergent along with hot water you have boiled in a pot. Use a cloth or sponge to clean the entire surface of the fan, making sure not to get any moisture near the electrical components.
Be sure to wring out excess water before continuing.
Mix a mild dish soap in warm water. Use this mixture to clean the outside of your Honeywell fan. With a cloth or paper towels clean away oil, dirt, and pollen from all sides of both grille and blades.
Step 5: Use clean water for the final wipe
After cleaning the Honeywell fan with soap and water, wipe it down once more using a damp cloth or paper towel. This will remove any excess residue from your honey well fan. Allow it to dry for at least 30 minutes before reassembling these parts back onto the fan.
Step 6: Assemble the fan
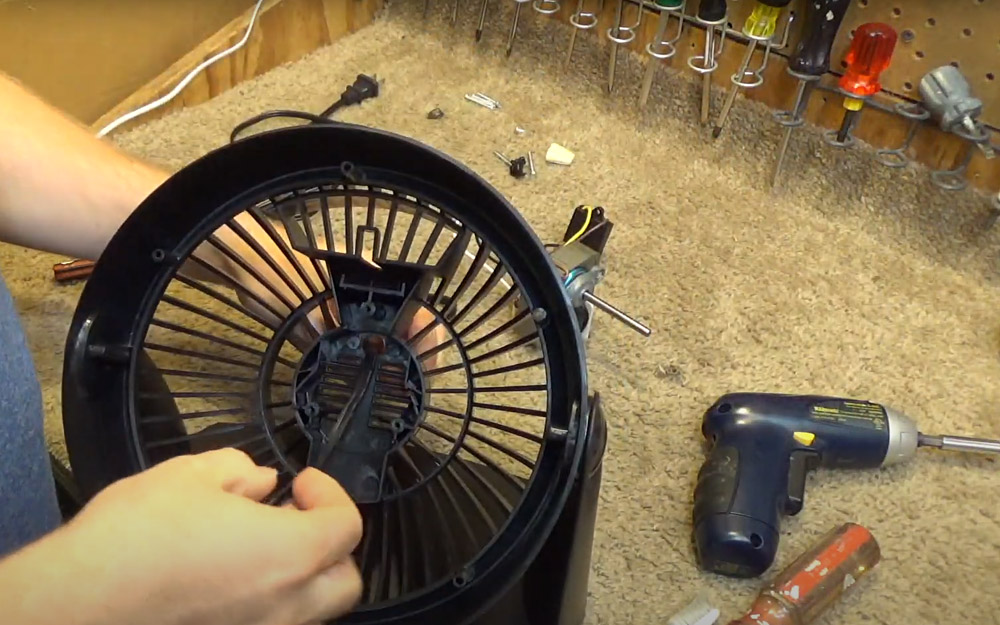
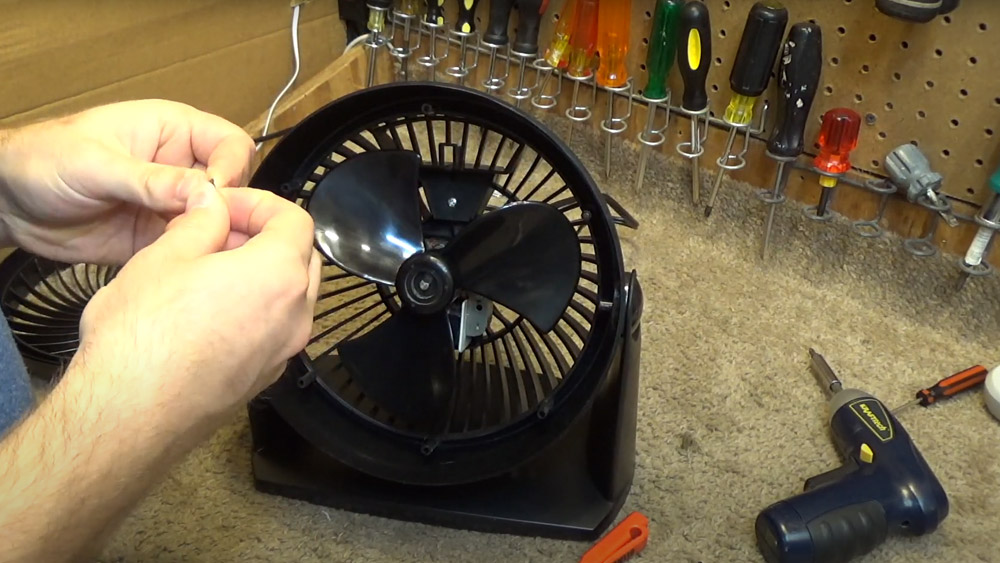
Once your fan is clean and dry, reattach the blades to the base. Make sure that each blade is plugged firmly into place. Replace the grille by aligning the screws on each side and tightening them until they are secure.
When finished cleaning your Honeywell fan, plug it back in and turn the power switch to ON position so you can enjoy its cooling breeze!
If you follow these simple steps, you can keep your Honeywell fan clean and running like new for years to come! Keep allergies at bay with a clean Honeywell fan!
Now that you know how to clean a Honeywell fan, make sure to keep it maintained regularly for optimal performance!
How to Clean Honeywell tower fan?
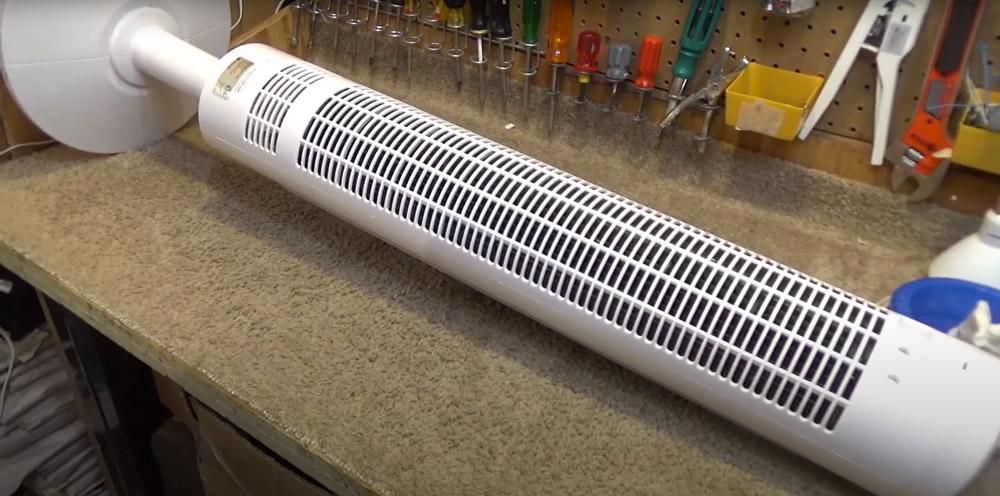
The Honeywell tower fan is a popular choice for many people because it is slim and takes up little space. It also has multiple speeds and settings to choose from. However, like all fans, the Honeywell tower fan needs to be cleaned regularly to keep it running smoothly and looking new.
The first step in cleaning your Honeywell tower fan is to unplug it from the outlet. This is important because you don’t want to risk getting shocked while cleaning the fan. Once it is unplugged, remove the front cover by pulling it off of the fan.
Once the cover is off, you will see the blades of the fan. To clean them, use a damp cloth or sponge to wipe them off. If the blades are extremely dirty, you can use mild dish soap to clean them better. Just be sure not to get any moisture on other parts of your fan, including the motor or electrical components.
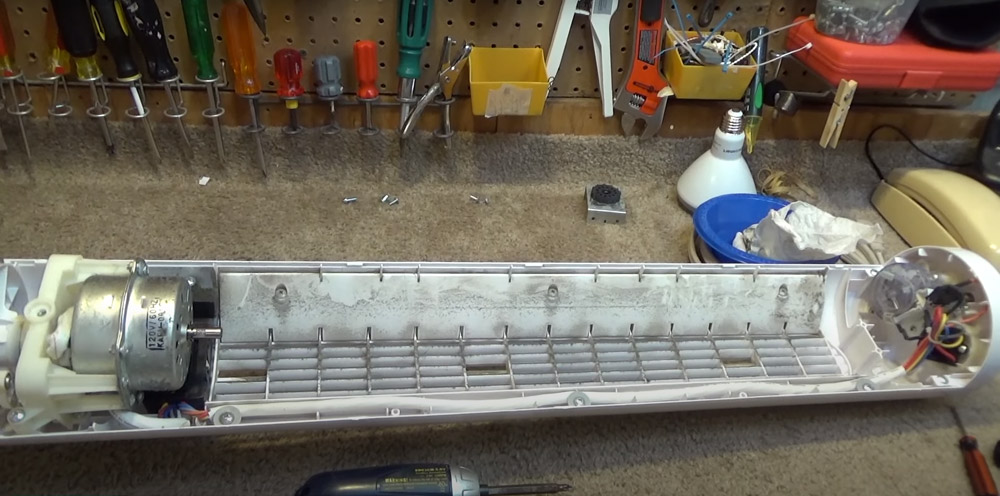
To remove dust from all other parts of your Honeywell tower fan, take out each blade and wipe it down with a damp cloth or sponge. You will also want to vacuum inside the compartment where the front cover was removed so that no dust is left behind in there either after cleaning everything else thoroughly.
Once you have finished wiping down every part of your fan, put it back together by putting each blade into its proper place and replacing both covers securely onto their respective places on top of the tower base until they click into.
How do you clean a fan without taking it apart?
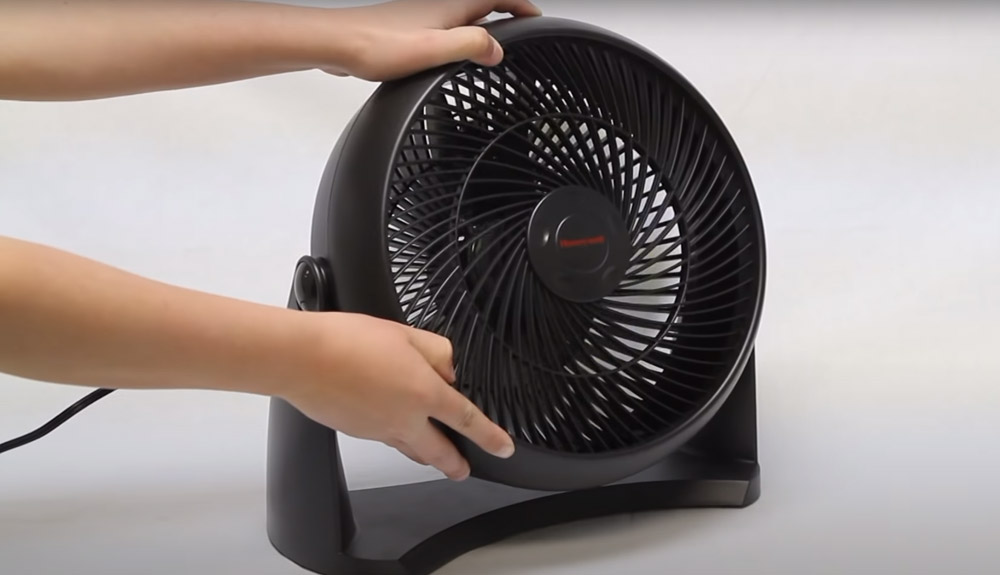
If you don’t feel comfortable taking your fan apart, there are other ways to clean it. One way is to use a vacuum cleaner with the hose attachment to suck up any dust that may be on the blades or in the housing of the fan.
You can also try using a compressed air duster like Dust-Off to remove any dirt or dust from around and inside the fan. Be very careful when using this product, however, as it can be easy to accidentally spray yourself in the face with it.
A final method for cleaning a fan without taking it apart is by using a can of compressed air. This will allow you to easily blast away any dust or dirt from all over the fan without having to worry about getting near any of the electrical components.
Just be sure to hold the can of compressed air upright and away from your body when spraying it, and always make sure to keep it out of reach of children.
After cleaning your fan in one of these ways, plug it back in and turn it on to test it out. If everything seems to be working properly, you’re done! Enjoy your clean fan.
If there are still some spots that didn’t get cleaned well or if the fan starts making strange noises after being cleaned, then repeat the process as needed until everything is spick and span. And that’s how you clean a Honeywell fan!
How to protect dust out of a fan?
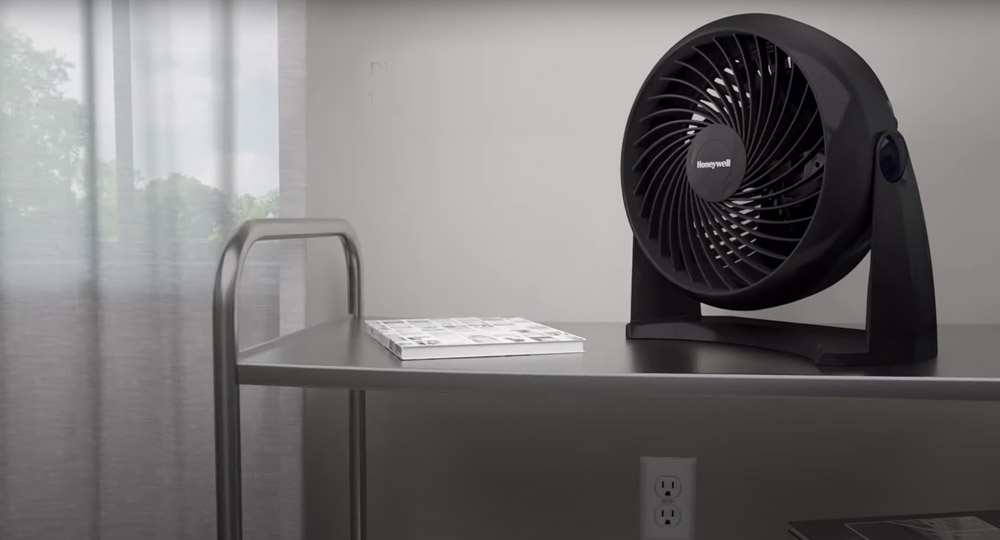
There are a few ways to protect your fan from dust accumulation. One way is to keep it in a room where there is regular airflow, such as near an open window. This will help prevent the build-up of dirt and dust on the blades and other parts of the fan.
Another way to protect your fan from dust is by using a cover or filter specifically designed for fans. These covers or filters can be either purchased at a store or made yourself out of materials like cotton, polyester, or nylon. They attach easily to the front of the fan and can be removed and washed when needed.
A final way to protect your fan from dust is by regularly cleaning. By taking care of all the dust and dirt that accumulates on the fan, you can help keep it running smoothly and looking new.
Conclusion
Honeywell fans are great for ensuring air quality within your home, but can become dirty very quickly if not maintained regularly! In this blog post, we’ve told you how to clean your Honeywell fan without causing damage or voiding its warranty!
Your fan will last longer if you clean it regularly and protect it from dust accumulation, so the sooner you get started cleaning your Honeywell fan, the better off everyone in your family will be!
Scroll back up to check out our blog post-how-to guide for fully cleaning this great appliance today. Thanks for reading, friends. We hope that we’ve answered all of your questions about keeping this useful tool in good working order with these tips and tricks on how to clean a Honeywell fan. Feel free to leave us any comments or feedback below regarding what specifically helped most when learning how to do something new around here like cleaning air purifiers.
You now know how to properly maintain and care for your beloved well fan. It’s time to make sure everyone knows about it too – like, share and tweet this blog post so your friends can stay cool all summer long too!
Keep allergies at bay this season by following these tips for cleaning your Honeywell Fan! By following these simple steps, you can keep your Honeywell Fan clean and free from allergens all season long!
