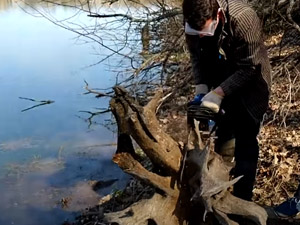
Have you ever seen a driftwood sink and said to yourself, “I want one!”? Well, now is the time to learn how! Driftwood sinks are very popular right now and can be found in many different styles. We have compiled all of the steps that are involved in making your driftwood sink so that you can get started on your new DIY project today.
At first, you will need to find the right piece of driftwood for your sink. The best way is to scour beaches and forests in search of a good candidate. This can be difficult if it’s not the season or if there are no nearby bodies of water that have large amounts of driftwood on their shores.
When you do finally find a piece that suits your needs, then it is time to clean and dry the wood. If any bugs or worms are crawling on the driftwood, this could be very dangerous for your health as they can carry many diseases with them! Be sure to scrub off all of their homes before beginning.
How to preserve driftwood?
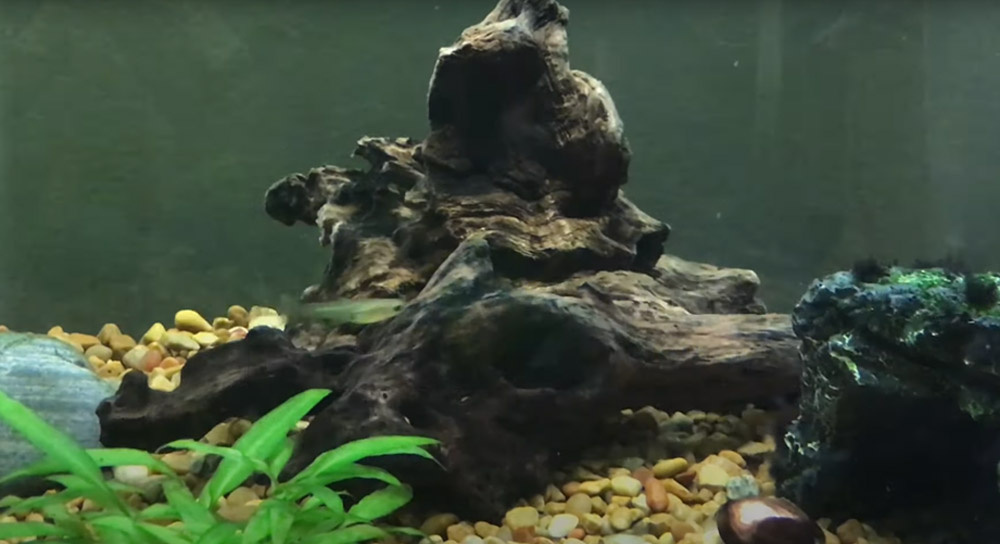
One of the most popular ways to preserve driftwood is by using a sealant. There are many different types of sealants available, so you can choose one that best suits your needs. Be sure to read the instructions carefully and follow them exactly.
Another way to preserve driftwood is by painting it. This method doesn’t require as much time or effort as sealing the wood, but it will still give you a nice finish.
Finally, if you are looking for something quick and easy, try varnishing the wood. This will give it some color without too much effort on your part.
Preserving driftwood isn’t particularly difficult, but it does take some time and patience.
Driftwood sinking process
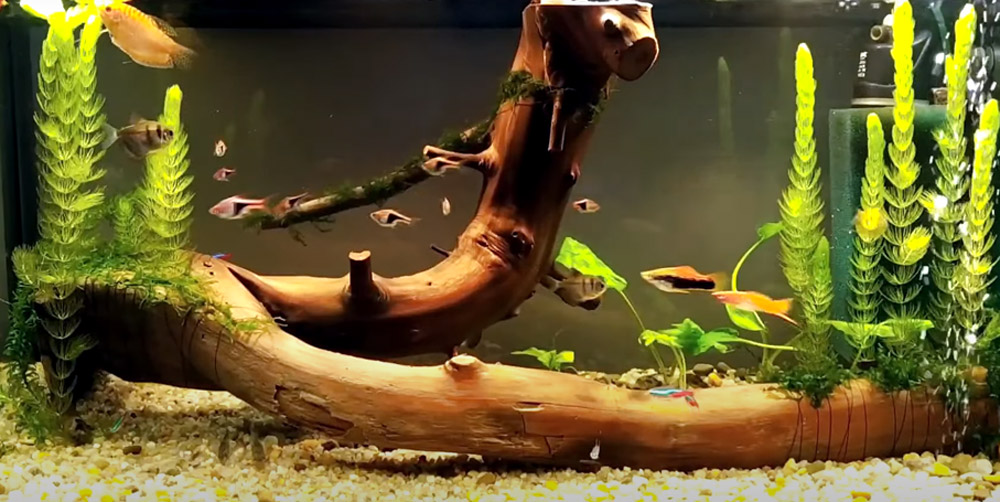
You can either clean or bleach driftwood before you begin the sinking process.
- If you choose to clean it, use a stiff brush and soapy water to scrub off any dirt or algae. Rinse well and let dry.
- If you choose to bleach it, mix one-part bleach with nine parts water in a plastic container. Soak the driftwood for about 20 minutes, then rinse well and let dry.
Once the driftwood is completely dry, you can seal it in a protective coating.
- Oil will give the wood a natural look and protect it from water damage.
- Resin will make the wood harder and more durable, but it will also darken the color.
- Varnish will also harden and protect the wood, but it can also be yellow over time.
Choose whichever finish you like best – just be sure to apply several coats for the best results.
We’ll outline one of the simplest methods below to make a driftwood sink.
Step 1. Cleaning and prepping the wood
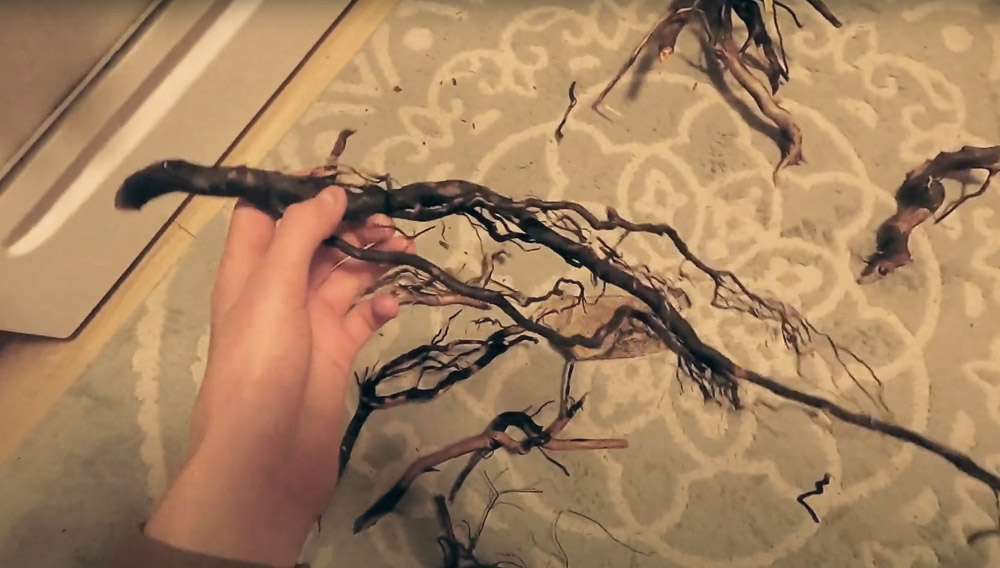
There are a few different ways to clean and prep driftwood for use in your tank.
The first way is to remove the debris and barnacles from the wood by using a toothbrush and some warm water. Pour the water over the wood and brush off any loose particles. Sea-Chem recommends soaking in aquarium salt solution for 15 minutes after you brush to ensure that all of the bugs are killed, but if you’re just replacing pieces, this is optional.
The second way is to boil it in water for 10 – 15 minutes. Place your wood in boiling water and let it simmer for 10 – 15 minutes. Turn off the heat when done and let the water cool before removing the wood. This method will soften and expand some time, so always test it in your tank first to see if it’s going to fit properly after you boil it!
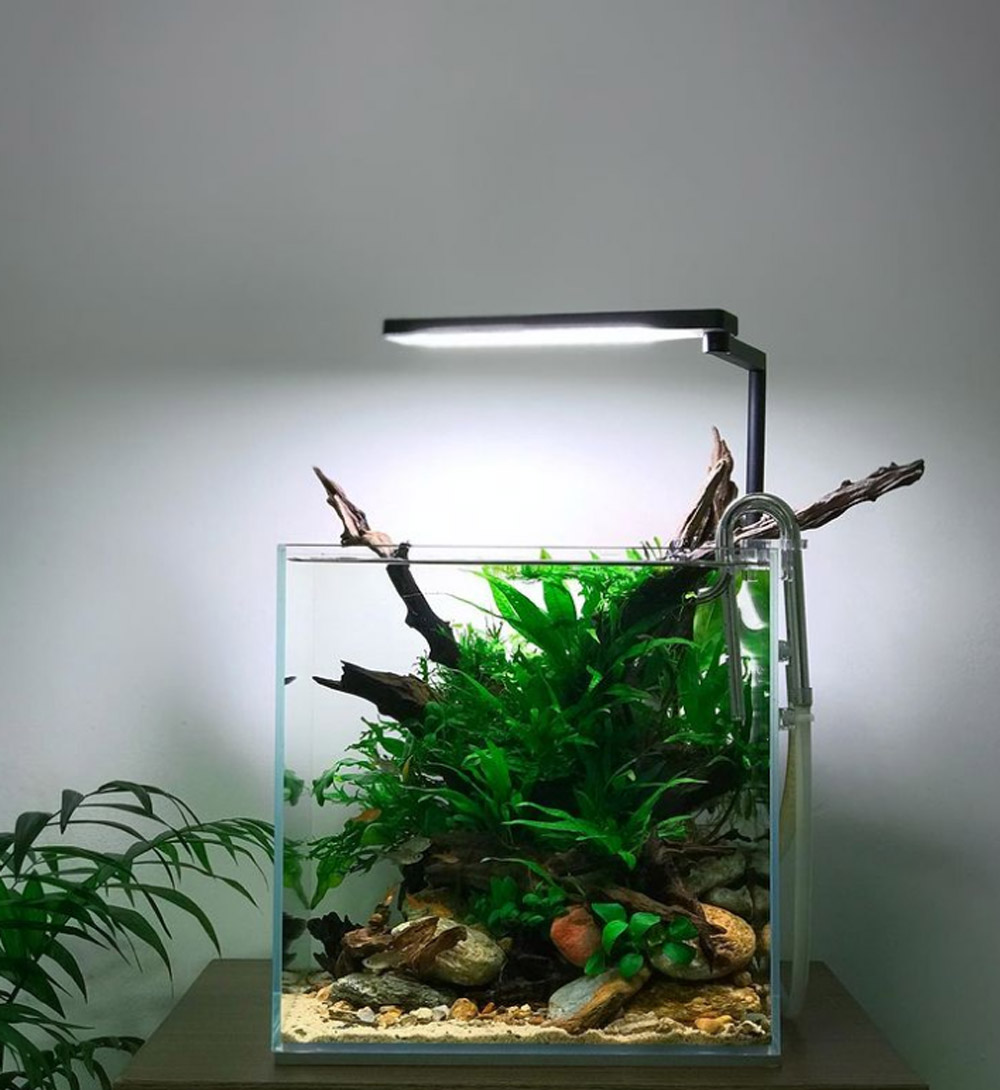
The third way is by using a pressure washer on a low setting. Spray off any loose material from the driftwood and soak for 15 minutes in aquarium salt solution. You can also use Sea-Chem’s BarnacleZyme during this step as well if desired – again, pour over the wood while brushing with a toothbrush or sponge. Make sure you rinse all of these products out completely when done cleaning since they could harm fish/inverts otherwise!
When done properly cleaning driftwood can add an interesting natural touch to your aquarium.
Step 2. Disinfection and drying the wood
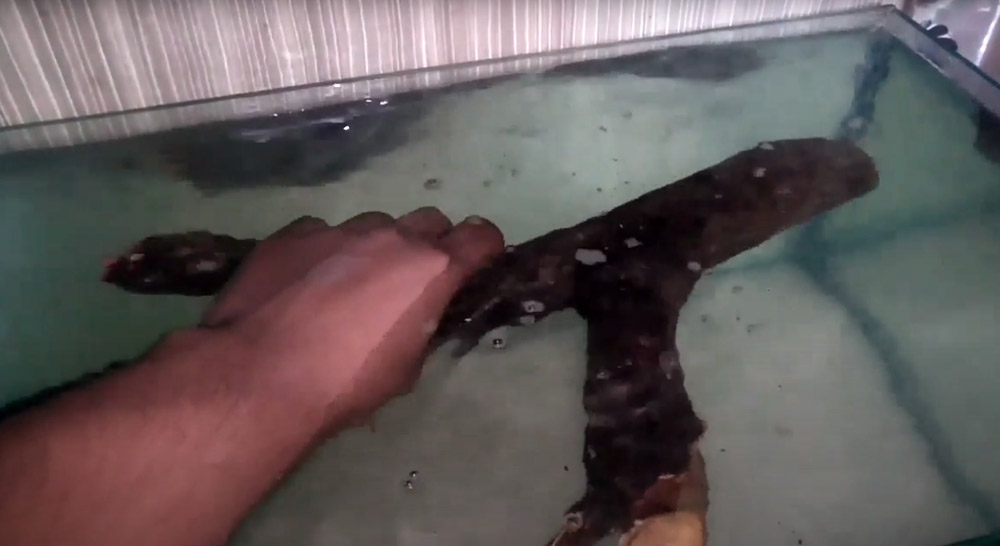
After you’ve cleaned your wood, it’s time to disinfect it. You can use a household bleach solution (one-part bleach to nine parts water) and soak the wood in it for 15 minutes.
Rinse thoroughly with clean water afterward and let dry completely before using in your tank – this is an important step to preventing any diseases or parasites from entering your tank!
You can also purchase Sea-Chem’s Iodine at most pet stores if you want an extra level of disinfection. Soak the wood for 15 minutes and rinse with clean water – make sure to dry completely before adding to your tank!
Step 3. Optional woodworking or painting
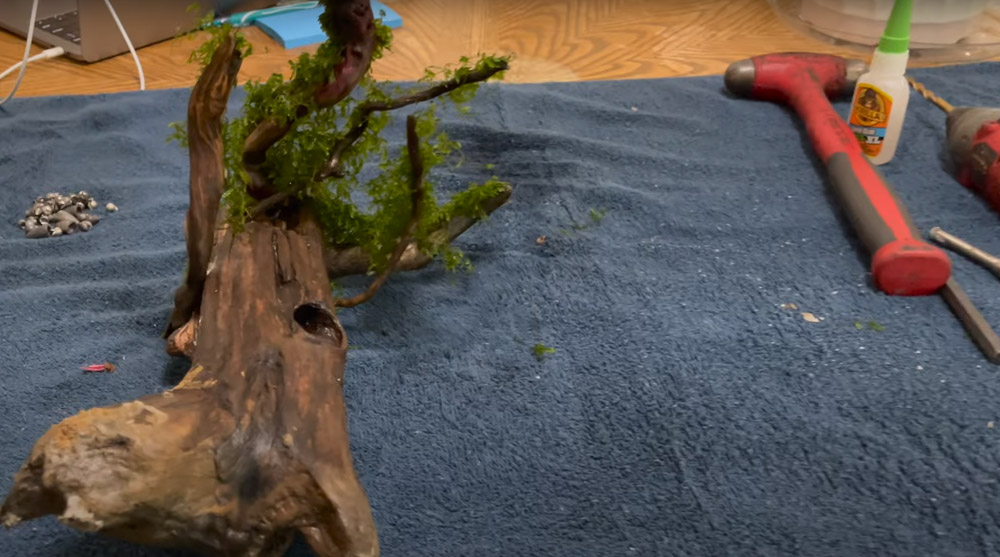
Some people like to add a little bit of flair to their driftwood by doing some light woodworking or painting. This is completely optional, but can make your tank look great!
If you’re going to do any woodworking, it’s best to do it before you disinfect and dry the wood. You can use a variety of tools – saws, sanders, drills – to give your wood the desired shape and finish. Just be sure to wear protective gear (goggles, gloves, mask) when working with power tools, and always read the manufacturer’s instructions carefully!
If you want to paint your driftwood, this should be done after disinfecting and drying. Acrylic paints work well on driftwood, and you can find a variety of tutorials online on how to do this. Just be sure to let the paint dry completely before adding it to your tank!
Step 4. How do you anchor driftwood in an aquarium?
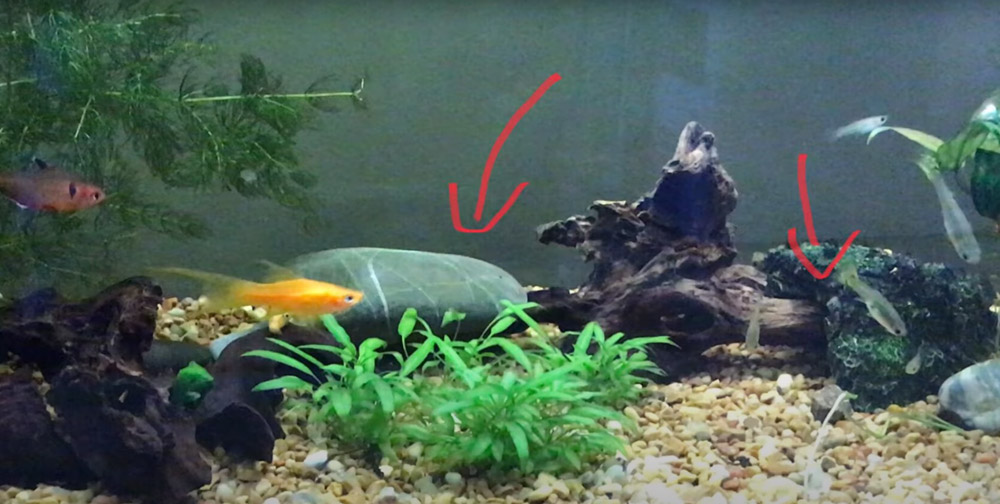
There are a couple of different ways you can do this.
The first way is to weigh down the wood with aquarium gravel or rocks (placing some in/on top of it while putting it into your tank will also help). Make sure not to place any sharp objects within the fish tank, however! You don’t want your fish getting hurt on accident by anything that could cut them.
Another option is to use zip ties around the driftwood and attach these securely onto something sturdy inside of your tank – like an ornament or decoration which cannot be easily moved/removed from underwater. This will act as a weight for your driftwood so that it doesn’t float.
Make sure to test out how well your chosen method works before adding any fish or plants into the tank – you don’t want them swimming underneath the wood and getting trapped there!
Why is my driftwood not sinking?
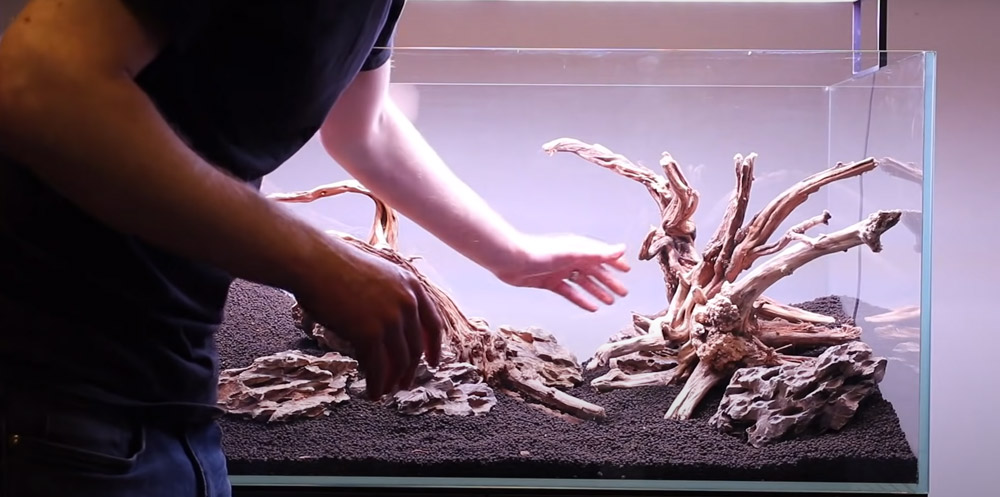
There are a few reasons why your driftwood might not be sinking. It could be that it’s still too wet, or that the wood is too light and doesn’t have enough weight to stay at the bottom of your tank.
If you’re having trouble getting your driftwood to sink in your aquarium, try one of these methods:
- Boil the wood for an extended amount of time until it expands and becomes heavy
- Place aquarium gravel or rocks on top of or around the wood to add weight
- Use zip ties to attach the wood
- Find a heavier piece of wood
If all else fails, you might just have to get creative with how you anchor your wood down. Just make sure it’s sturdy so that the wood doesn’t move around too much!
Does boiling wood make it sink?
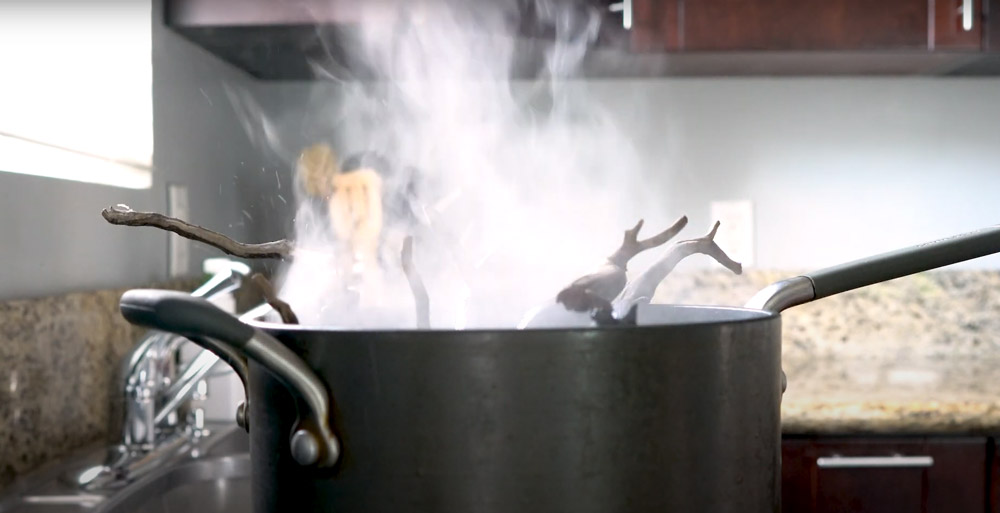
Yes, boiling driftwood will make the wood sink.
Boiling the driftwood requires more than just heating water on the stove or in a pot; you also need to boil for an extended period (a full hour is not too much).
Don’t be fooled if your driftwood floats at first; oftentimes it takes some time for it to fully expand and become heavy enough to sink. Potentially with every time you refill your container with water after boiling, but also as it cools off over prolonged periods (multiple hours). The bottom line is that until this happens, don’t give up hope! Just keep checking back on your pot periodically until at least 1/2 – 3/4 of the wood is submerged.
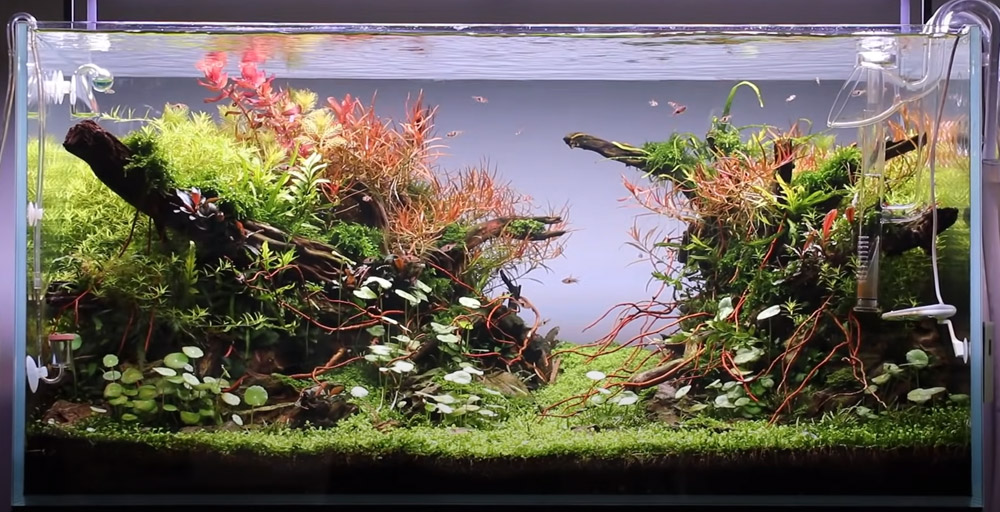
The boiling process not only makes the wood heavy and sinkable but will also help to disinfect and prepare the wood for staining or painting (if that is your chosen route). Be sure to wear protective gear when working with boiling water!
Conclusion
Driftwood can be a beautiful and unique addition to any aquarium, but you must take the time to make sure it’s anchored down properly so that it doesn’t float. There are a few different ways you can do this, and we’ve outlined some of the most popular methods in this article.
Your driftwood is now ready for use in the aquarium! If you follow these steps, you should be good to go and your tank will look great with this addition. If you have any questions, feel free to comment below or reach out to us on our social media pages. Thanks for reading and happy fishkeeping! 🙂
