Crown molding is a decorative trim that helps to define the top of your walls. This can be helpful when you are trying to create a dramatic effect for your space, or if you want to make an area feel more luxurious. However, installing crown molding also means removing it at some point in time. If this project is on your “to-do” list, then read on for some tips and tricks that will help you remove crown molding with ease!
How hard is it to remove crown molding?
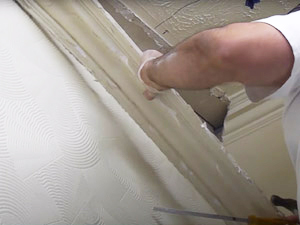
Removing crown molding without damaging the molding or the wall is a time-consuming process. The first step is to start ripping out the old putty and polish. You then need to use a putty knife to clear any excess nails and caulk and then work with your hands to remove all of the old adhesives from around the edges of the top cap.
How do you remove crown molding without breaking it?
However, you need to be careful when removing crown molding, because it does break easily and can damage the wall behind it. Be sure that all nails are hammered in fully before attempting to lift up on the molding with pliers or other tools.
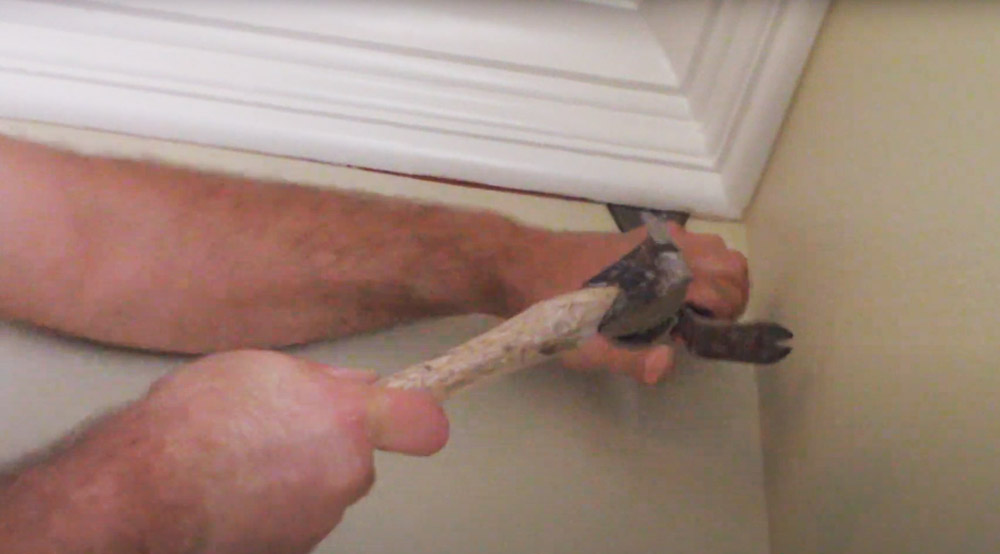
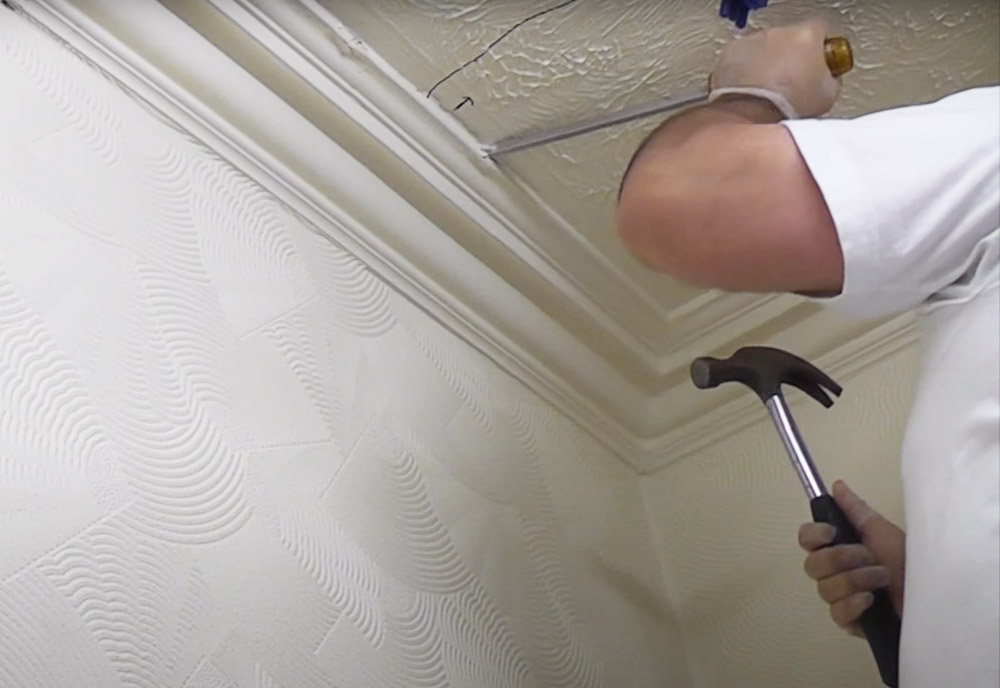
Use a hammer and pry bar to loosen the molding. Pry against any weak points with the pry bar, taking care not to damage your wall
If there is no give, just move around to another part of that piece or find an easier spot to remove! From here, repeat these steps for each section.
How to remove crown molding step by step?
- Remove any furniture from below where you are going to be removing the crown molding. Position a drop cloth beneath the area where you will be removing the crown molding so it doesn’t damage anything below or fall on anyone as well as spread out for easier cleaning after removal of materials like dust and glue.
- Put on protective eyewear and work gloves in order to protect yourself both from injury as well as damaging potential debris falling onto someone’s face or body.
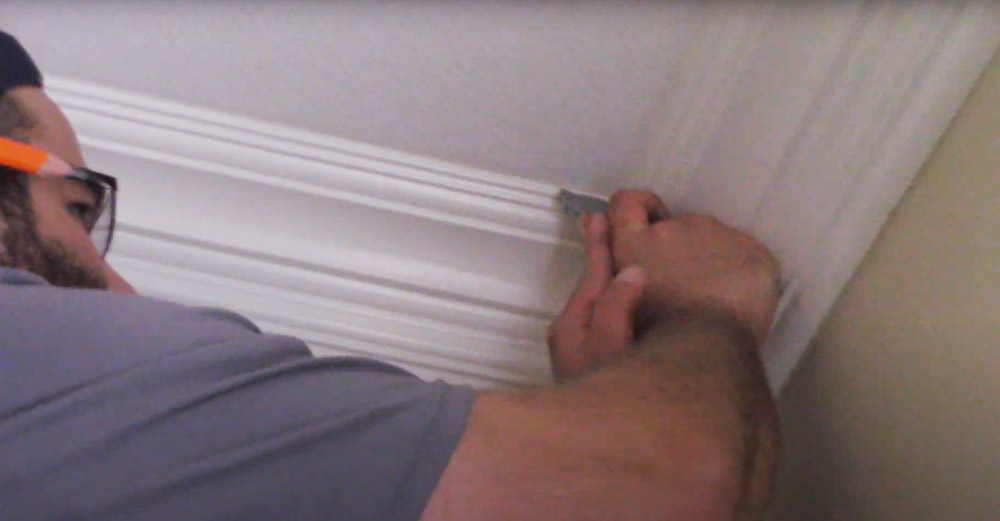
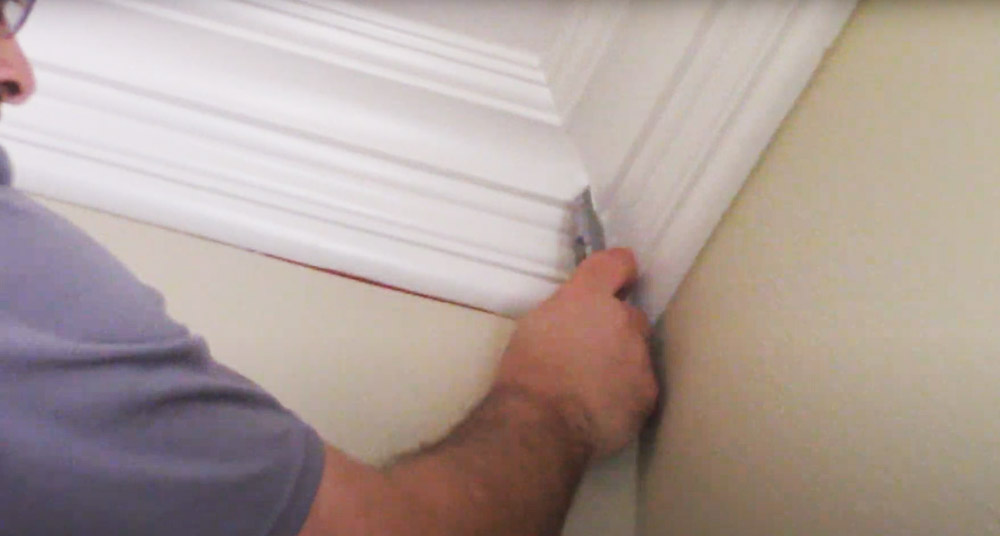
- Score the edges of the molding with a utility knife so it’s easy to break apart. Take care not to cut into plasterboard when removing the top cap because doing could cause complications with installing new.
- Cut any joints where pieces of crown molding meet using a utility knife. If the joint is particularly difficult, use a sharp blade to saw through it.
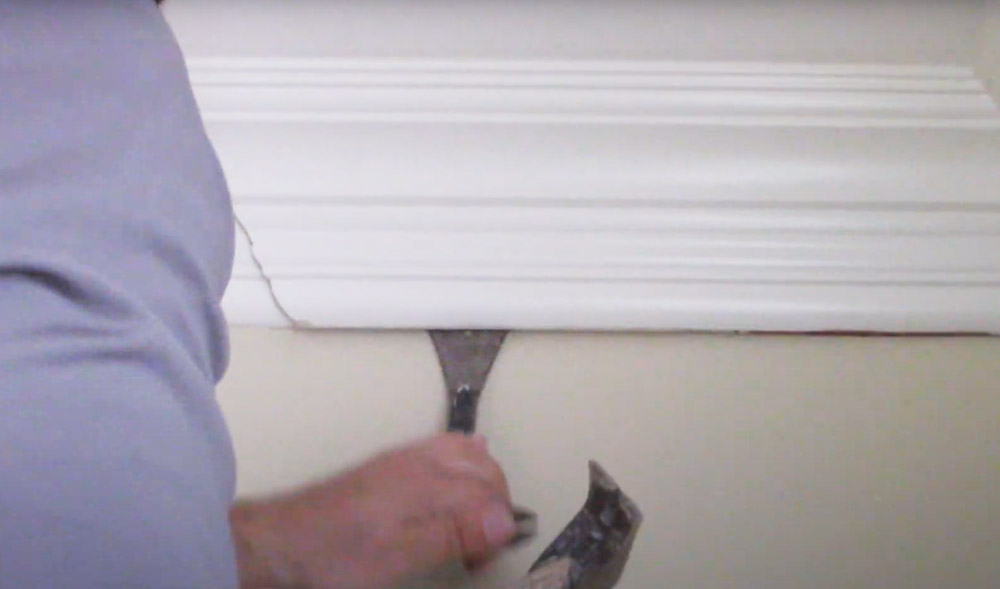
- Hammer a pry bar underneath the bottom edge of the molding at 1 corner. Pry up with pliers or other tools if it won’t lift. Lift the pry bar until the molding is loose enough to pull away. Take care not to damage your wall while removing the old adhesive material from around the edges of the top cap after removing.
- Use the pry bar like a lever to separate the crown molding from the wall.
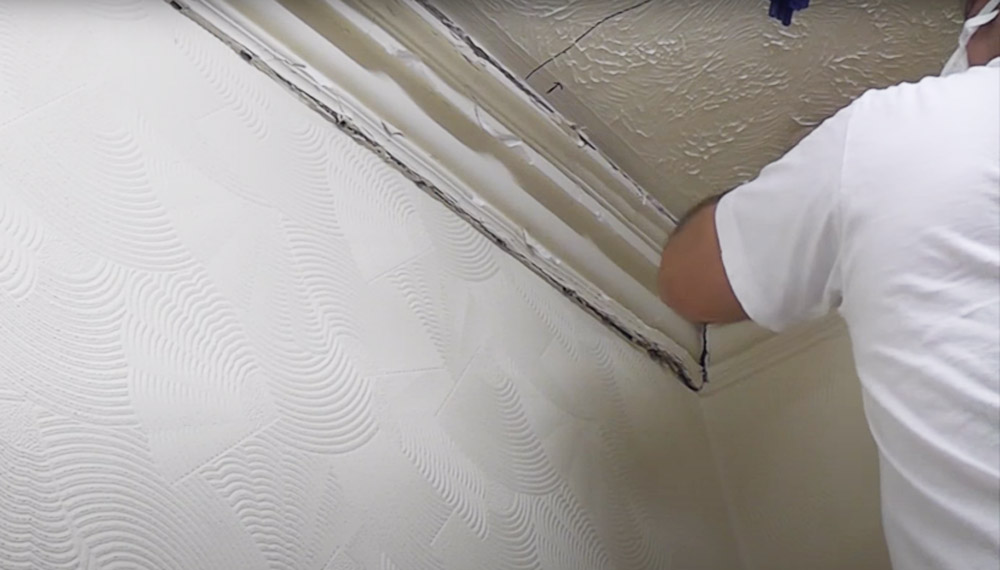
- Work your way down the section of crown molding using the same technique.
- Once you have loosened the molding, use your hands to pull it off the wall. If you need to detach it from corners or other difficult parts, use a utility knife or saw to cut the joints where pieces of crown molding meet.
Continue to the next section of crown molding and repeat these steps.
How do you remove trim without damaging drywall?
There are many steps involved in successfully removing trim, but the most important is to take care not to damage the plasterboard. You can do this by following my instructions carefully and taking your time.
Score the edges of the top cap using a utility knife so it is easy to break apart before starting if there isn’t already an edge created by age, wear, etc. Take care not to cut into plasterboard when removing because doing could cause complications.
Pry against any weak points with the pry bar, taking care not to damage the plasterboard or anything below. Take care not to damage your wall while removing the old adhesive material from around the edges of the top cap after removing.
Can you remove baseboards and reuse them?
No, you cannot reuse removed molding. You can, however, repaint or refinish them if they are still in good condition and your current home style is a match for what the baseboards once looked like.
If you have flat-finish trim around windows and doors which isn’t going to be reused any time soon because it currently clashes with your interior design scheme, consider painting or staining it so that when the time comes to update your rooms again later on down the line, you will not need to buy new pieces of trim since this one matches perfectly!
In order to paint wood crown molding:
- Determine whether there is lead paint under loose layers from peeling scrapings. If there is, sand the entire surface down.
- Wipe away excess dust with a damp cloth and allow to dry completely before painting or staining.
- Apply primer first so paint goes on evenly without any blotches or imperfections. Apply as many coats of paint as needed until the desired color appears. Allow time in between each coat for drying period – usually 24 hours minimum depending on temperature/humidity etc. Finish off by applying several thin layers of water-based lacquer sealer over the top which will protect it from moisture damage while creating a smooth finish that won’t ever yellow again!
Salvaging molding to reuse it
The first step is to remove the corner molding from where it’s been attached to the walls or ceiling. Use a pry bar or a flat chisel to ensure that all the nails have been removed from the molding.
Once all the nails are removed, you can carefully move what remains of the crown molding away from where it was installed.
It is more difficult to salvage wood crown molding that has been painted or stained, but it can be done. You’ll want to use either a paint stripper or a sander to remove the existing stain or paint, and then give it a new coat of primer before you install it.
If your crown molding has been painted with latex paint, you can use mineral spirits as an adhesive solvent to ensure that it doesn’t pull away from the wall when removing nails. This isn’t necessary if the wood is oil-based because those adhesives don’t dissolve in solvents like mineral spirits.
Conclusion
Crown molding is an elegant design element that can be used to add detail and character to any room. But at some point, you may find yourself in need of removing crown molding without damaging the wall or ceiling below.
If there are any holes left over after the removal of your old crown, fill them with spackle or joint compound (also known as mud) and paint! This will make your space look brand new again within minutes.