Whitewashing laminate flooring is a great way to update the look and feel of your home. It’s also an inexpensive option that can be done by anyone with minimal DIY skills. The process for whitewashing laminate flooring, however, will depend on whether you have a light or dark-colored floor.
Those who chose lighter colors, they’ll want to use products such as Sander Scrubber and Tilex Clean & White Shower Cleaner to remove any dirt or grime from the surface before painting it white. For darker floors, all you’ll need is paint!
Now that we’ve gone over some important tips and tricks about how to whitewash your laminate flooring, let’s discuss some of the most important factors to consider if you’re thinking about doing this yourself.
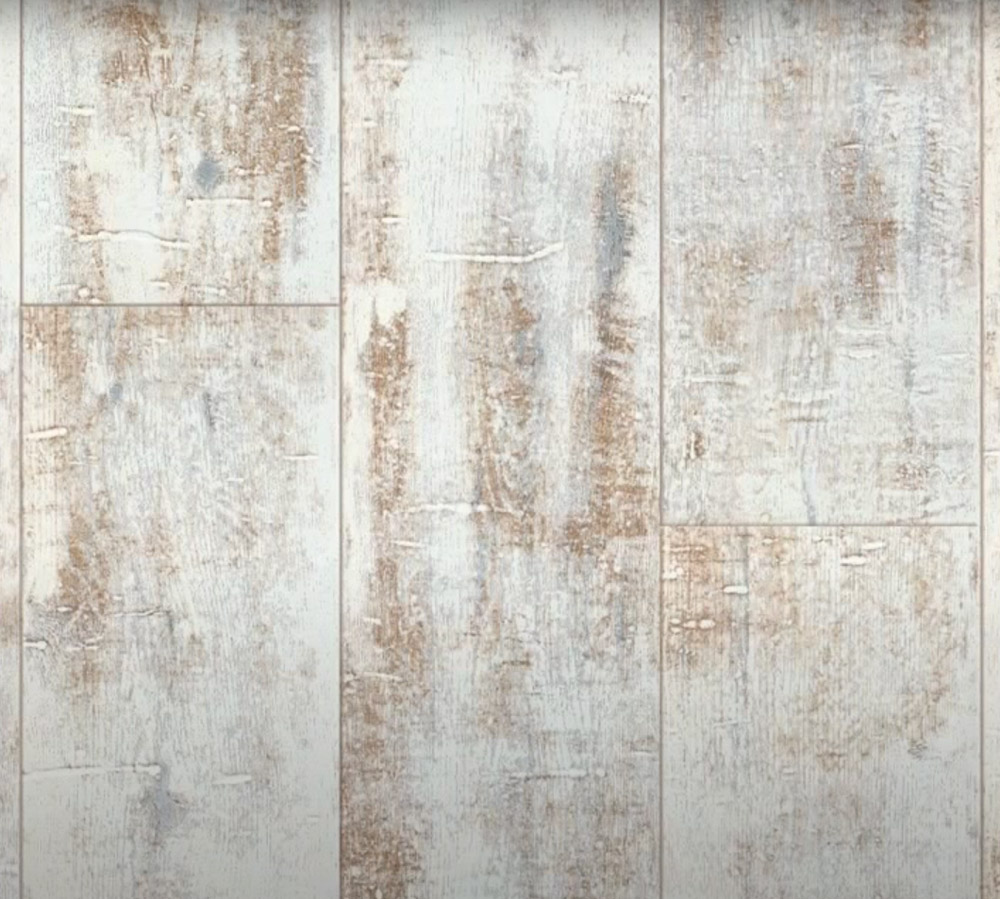
Can you Whitewash Laminate Flooring?
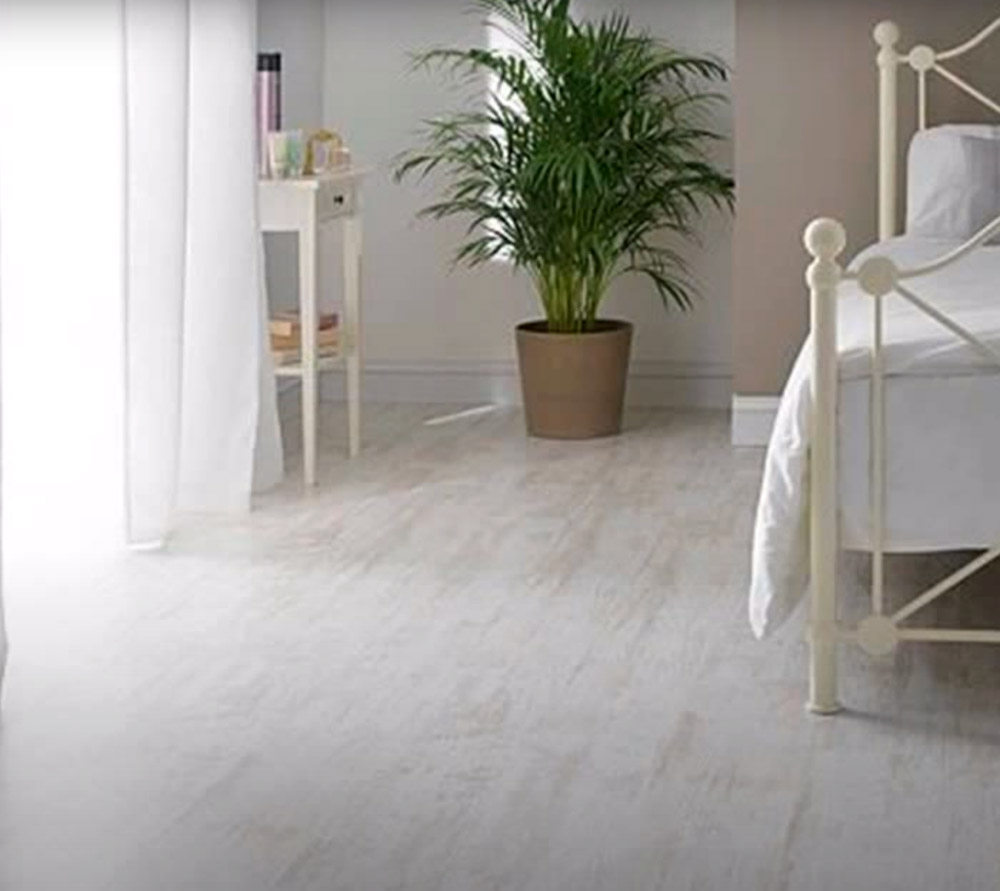
Laminate flooring is one of the most popular and affordable types of flooring on the market today. It’s easy to clean and maintain, and you can install it yourself with a basic miter saw and hammer drill. But if your laminate has seen better days, why not try whitewashing?
Whitewashed floors go back centuries as an age-old way to make wood look new again—and even though they were traditionally made from natural materials like stone or clay tiles, there are ways you can use this process for laminates too! Read below for step-by-step instructions on how to whitewash laminate flooring.
Difference between painting and whitewashing?
Whitewashing is different from painting because it doesn’t involve thick coats of paint. Instead, this process relies on thin layers that are applied with a sponge or brush and then wiped away to reveal the wood grain underneath.
This can be done as many times as you like until you achieve your desired look; we recommend starting by testing out several coatings in an inconspicuous area before tackling the entire floor space!
Content of toxic ingredients
Whitewashing is a much safer alternative to painting because it doesn’t involve the use of toxic chemicals.
Maintenance requirements
Whitewashing laminate flooring is a quick and easy way to give your floors a new look that’s environmentally friendly. Once you’ve finished whitewashing your laminate flooring, it will require the same basic maintenance as before. That means sweeping and mopping daily to remove debris, dust, and other particles that may scratch up the wood finish over time.
However, if you want to maintain the look over time, it’s best to use paint. It’ll help protect the wood from dirt, spills, water stains, and other common household accidents!
Pros & cons whitewash laminate flooring
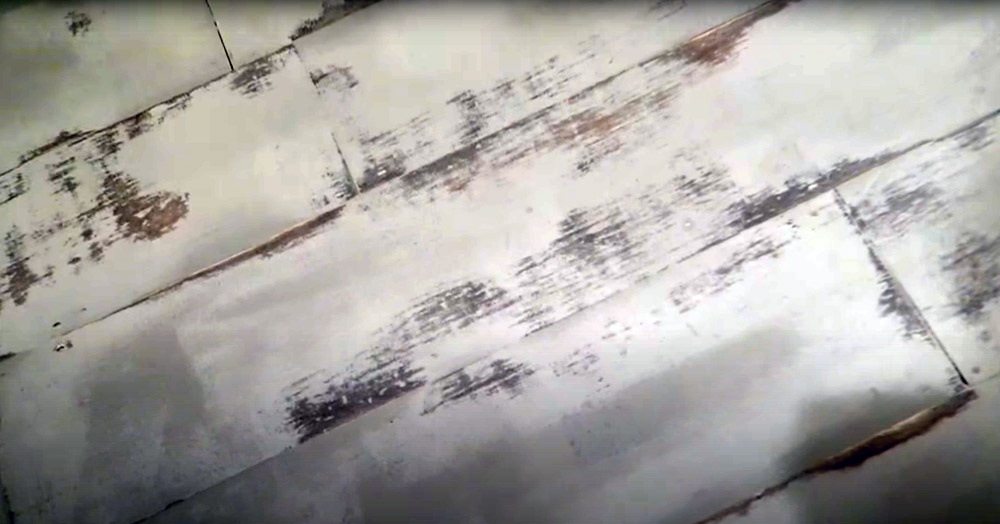
Whitewashing your laminate flooring is a great way to update the look of any room, but it’s not without its drawbacks. Since this process involves thin layers that are wiped away with water, it can be difficult to achieve solid white coloration—instead, you may have more of an off-white or cream tone depending on how much time and effort you put into wiping down each layer. And since laminates aren’t designed for use in wet conditions, they won’t hold up very well after being whitewashed either!
- Whitewashing laminate flooring is a quick and easy way to give your floors a new look that’s environmentally friendly.
- Once you’ve finished whitewashing your laminate flooring, it will require the same basic maintenance as before.
- It can help you get more use out of your old floors.
- It’s very economical because it’s just painting or modified paint!
- If done poorly or in small areas, it can chip off easily, especially if you’re not using Water-Based Latex Varnish as well. So please test out the process in an inconspicuous area.
Whitewashing Laminate Floors: Basic Idea
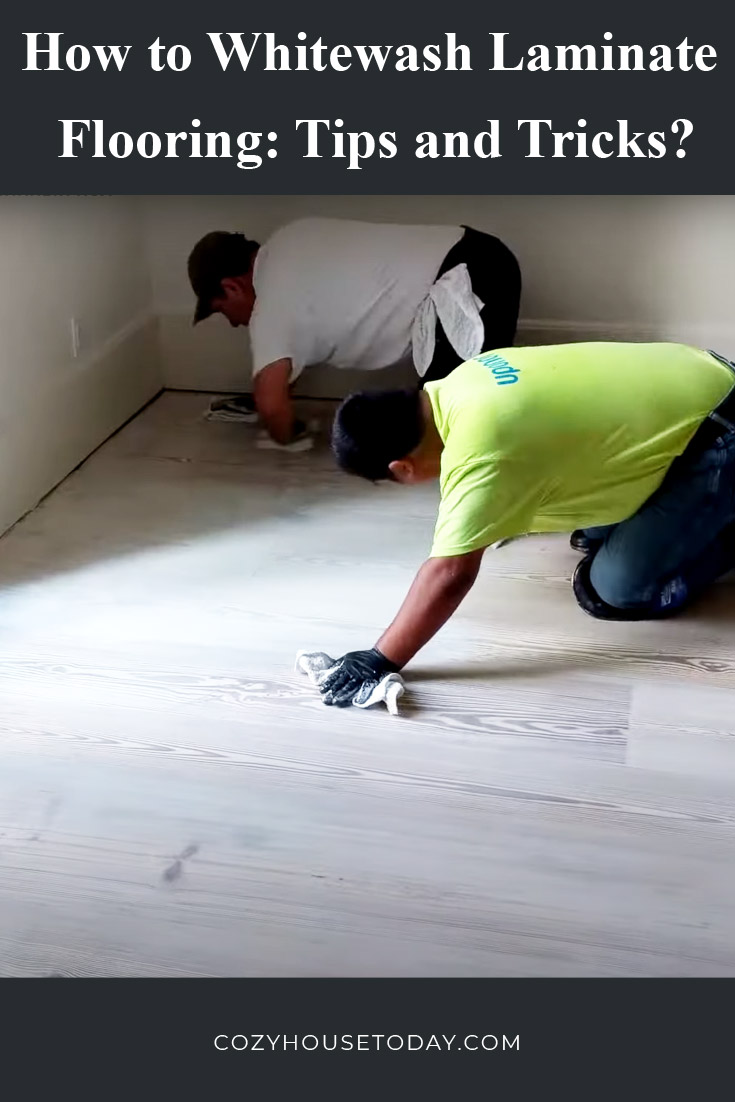
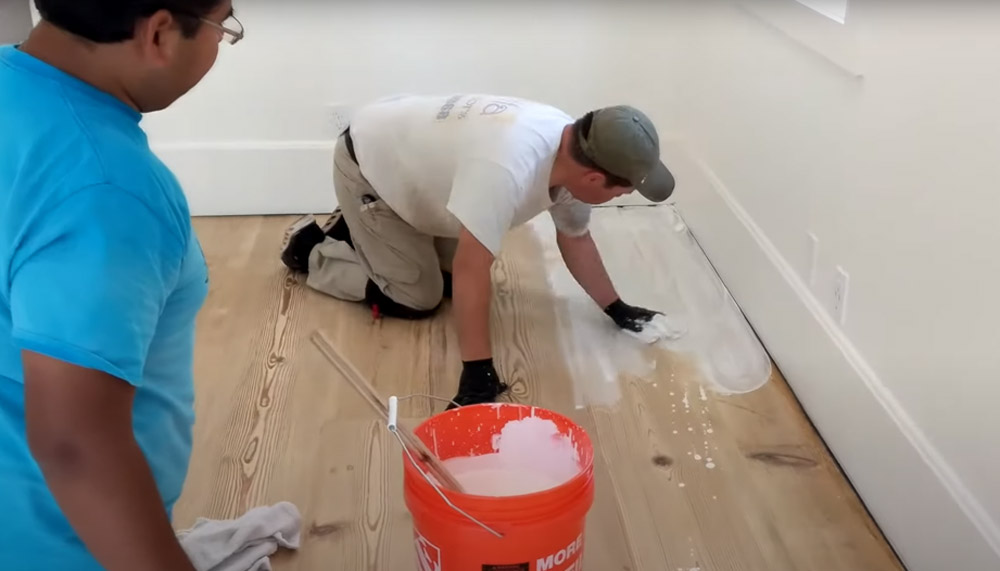
You can use a sponge or brush to apply the whitewash mixture to your laminate flooring. Be sure to wipe off any excess with a clean cloth. You don’t want it too thick, but you also need enough coverage for this process to work!
Then use a dry mop or towel and rub over the surface of your laminates until they begin to look familiar again! This is when things get exciting—the more coats you add, the whiter your floors will become. Just keep wiping away all that excess material from each coat before applying another one!
Thoroughly Clean the Floors
It is good to start with a clean floor that has been swept and mopped. You need dishwasher soap or any other type of cleaner, warm water in a bucket or sink, sponge or brush for application.
Make sure the surface is completely dry before you begin whitewashing your laminate floors! Otherwise, it won’t stick properly.
Scuff up the Floor
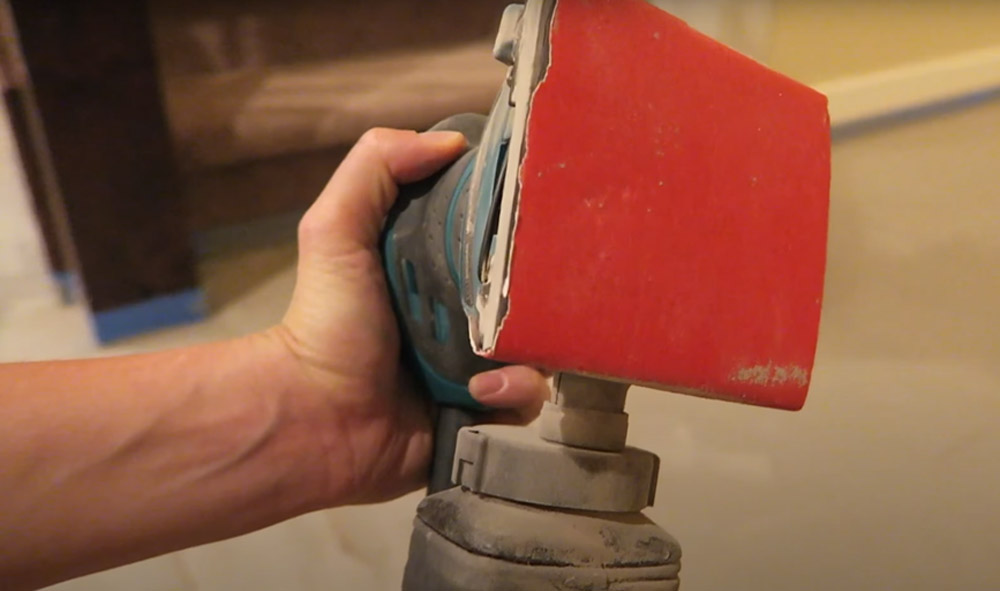
You can use 120-grit sandpaper to scuff down your floor if it has been scratched or stained. You need 220 grit sandpaper after that. Be sure not to skimp out during this process! If you only spend a little time preparing for paint, there’s no way it will stay put very long without chipping off or scratching again in some places.
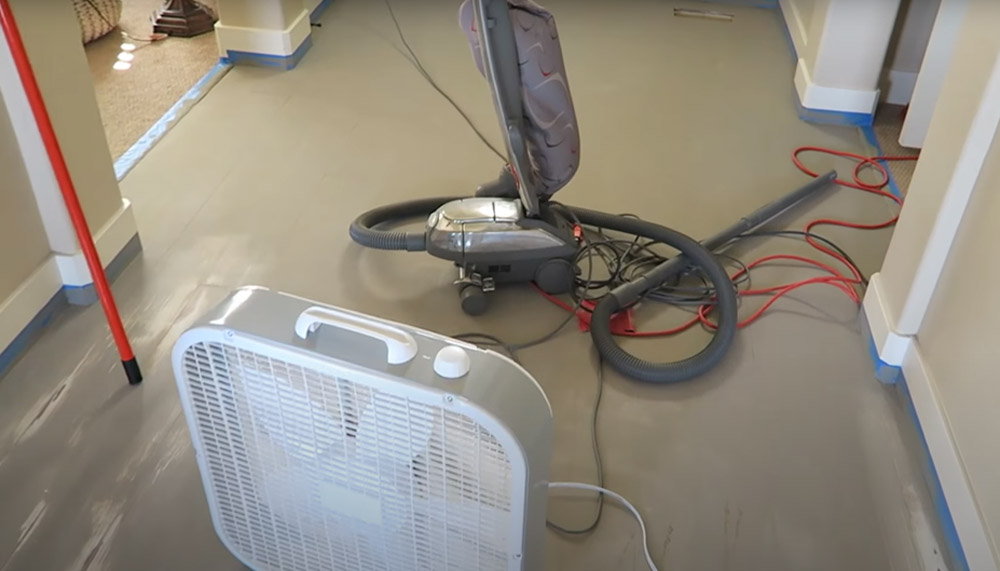
Clean Off the Sanding Dust
After you’re done sanding, make sure to clean off the layer of dust that has accumulated on top of your laminate flooring. Clean this off with a damp cloth to ensure the surface is clean and ready for painting. Be sure it has completely dried before moving on!
Apply primer to the floor
You should apply a coating of primer to your laminate flooring before you whitewash it to help ensure that the whitewash isn’t chipping or scratching off. Otherwise, you’re just wiping away the paint and then applying another one over that, which’ll just add more layers to your floor!
Prepare Whitewash
You can make a whitewash from raw materials or a sample of paint, but it’s best to use the latter if you have any on hand!
Waterproof whitewashes can be purchased at tile stores or home improvement stores.
You can also add a little latex paint to the mix if you want your floors lighter than they already are! This will help speed up the process so that it doesn’t take as long, but you should still allow for plenty of time and be sure to work in small sections at a time.
If you’re going to try out either method, make sure that there is enough space around where you’ll be working—you don’t want any accidental spills or splashes on anything else while painting these flooring materials! It’s best to move furniture away from this area too.
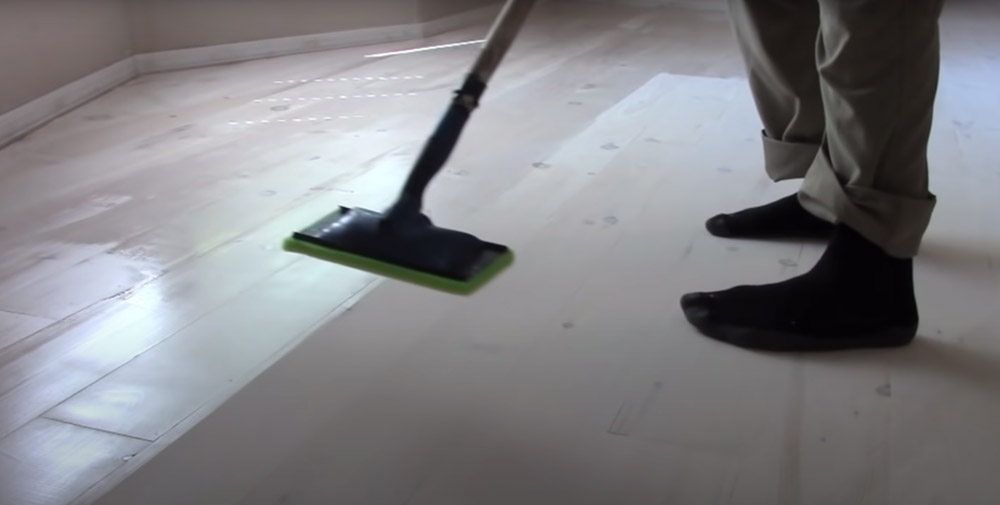
Roll on the Whitewash
You can use a roller or paintbrush to apply the whitewash. The latter is best for small areas and corners, but you’ll need a good amount of arm strength if your space is large! Do not skimp out here—you will only make things worse by rushing through this process.
Make sure to get plenty of coverage around all sides and take some time with it so that everything looks even across the entire flooring surface. This part takes patience people, so try not to stress too much about getting tired arms from painting floors with a brush or roller! If you do want to switch over at any point during this process, though, now would be an excellent moment since everything should still be wet enough for fresh material applied over it.
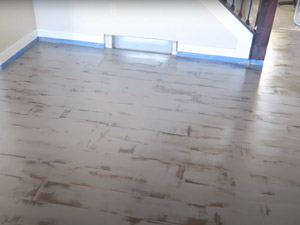
When this coat has dried, you can begin adding a second one if desired! You should wait for about an hour to make sure everything is completely dry before starting again—you don’t want any damage from slipping on still-wet paint or anything like that either! Just keep applying coats until the look of your floors are where you want them to be and then allow ample time for drying in between each layer.
If necessary, apply another coat after 24 hours have passed just to touch up certain areas. Then leave everything alone until it’s totally cured and ready for use again (usually within 48 hours).
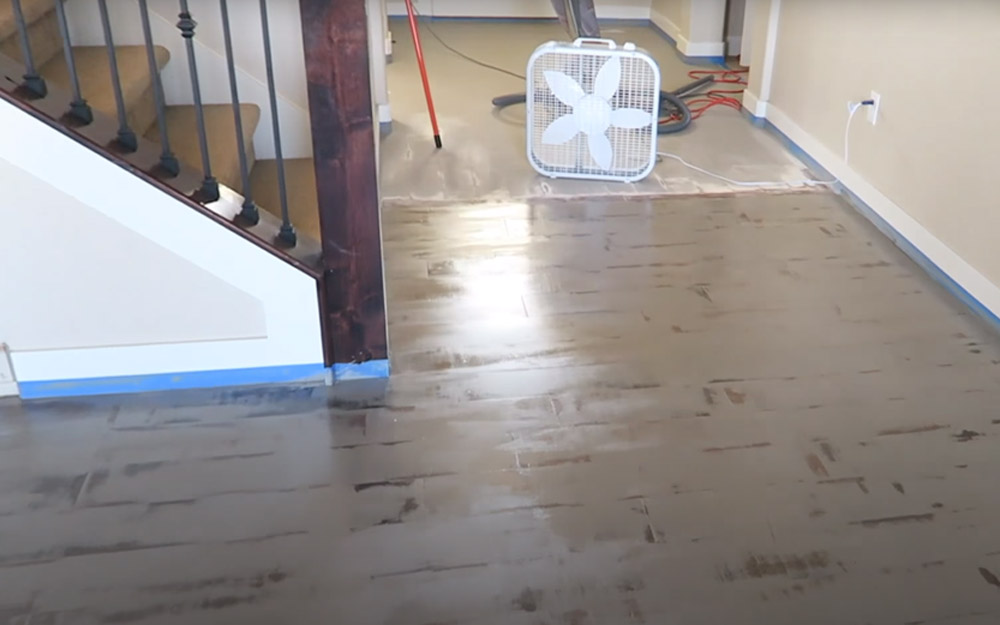
Seal the Floor with Water-Based Latex Varnish
Then use your sponge or brush and apply a coat of water-based varnish. Make sure you cover every area thoroughly; otherwise, some areas may not whitewash properly later down the line. Continue applying coats until you’re satisfied with how everything looks.
Afterward, let your laminate floor dry for at least 24 hours (or longer) before walking over them again—otherwise, you could risk leaving behind scuff marks that won’t look very nice during future cleaning processes!
Other ways to lighten laminate flooring
Consider using a lime wash to lighten your laminate flooring. If this is something you want to do, mix up some slaked or hydrated lime with water in a bucket until it’s completely dissolved, and then apply it over the floors with a mop so that every square inch of the surface area receives an even coat of material.
If you have untreated hardwood beneath your laminates, consider doing two coats of whitewash before putting any new surfaces on top—it will keep things feeling more unified throughout the entire room while also adding another layer of protection for these materials! That being said, there are still other ways to make sure everything feels consistent between different types of wood; see if painting them all one color works best.
Conclusion
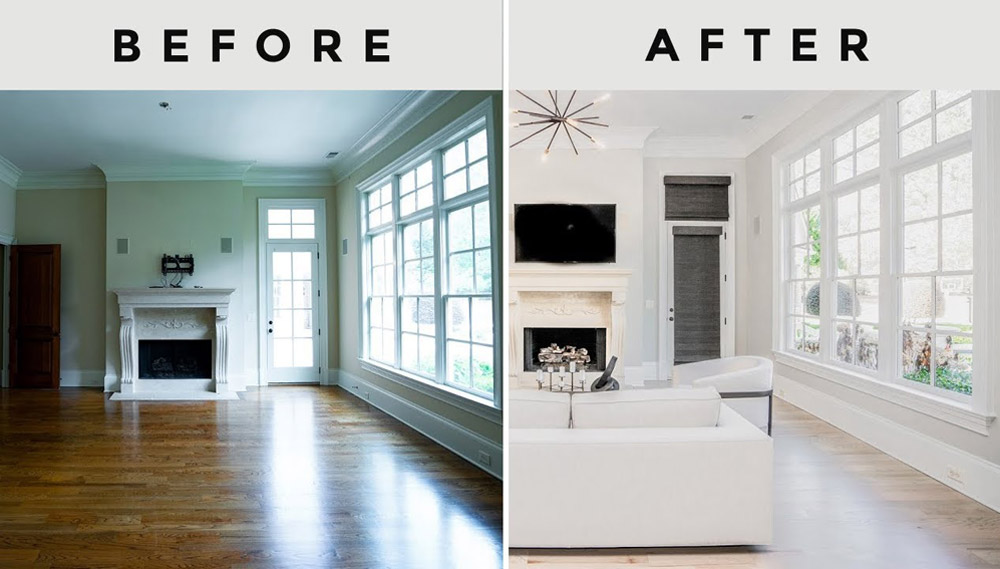
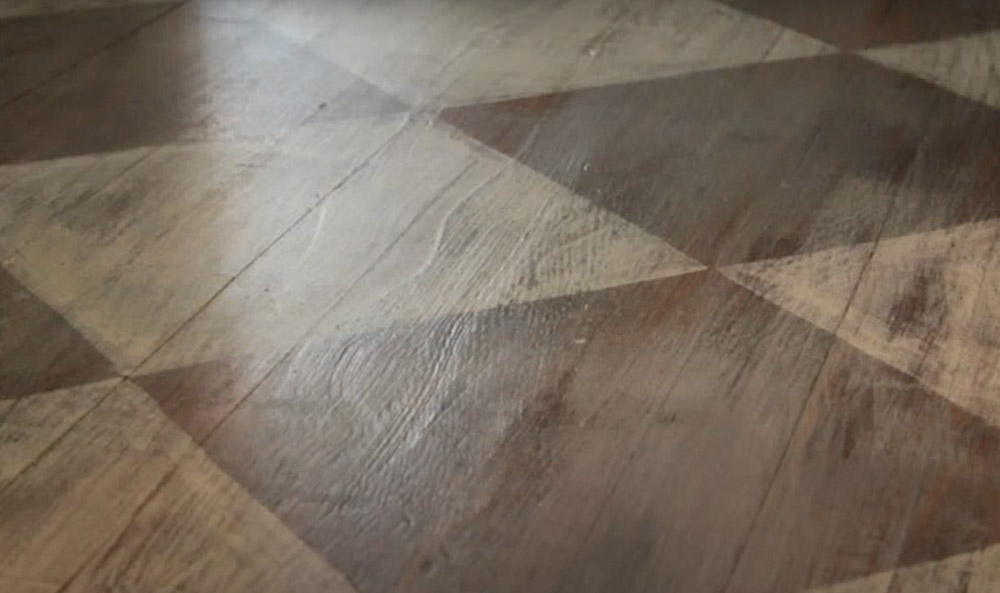
Whitewashing laminate floors provide a fun way to refresh the look of any room without spending too much time or money on labor or materials! Plus, it goes back centuries as an age-old technique for making wood look brand new again.
It’s that simple to whitewash laminate flooring, but it does require some careful time management and attention to detail. This is a great way for people who want the look of white marble or tile without having to pay an arm and a leg or go through the hassle of installing such materials in their homes.
This will also give your floors a nice shine too if you add enough coats—just be sure not to overdo it when adding more layers because they could start looking uneven! The key with this process is patience; just take things step-by-step and don’t rush any part of it so that everything turns out right in the end. Good luck!